Features Catalogue
Layers
In this section, we will discuss how to explore and download from public layers
Sign-in with your registered organization admin user (check that link if you need to know How to Sign in)
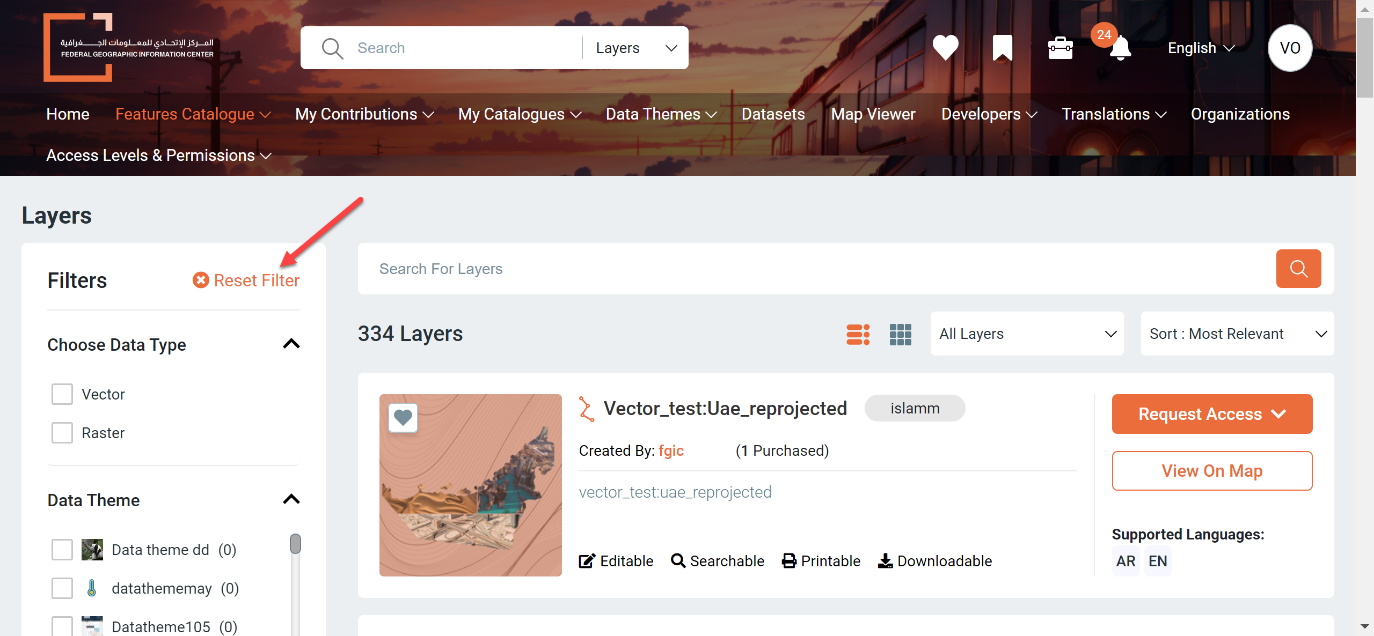
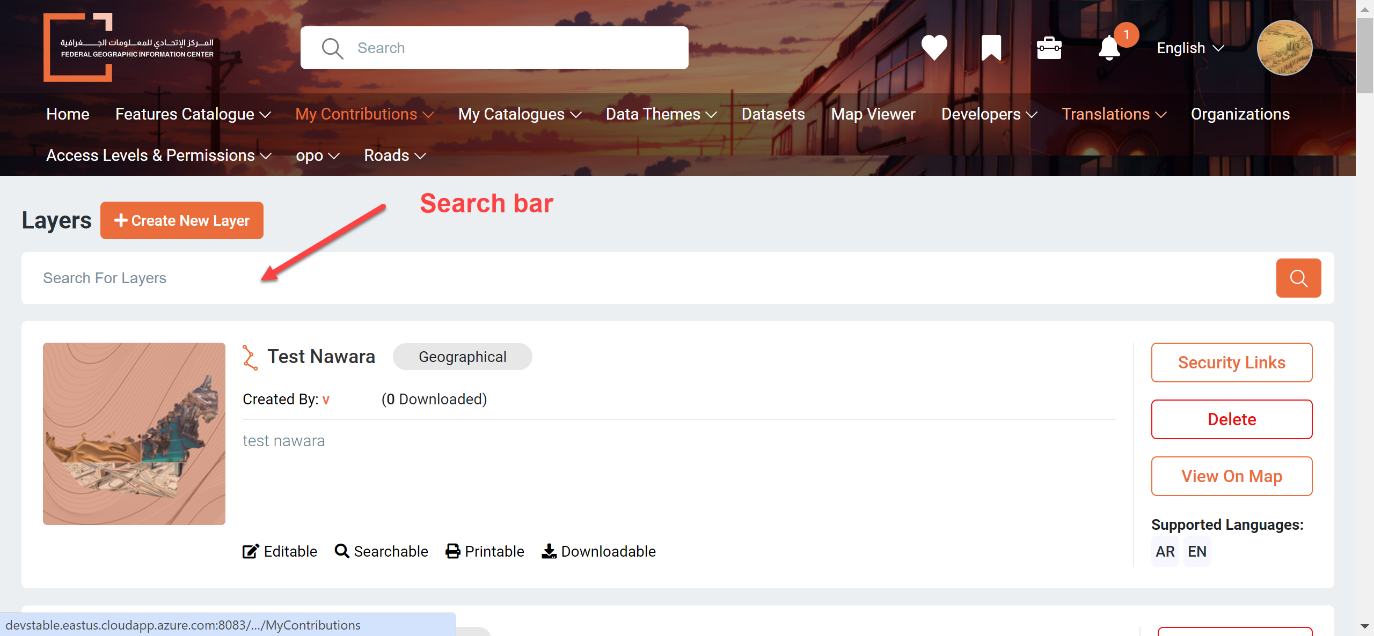
Click on Features Catalogue then click on Layers
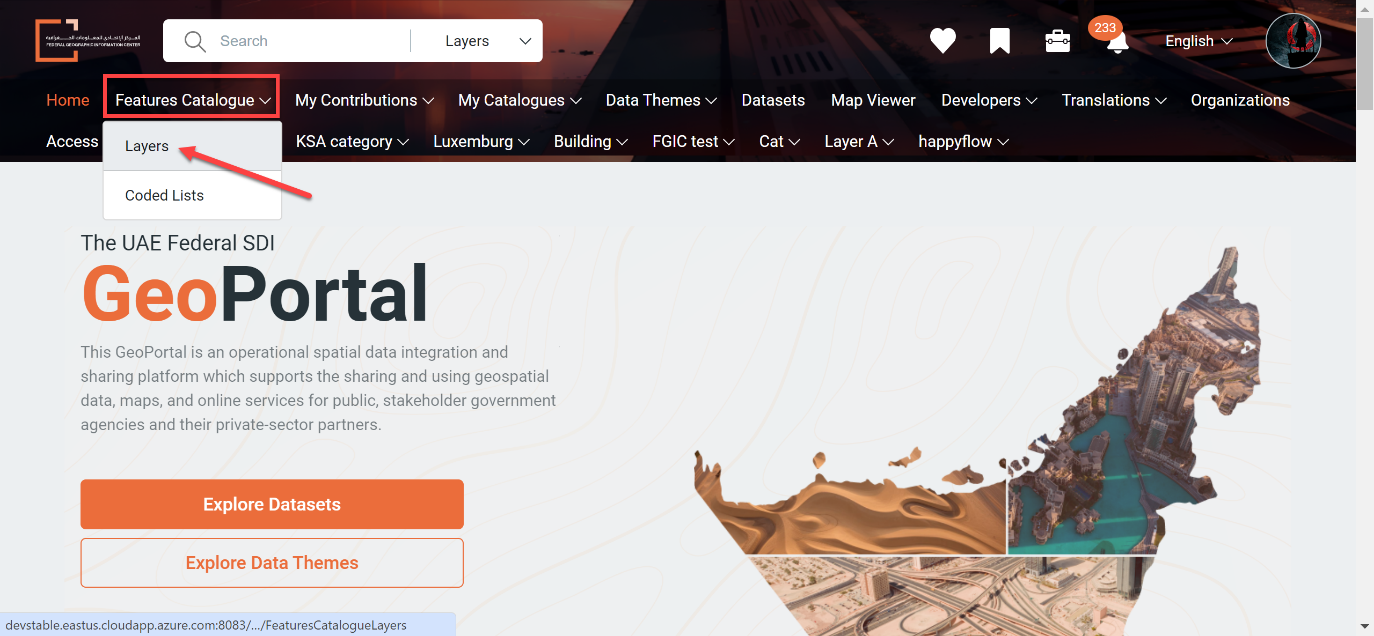
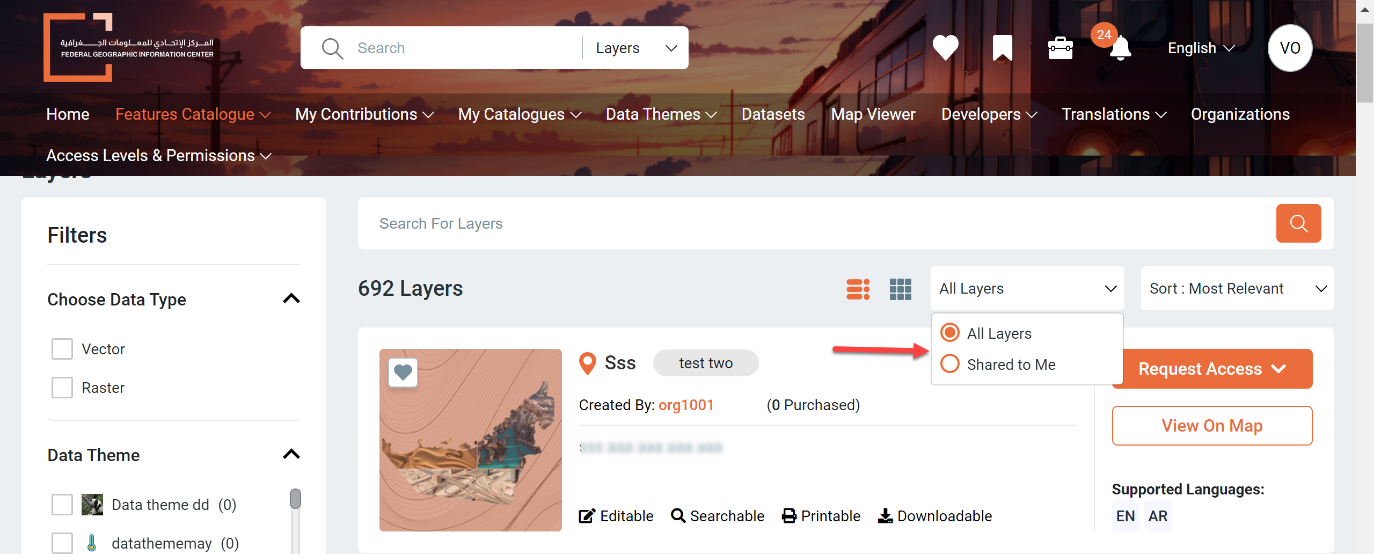
Here you will find the list of all public Layers that you can explore
How to search for layers
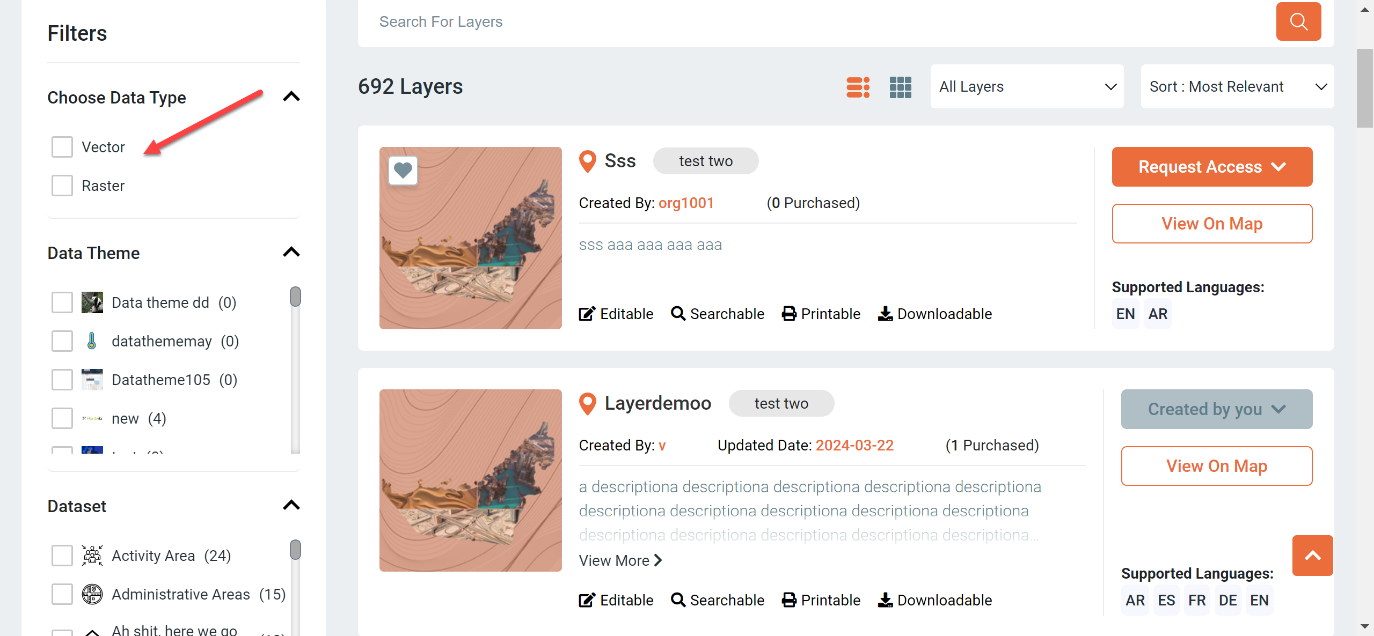
Search Criteria:
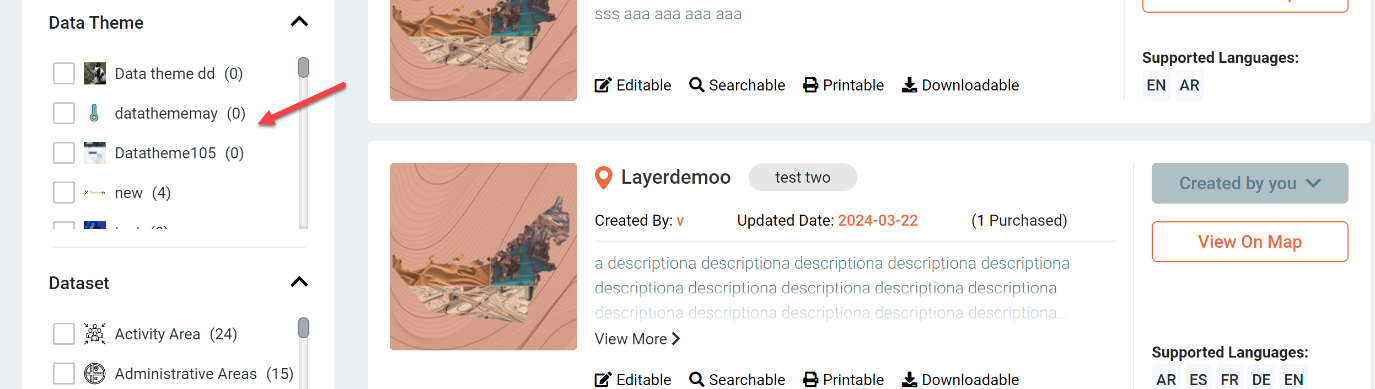
Search by Data Theme: A data theme refers to the categorization or grouping of data based on a common attribute, characteristic, or topic. You can filter your layers per data theme.
Search by Dataset: Under each data theme, layers are categorized into datasets. You can filter your layers per datasets
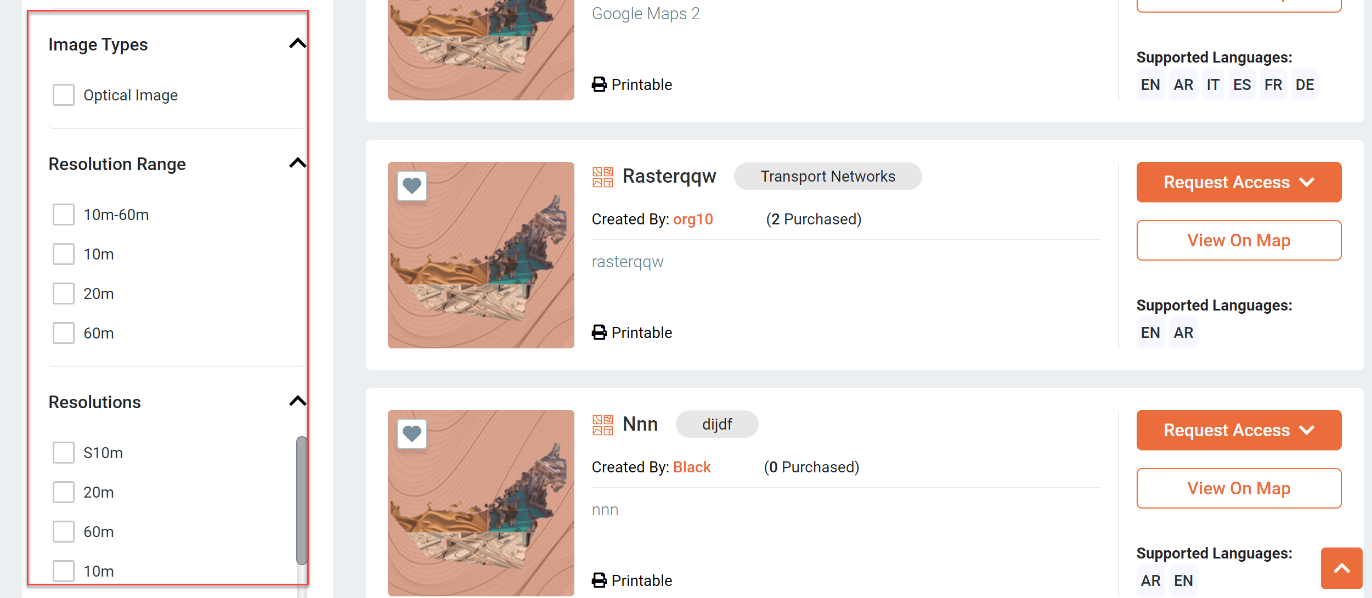
Search by Data Type: Whether the layer you are searching for is a vector or raster map type
If you selected raster data type, new filter will appear below. These filters are related to the raster layer configuration
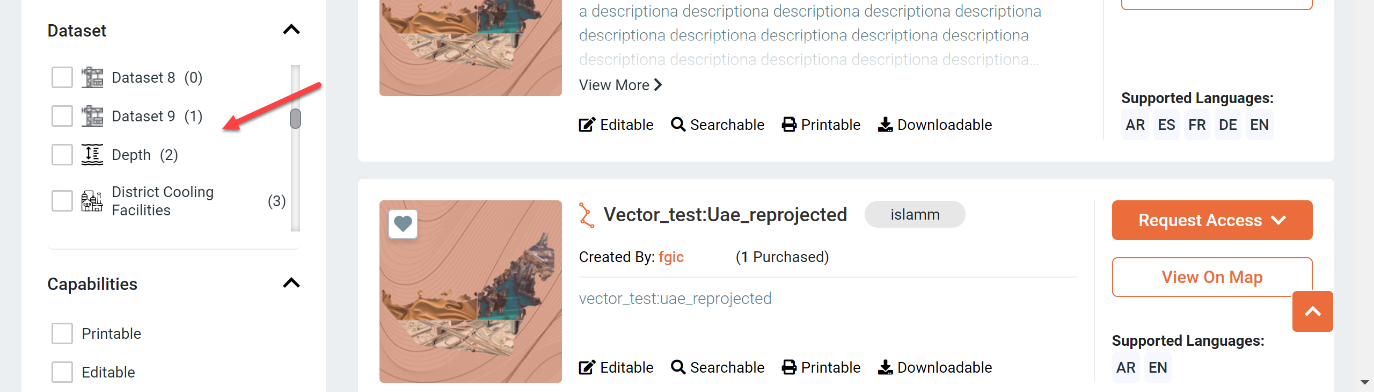
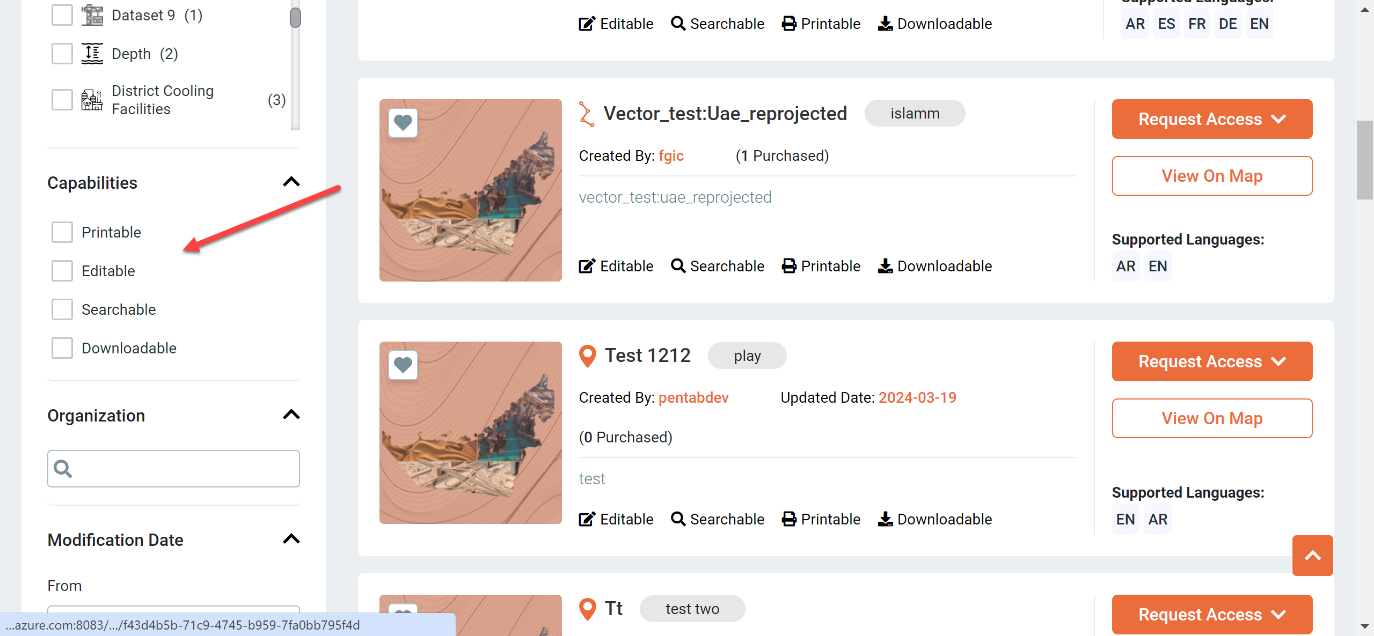
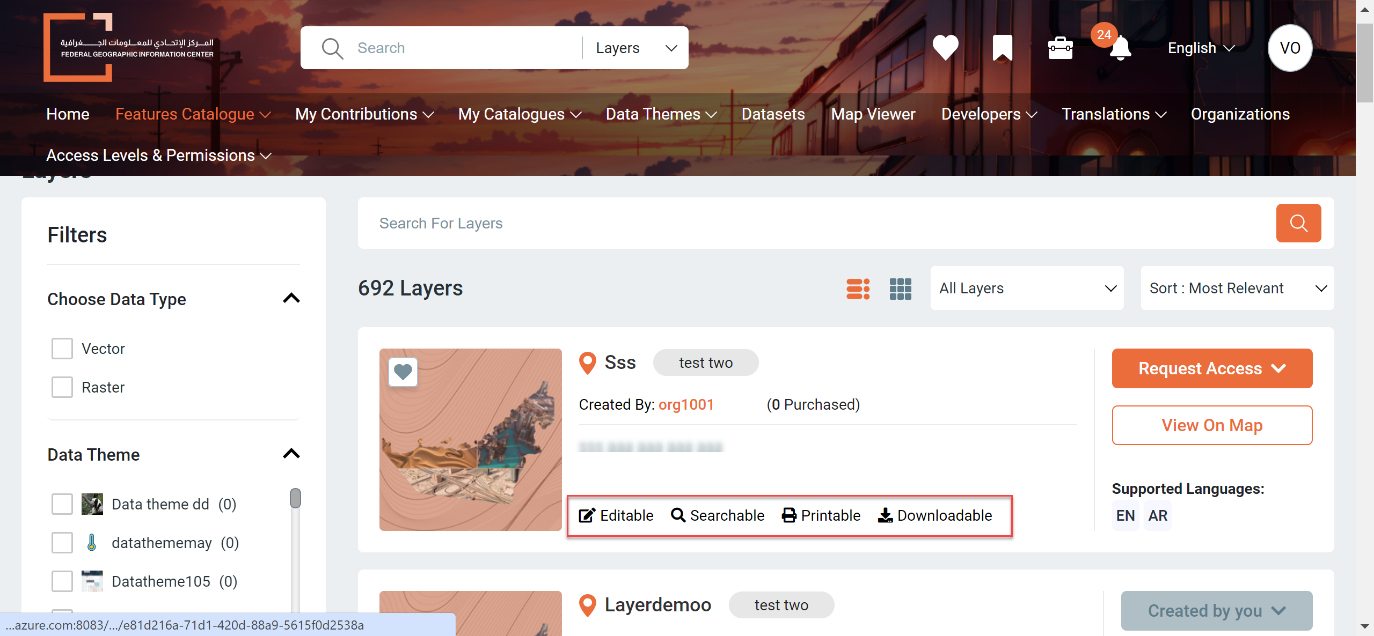
Search by Capabilities: You can choose to search for layers with specific capabilities such as print capability, edit capability, search capability and download capability. You can select more than one capability
Search by Organization: here you can search with the name of the organization that published the layer
Search by Modification Date: Enter the layer modification date range by clicking the From field and choosing a date from the calendar, then click on the To field and choose the date limit from the calendar
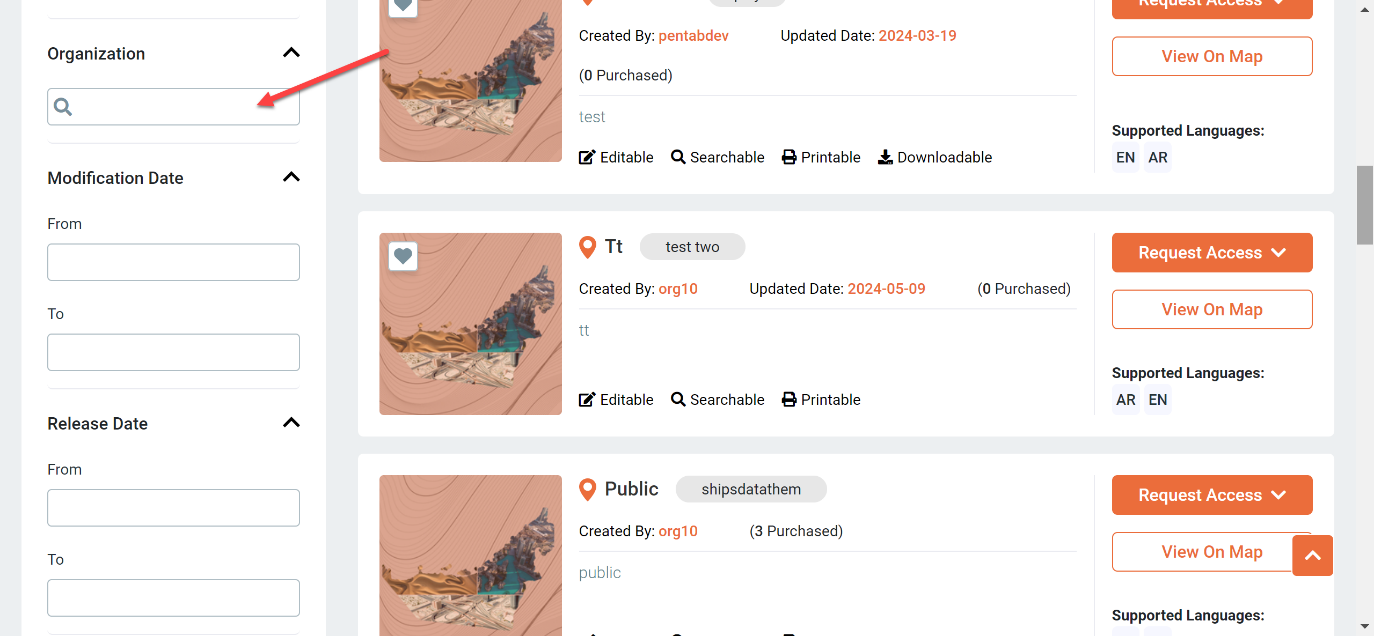
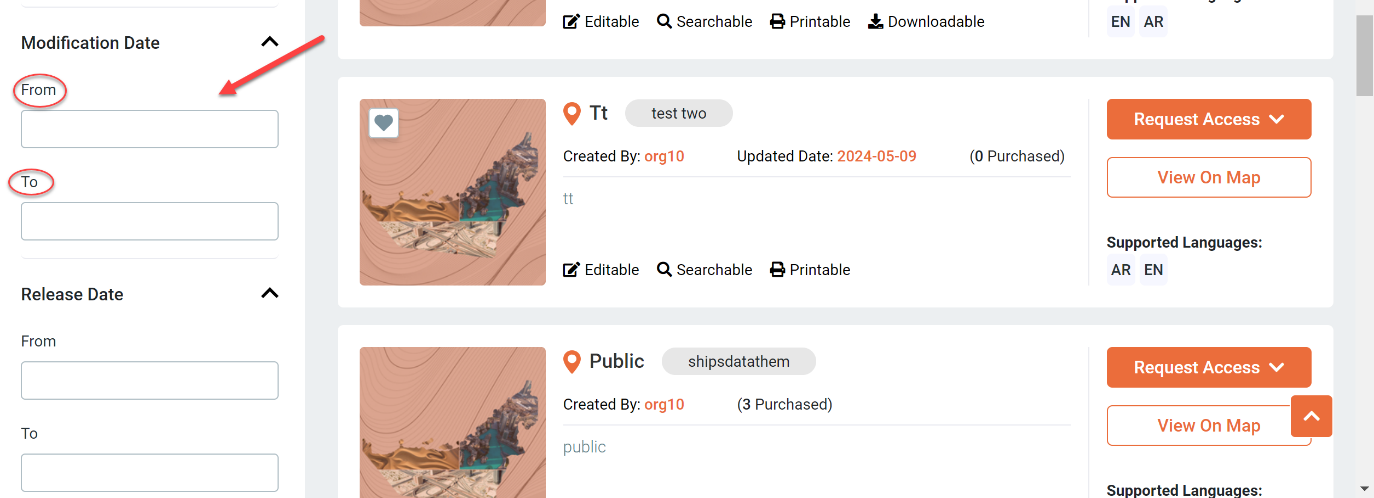
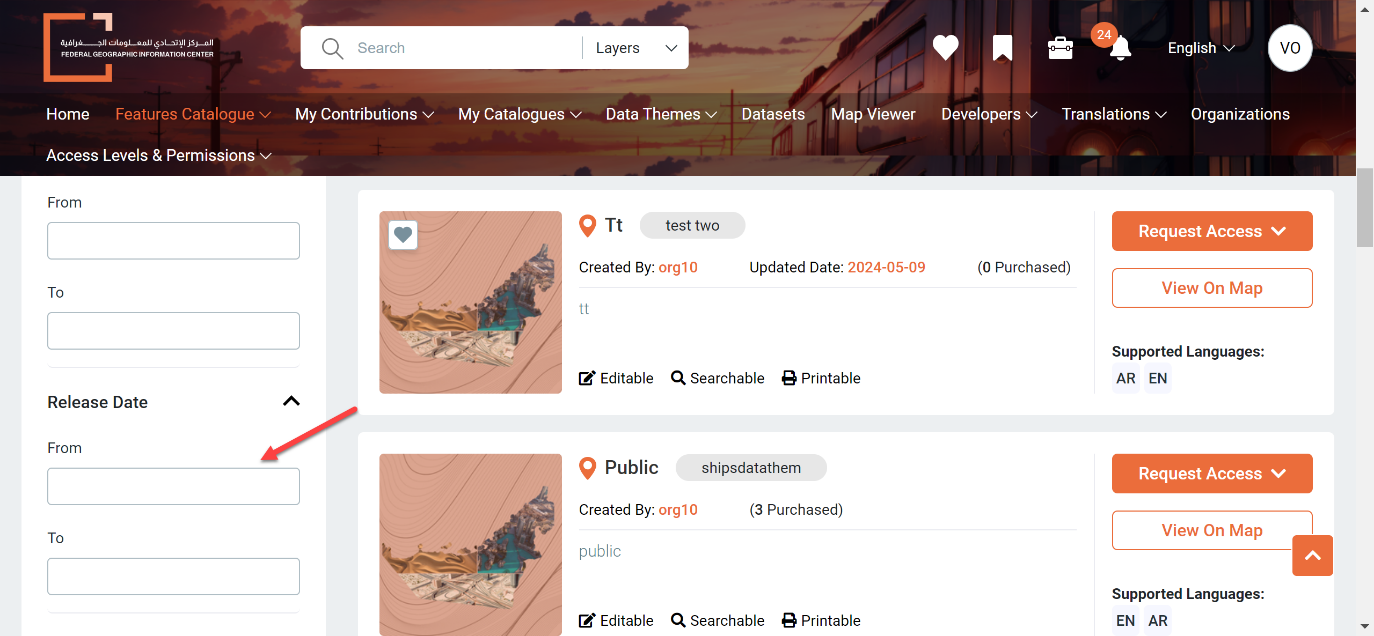
Search by Release Date: Enter the layer release date range by clicking the From field and choosing a date from the calendar, then click on the To field and choose the date limit from the calendar
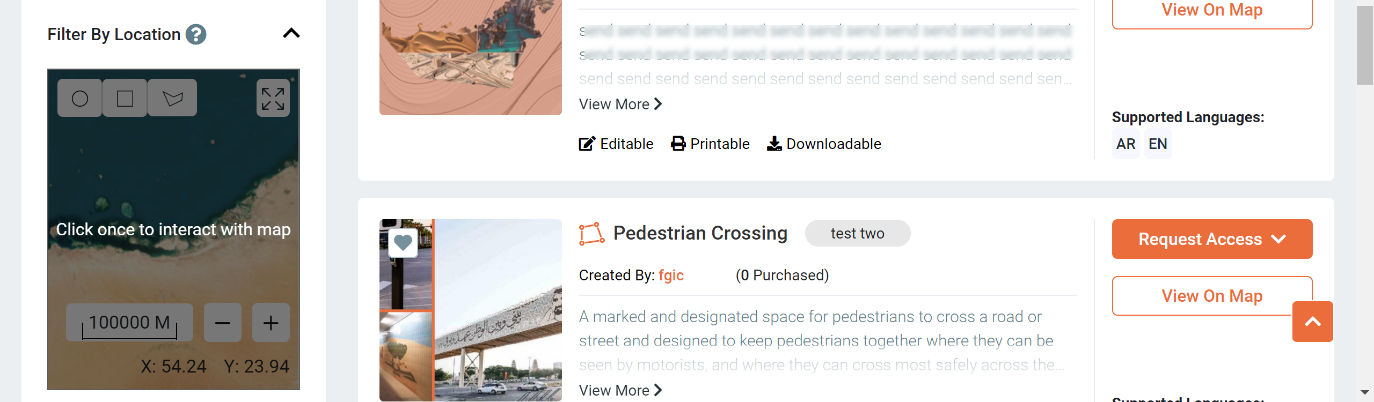
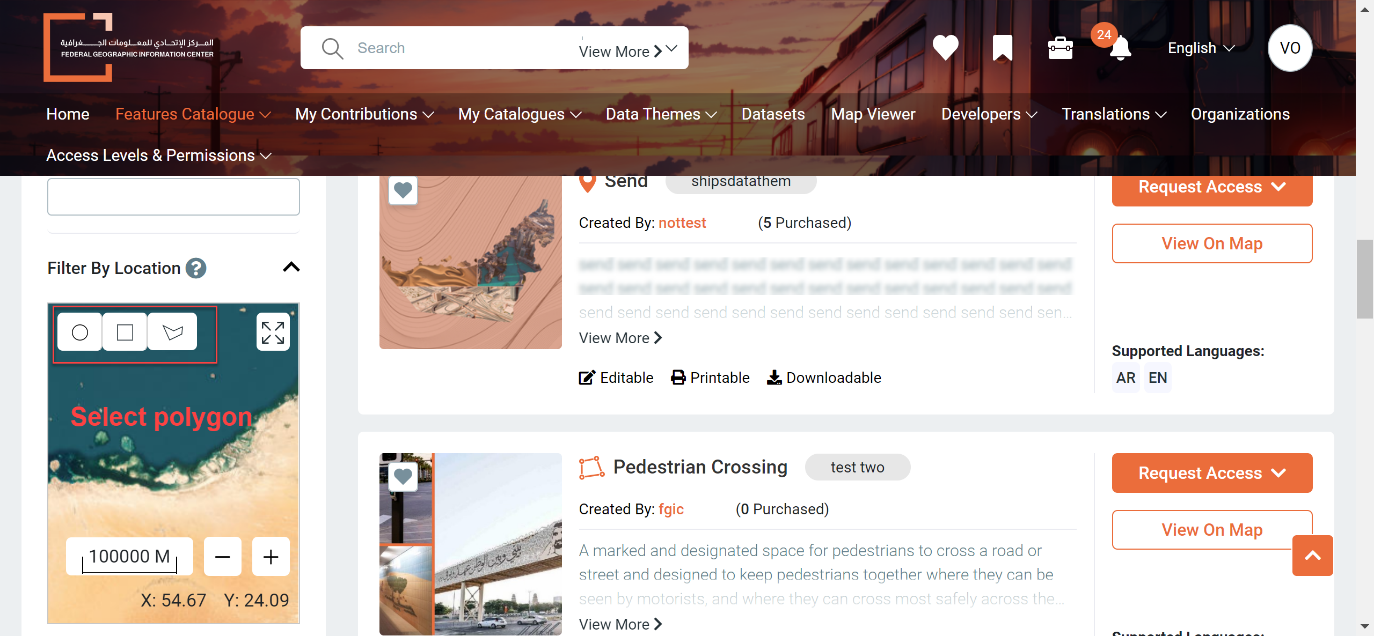
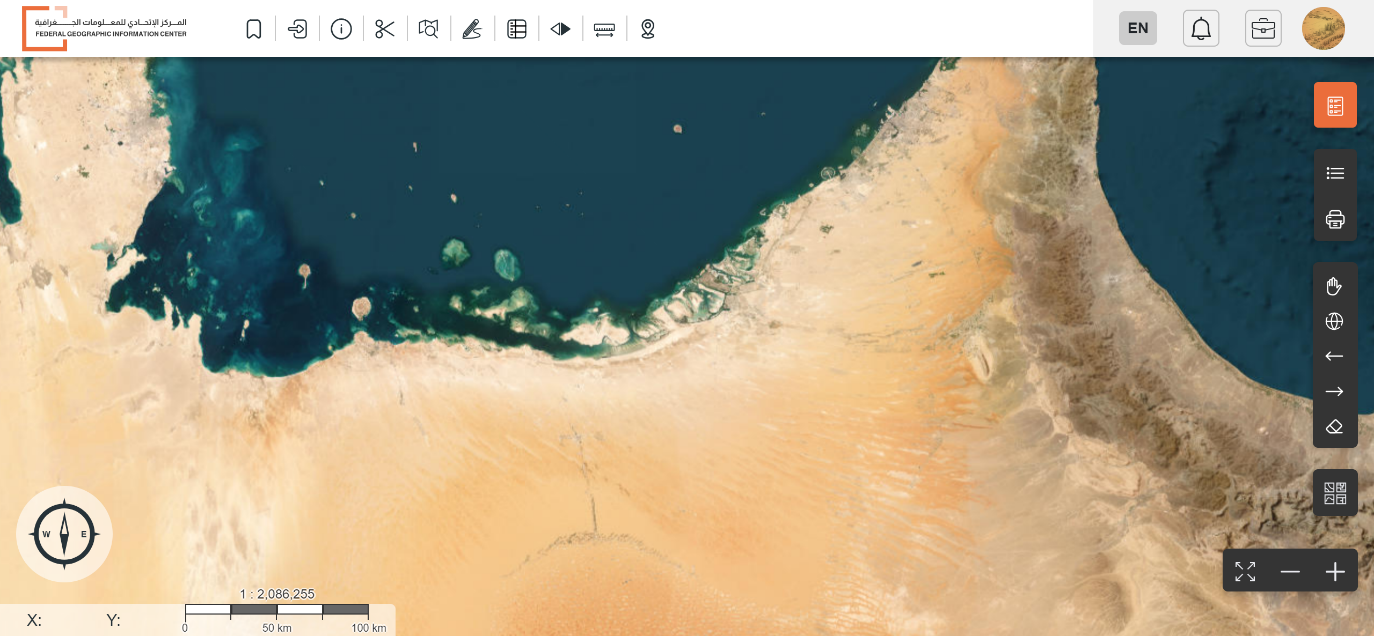
Search by Location: You can select on the map a region that you are searching for its available layers.
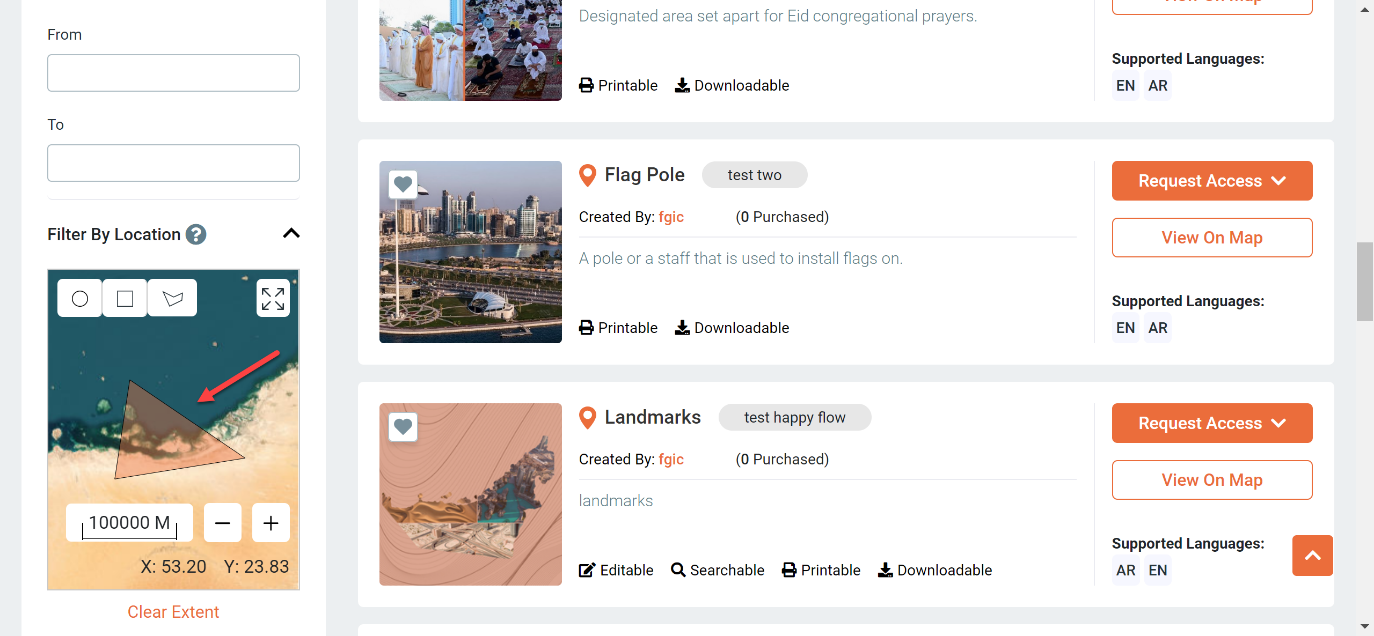
Click the map to start interacting, then Click on the + icon to zoom into the region you want then choose to draw a circular polygon, a rectangular polygon or a polygon selection over the intended region by clicking then dragging to select.
You can click on the – icon to zoom out and adjust your location
you can clear all your selections by clicking on Clear Extent or reset filter to clear filters
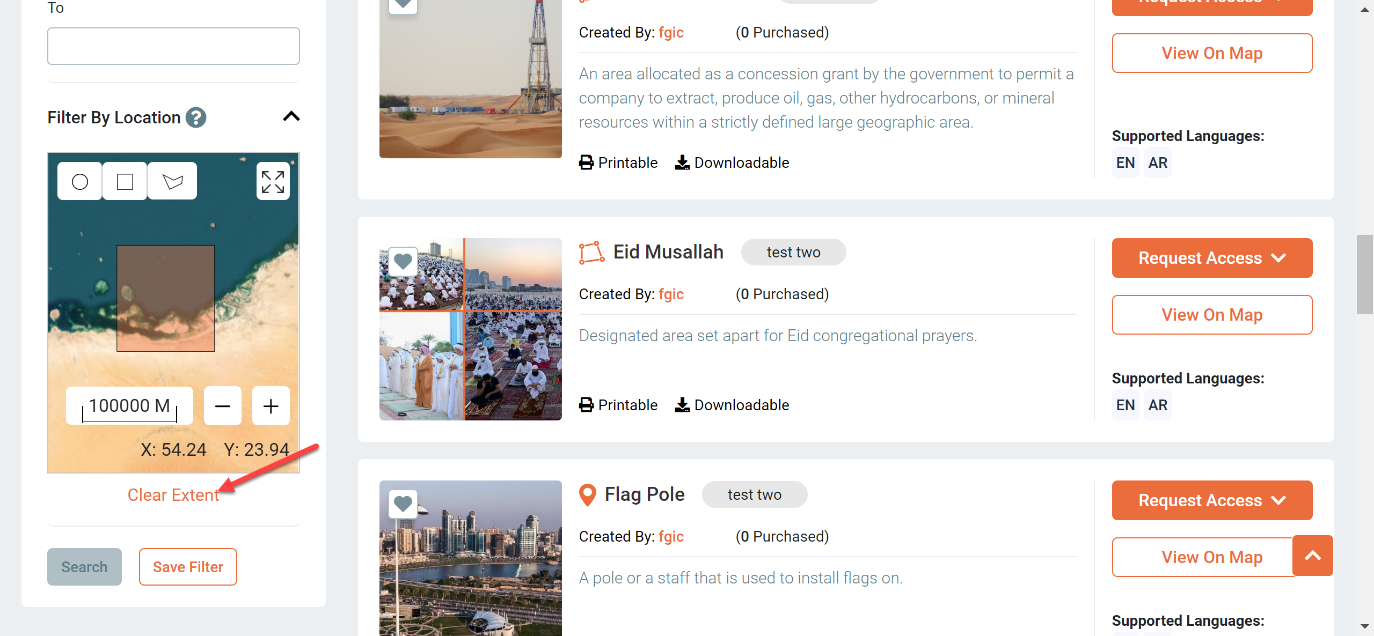
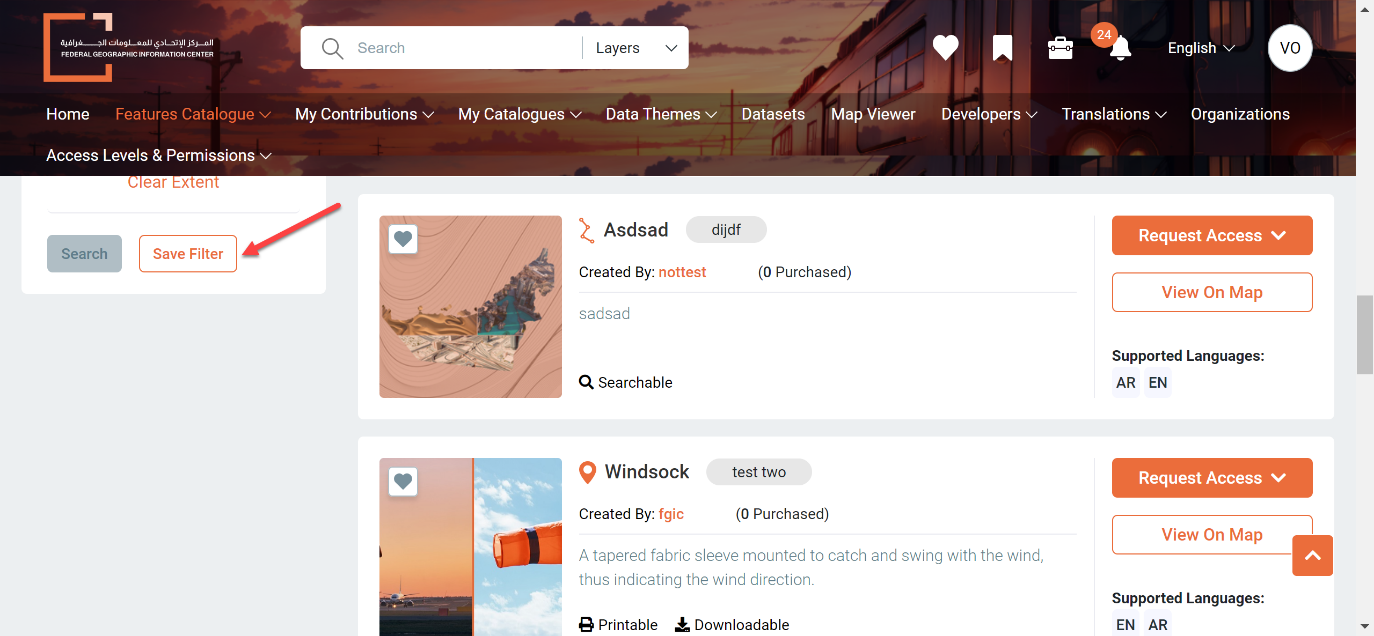
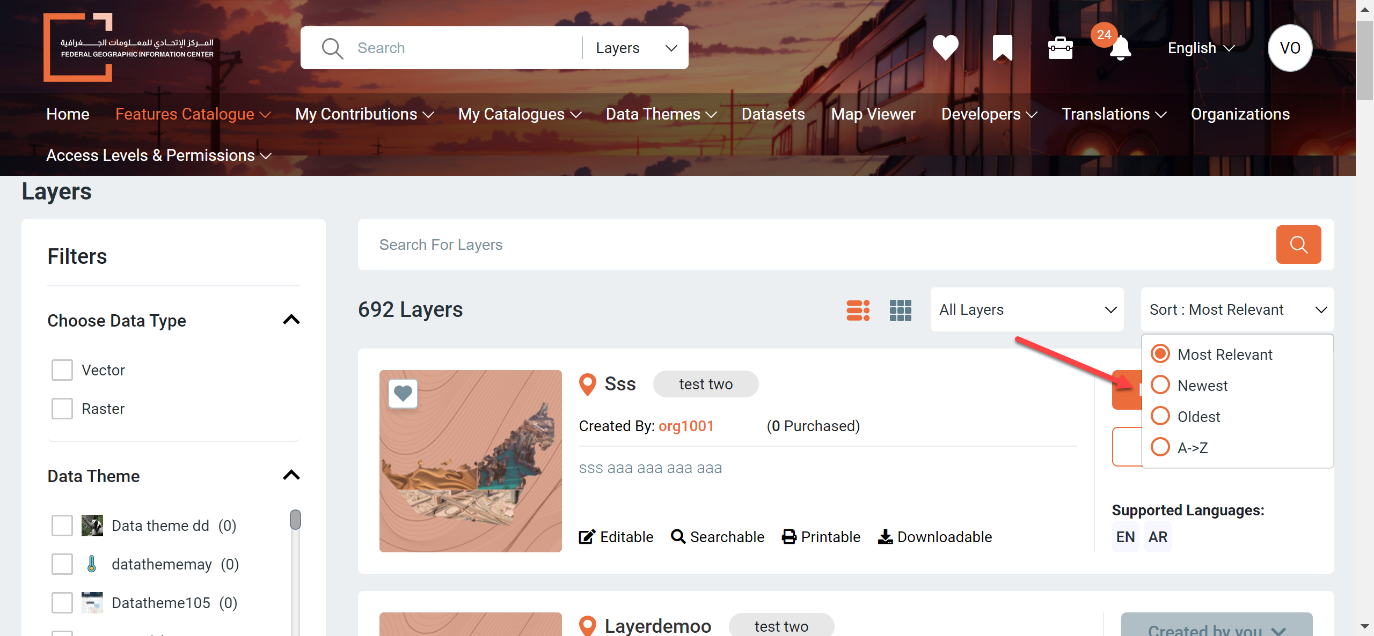
-After choosing all your filters click on Search to apply your filter/s or click on reset filter to clear all filters
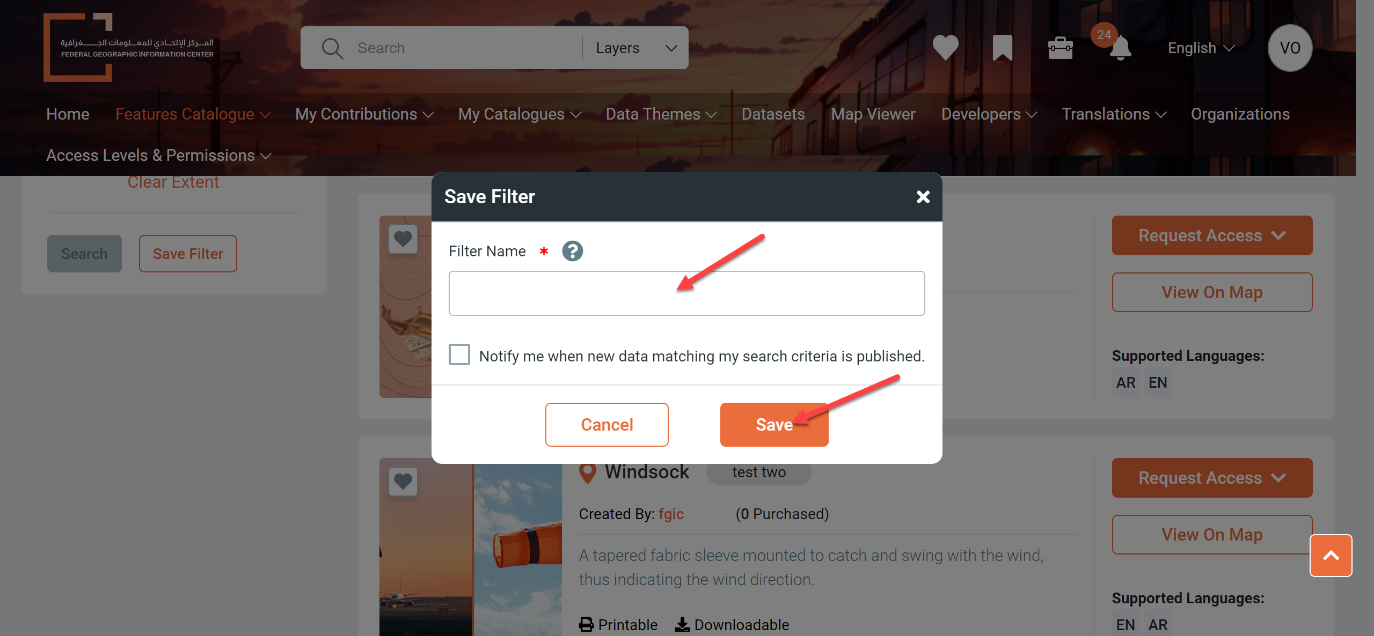
-You can save your filter/filters by clicking on save filter then enter filter name
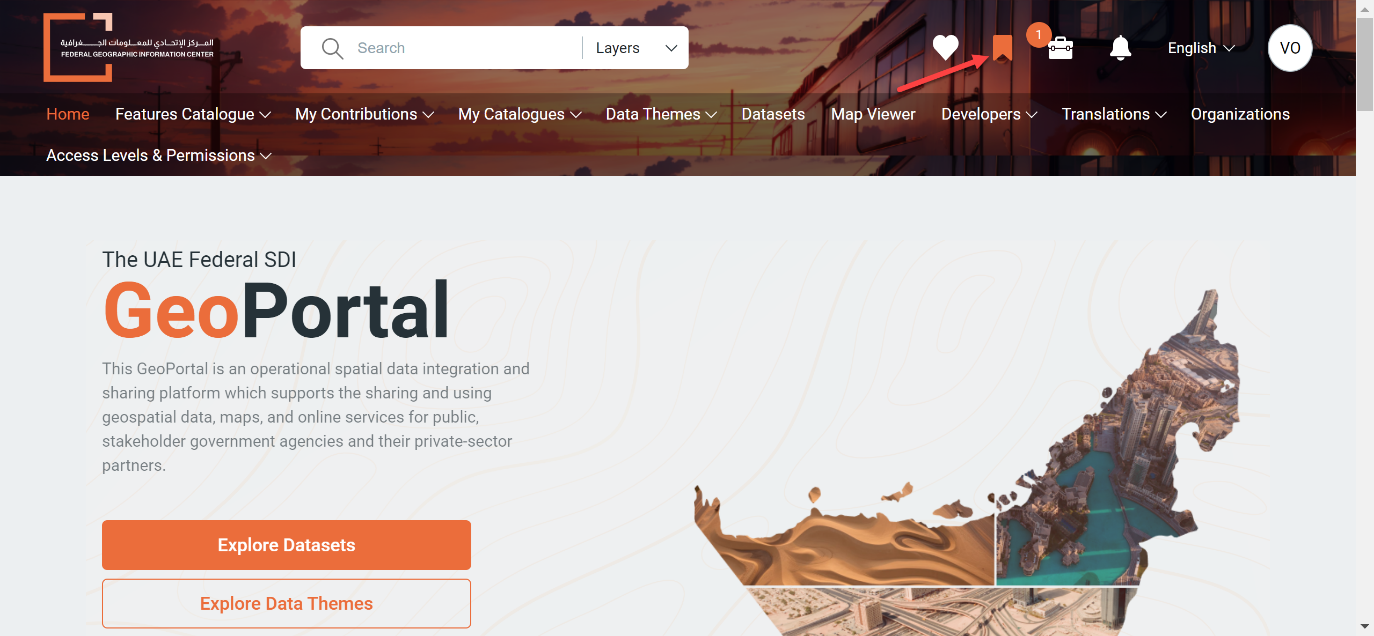
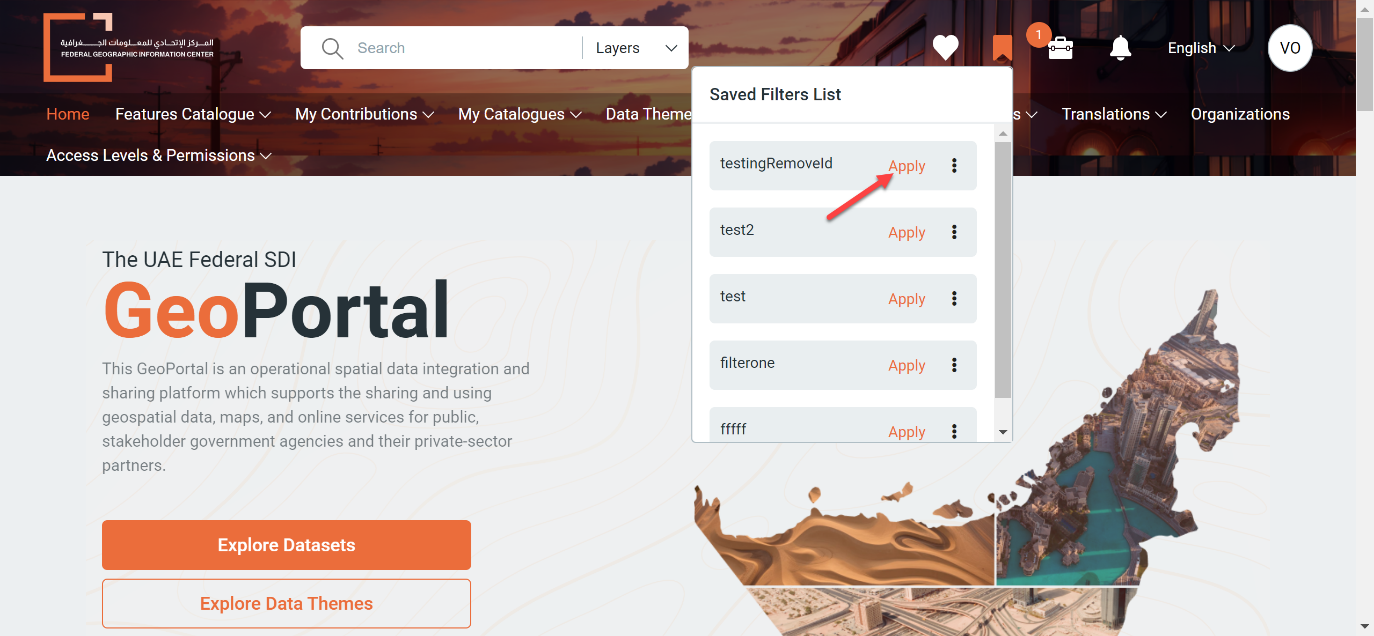
-To display and apply a saved filter, click on the saved filters list, then click apply beside the filter that you want. The list of layers will open up with the applied filter
How to download a layer
Sign-in with your registered organization admin user (check that link if you need to know How to Sign in)
Click on Features Catalogue then click on Layers
Here you will find the list of all public Layers that you can download and explore
Apply the search filters that you need to help you find the layers that you want to download (Click here to know How to search for layers How to search for layers)
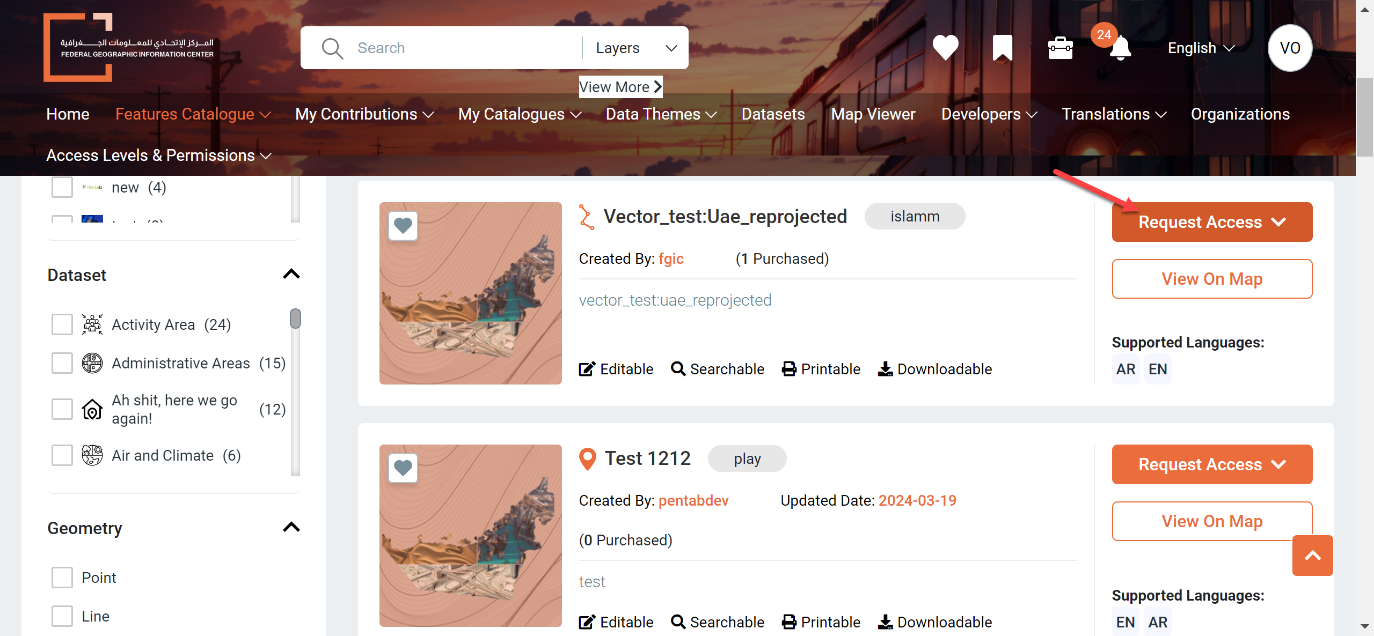
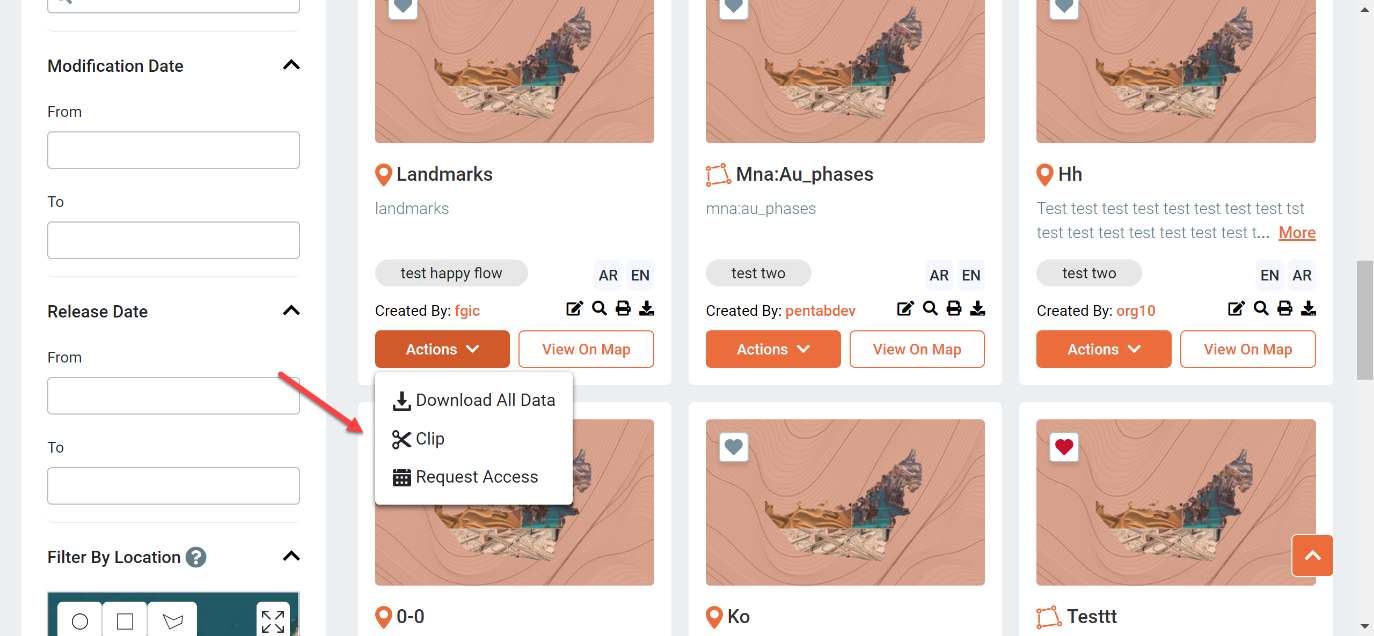
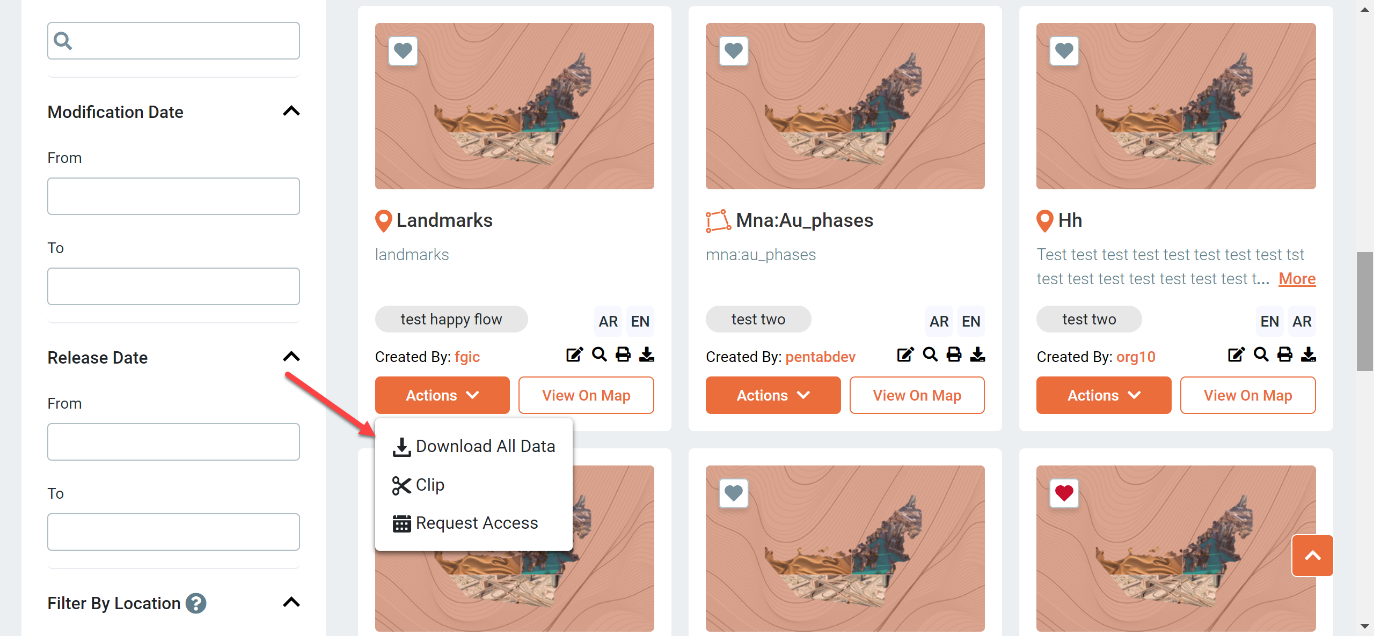
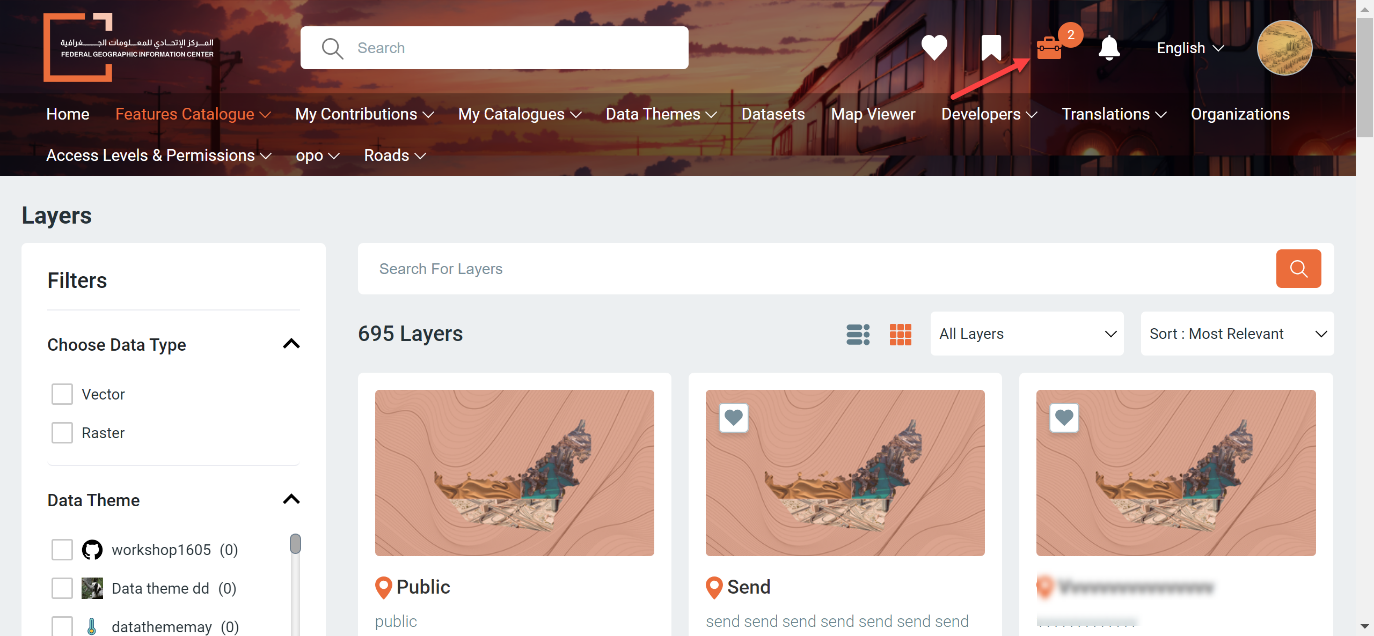
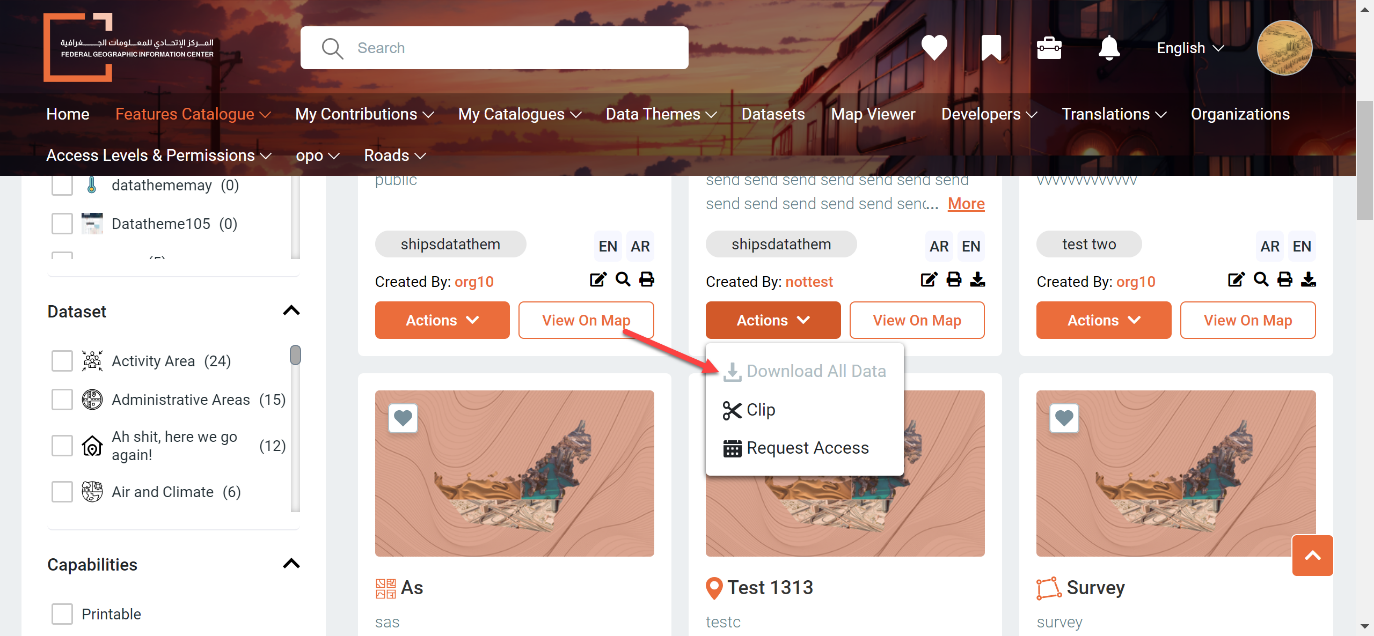
Click on Request Access beside the layer you want. Choose to download All data, Clip or request access to rent the layer
Download a layer
Click on Download all data
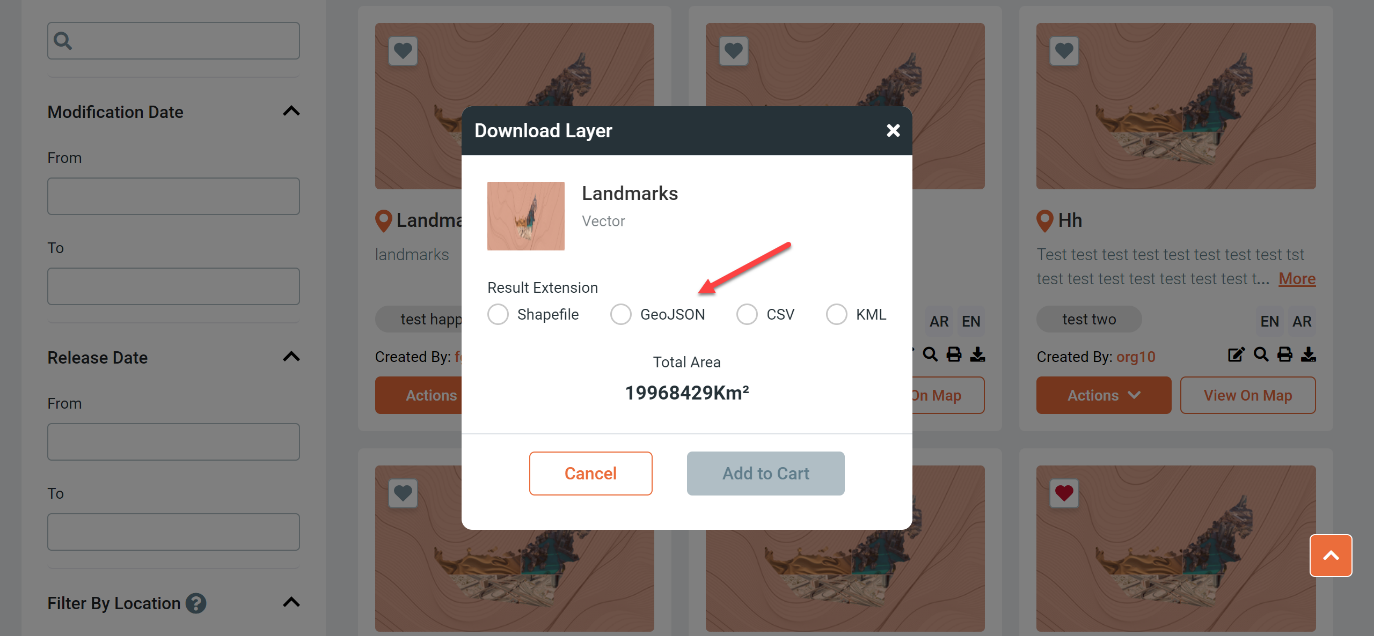
Select your download extension
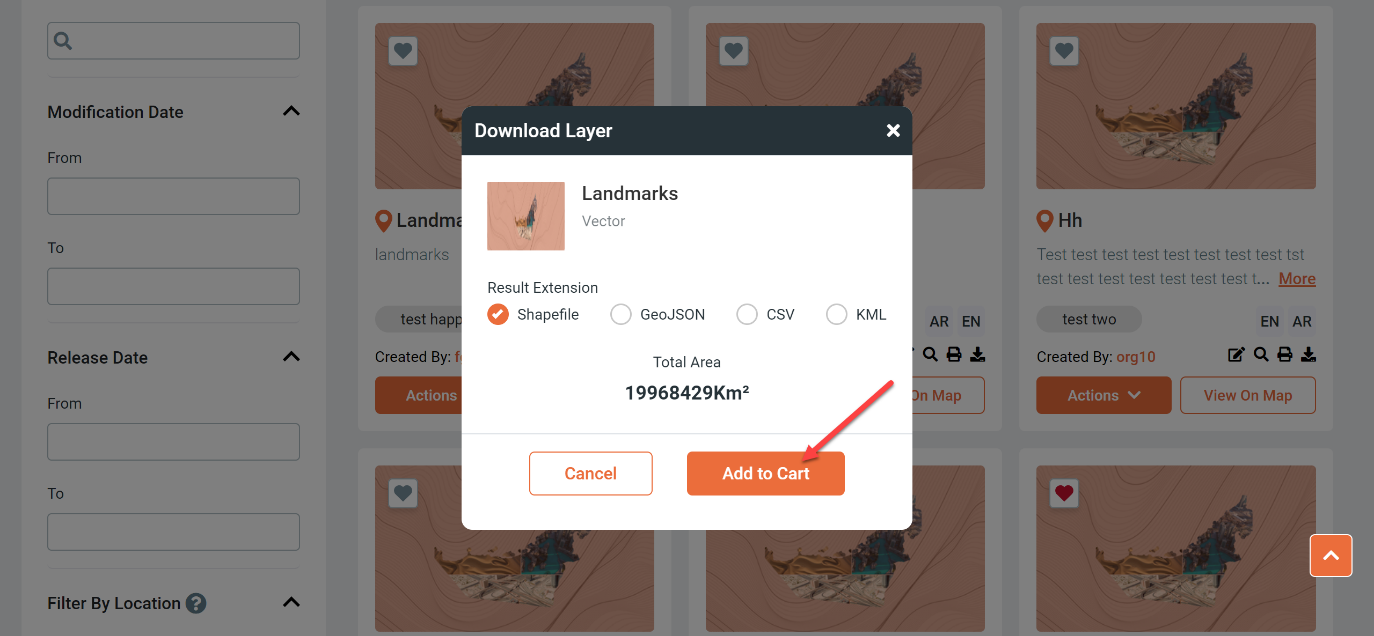
Click on Add to Cart
The layer will be moved to your cart
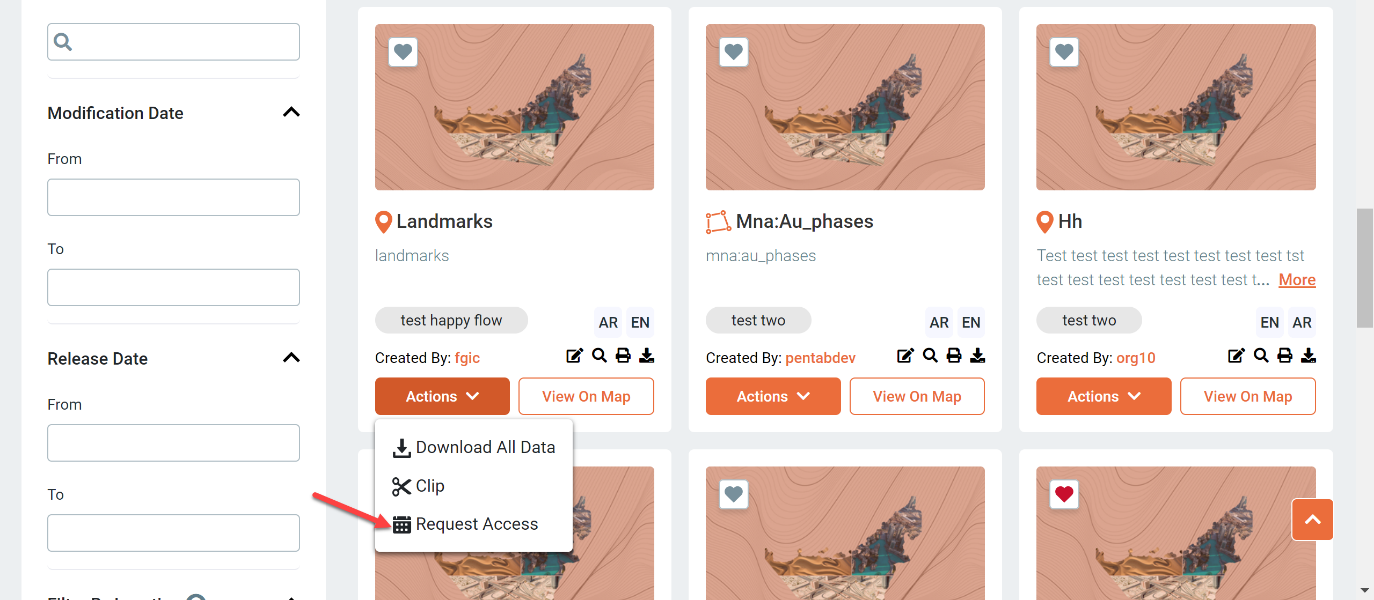
Rent a layer
Click on Request access
The layer will be moved to your cart
Layer Cart
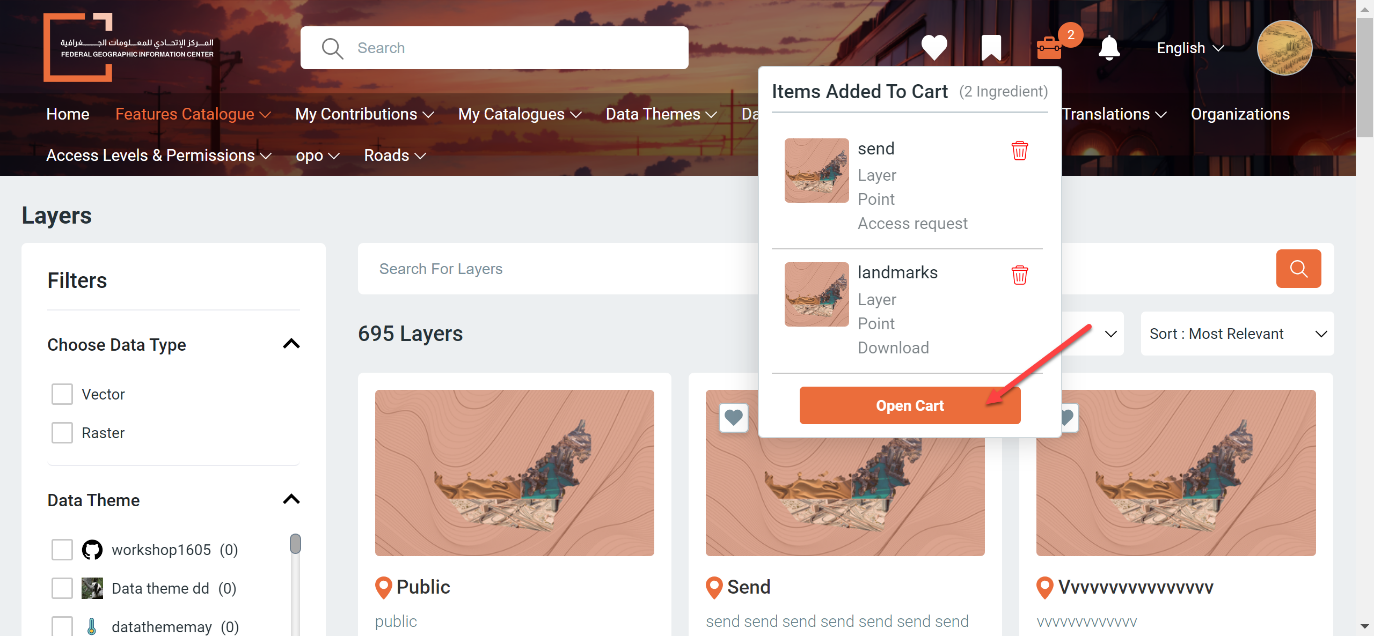
Open your cart at the top right side
You will find listed all the rented and downloaded layers
Click on Open Cart
Click on checkout to proceed with your download or rent process
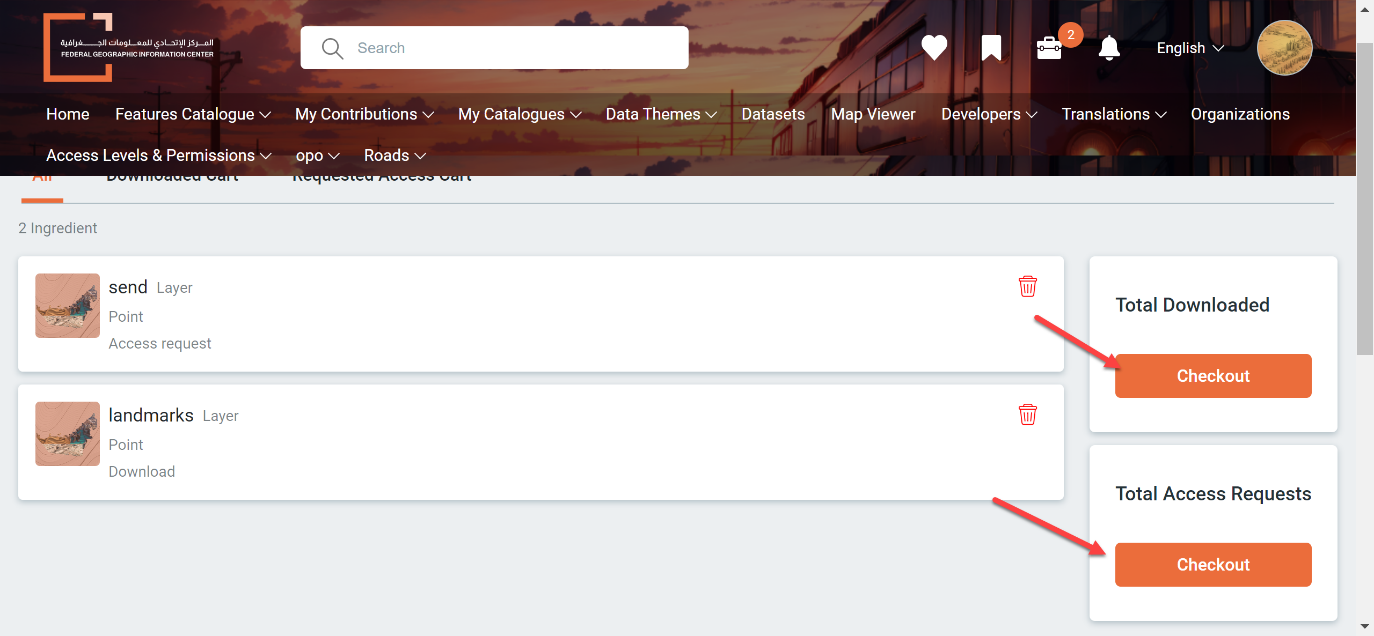
All rented layers will be added automatically into My Catalogues
My Catalogues
My Catalogues is where you will find listed all the layers you rented and contributed with
How to list my layers
Sign-in with your registered organization user (check that link if you need to know How to Sign in)
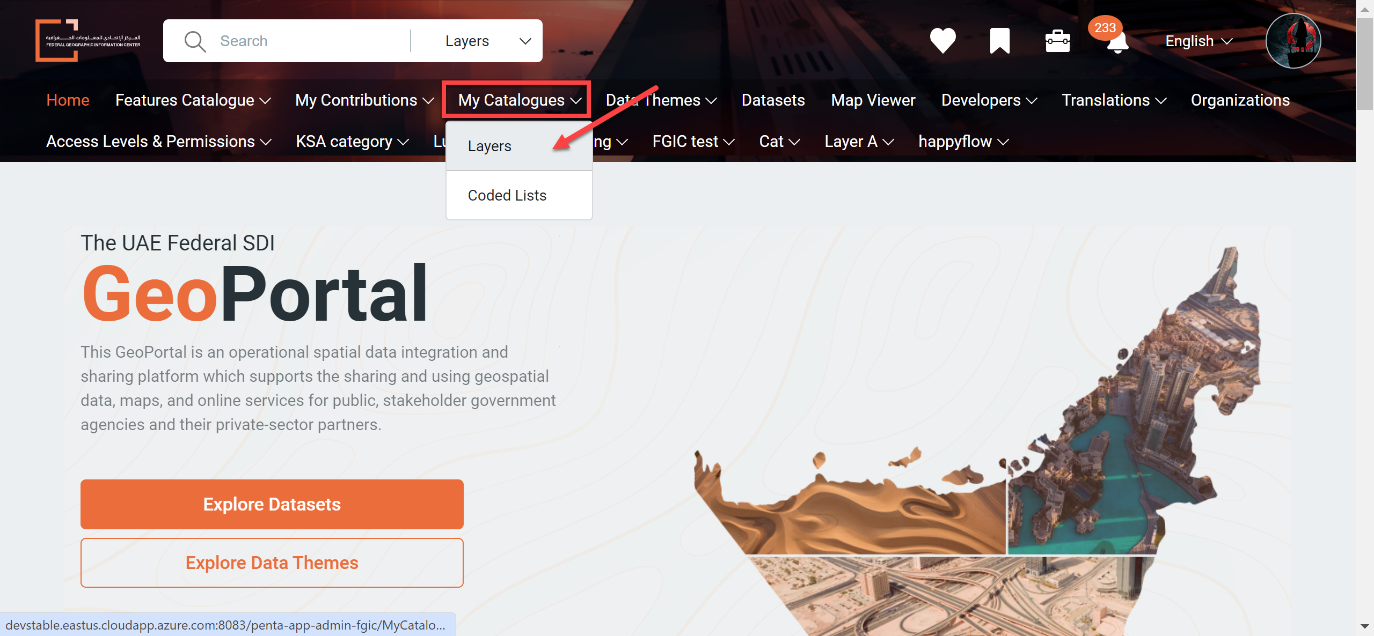
Click on My Catalogues then select Layers
Here you will find a list of all your rented and contributed layers

FGIC OGC secured links for your layers
After on-boarding a new layer you can get OGC secured links for your layers for each role that can work QGIS desktop client, ArcGIS desktop client and your customized developed mobile and web application or any other OGC compliant client.
Sign-in with your registered organization user (check that link if you need to know How to Sign in)
Click on My Catalogues then select Layers
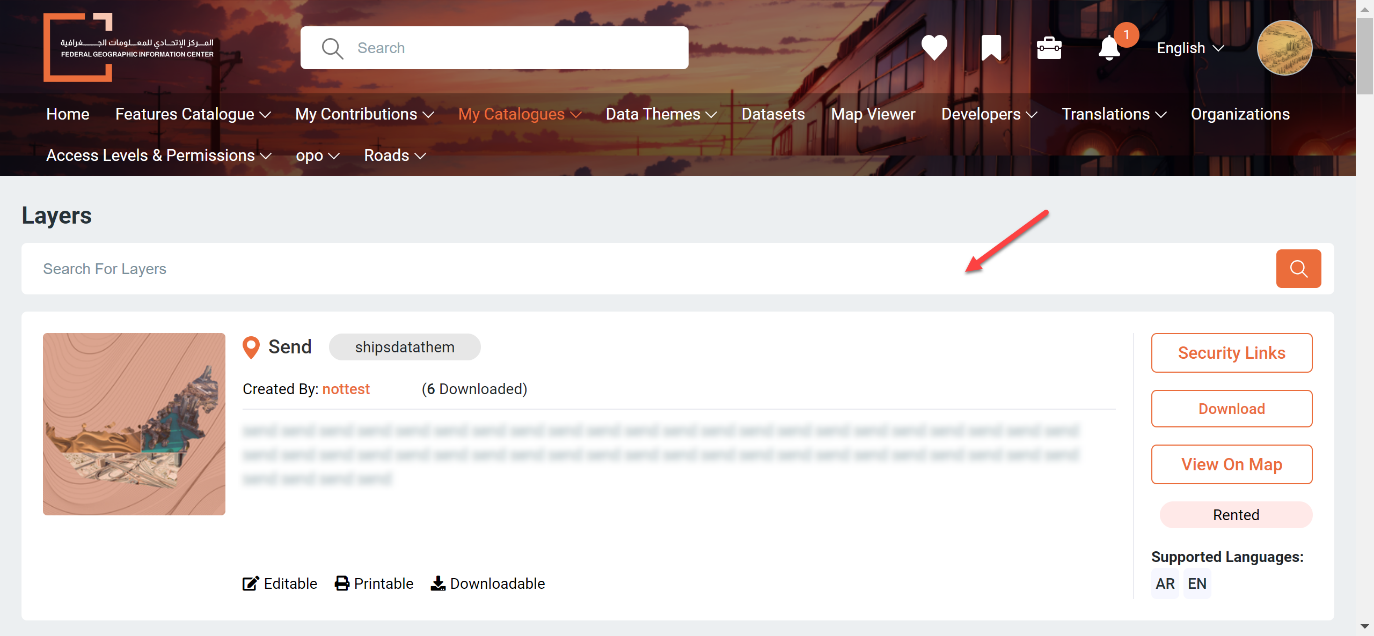
Here you will find a list of all your rented and contributed layers
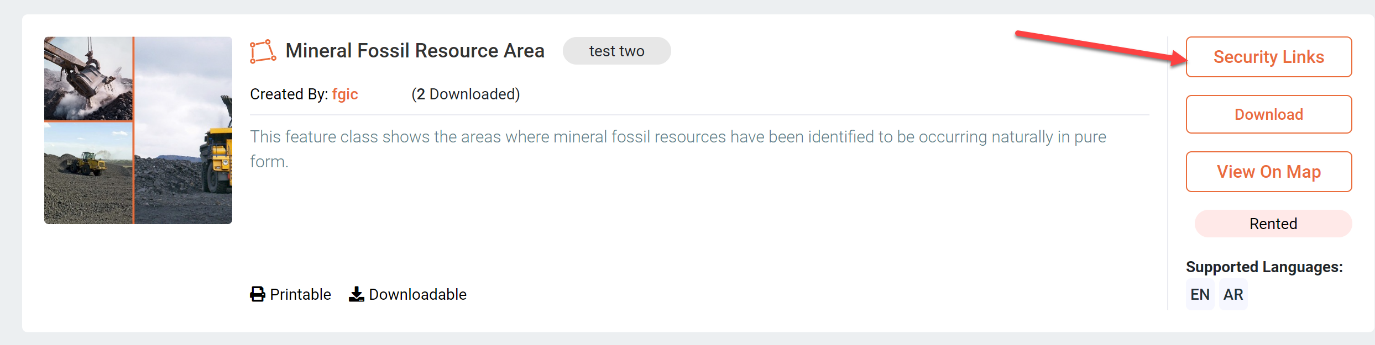
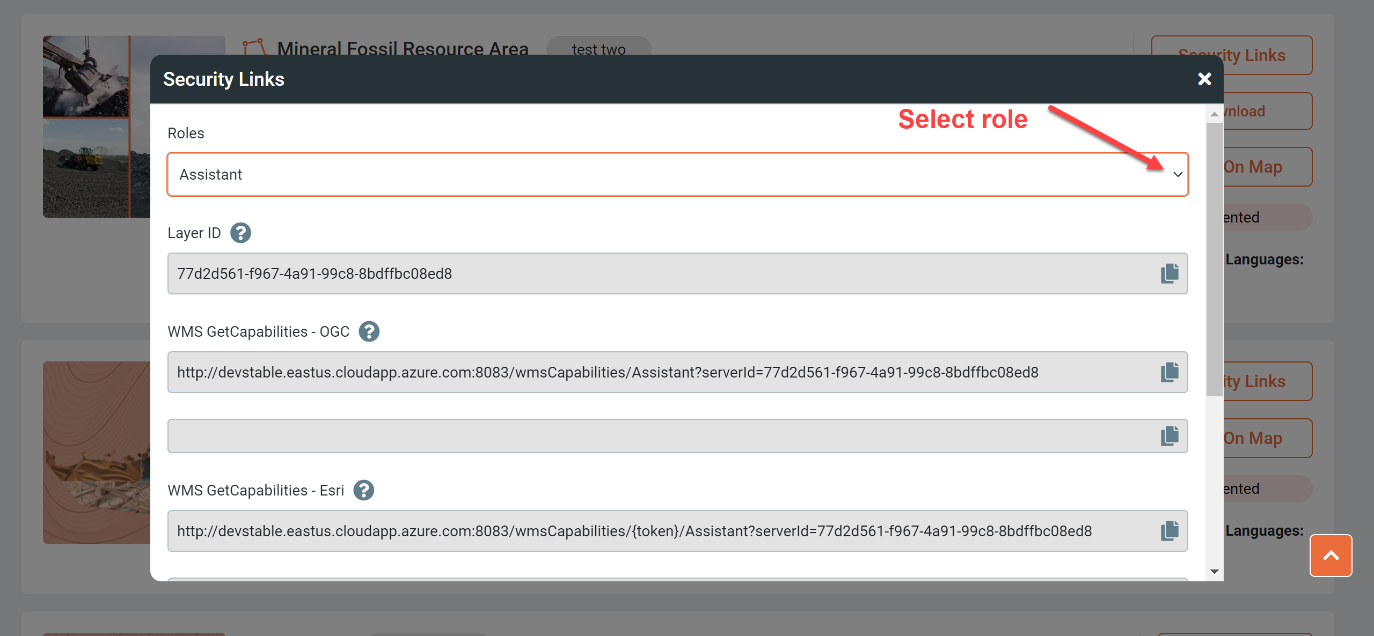
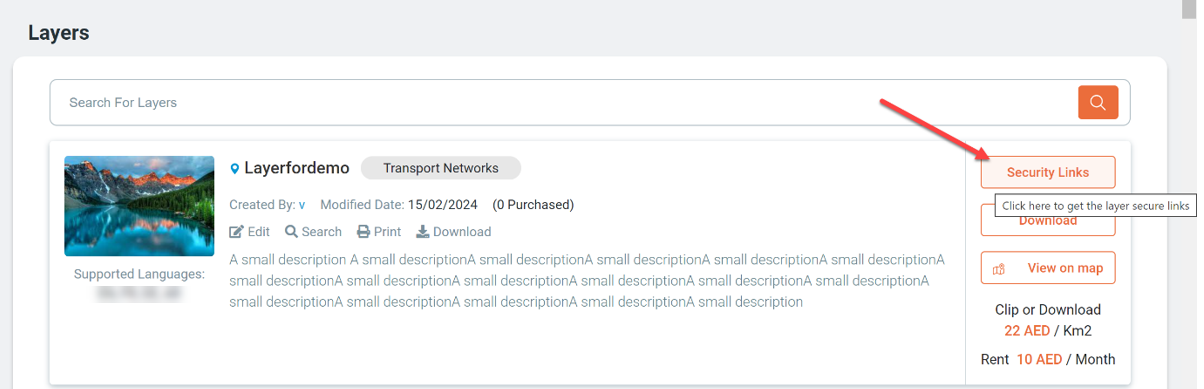
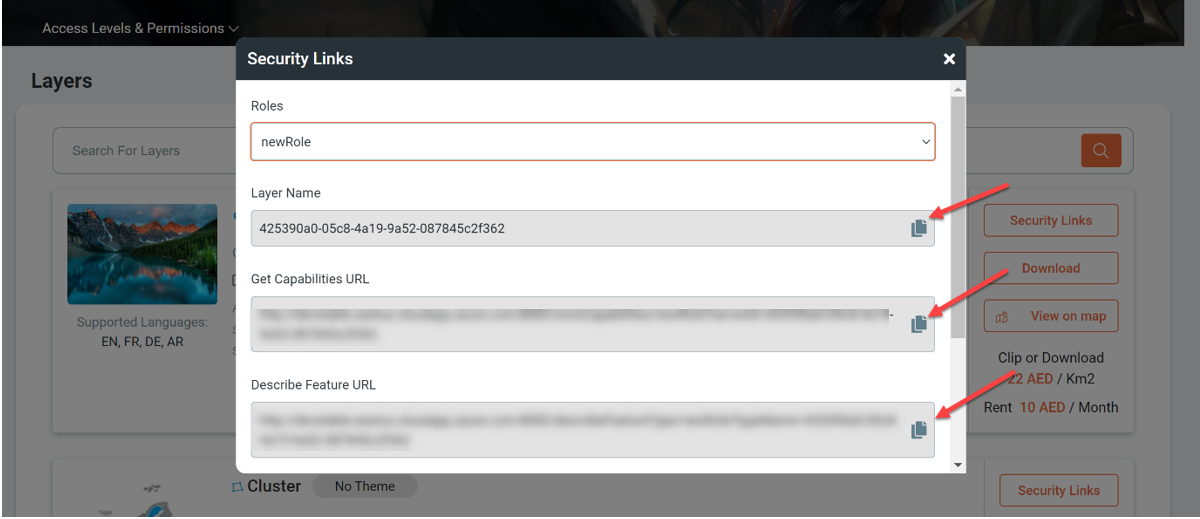
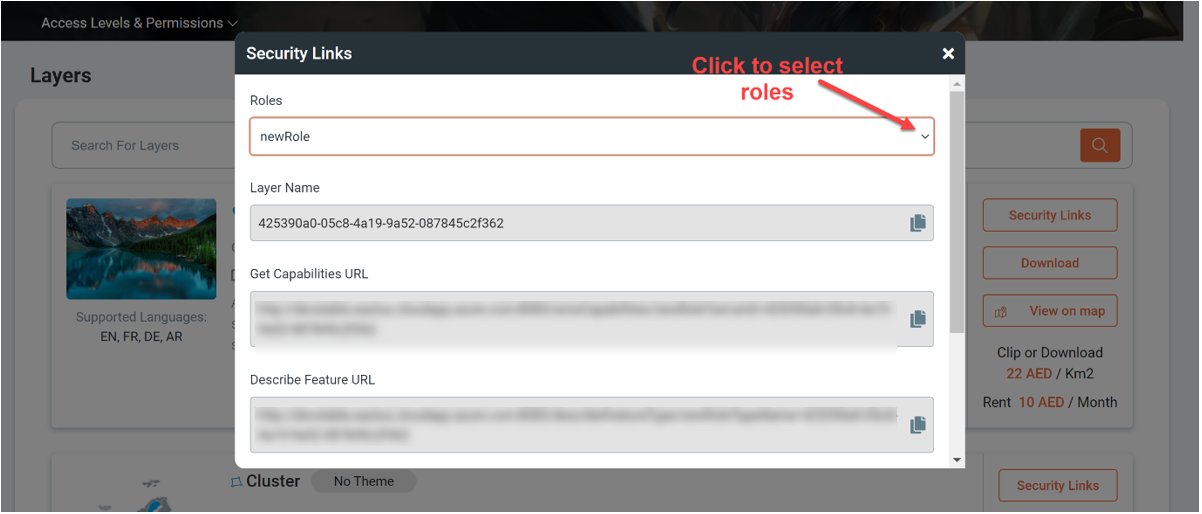
Click on Security Links associated with each layer to preview the OGC secured links for this layer
A window will pop-up with the OGC secured links for this layer that you can copy by clicking on the copy icon
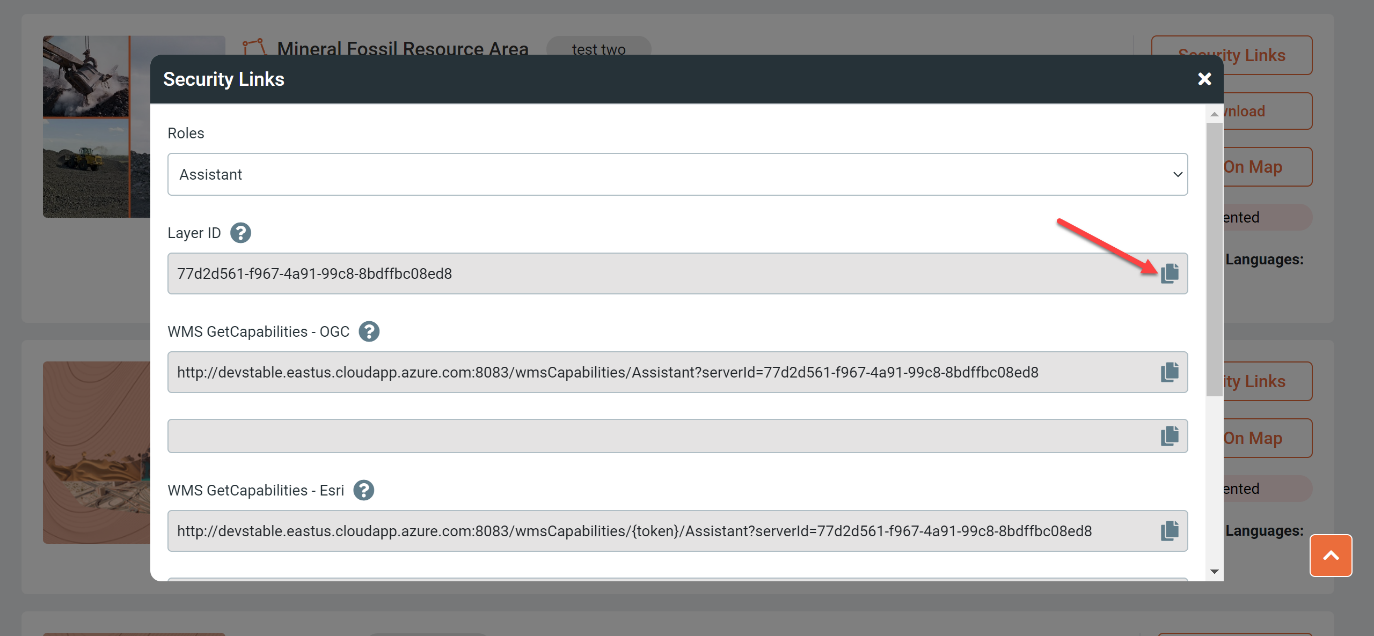
You can switch to another end-user role to get its listed OGC secured links from the Roles drop-down menu
Layer data explorer and resource center
Sign-in with your registered organization user (check that link if you need to know How to Sign in)
Click on My Catalogues then select Layers
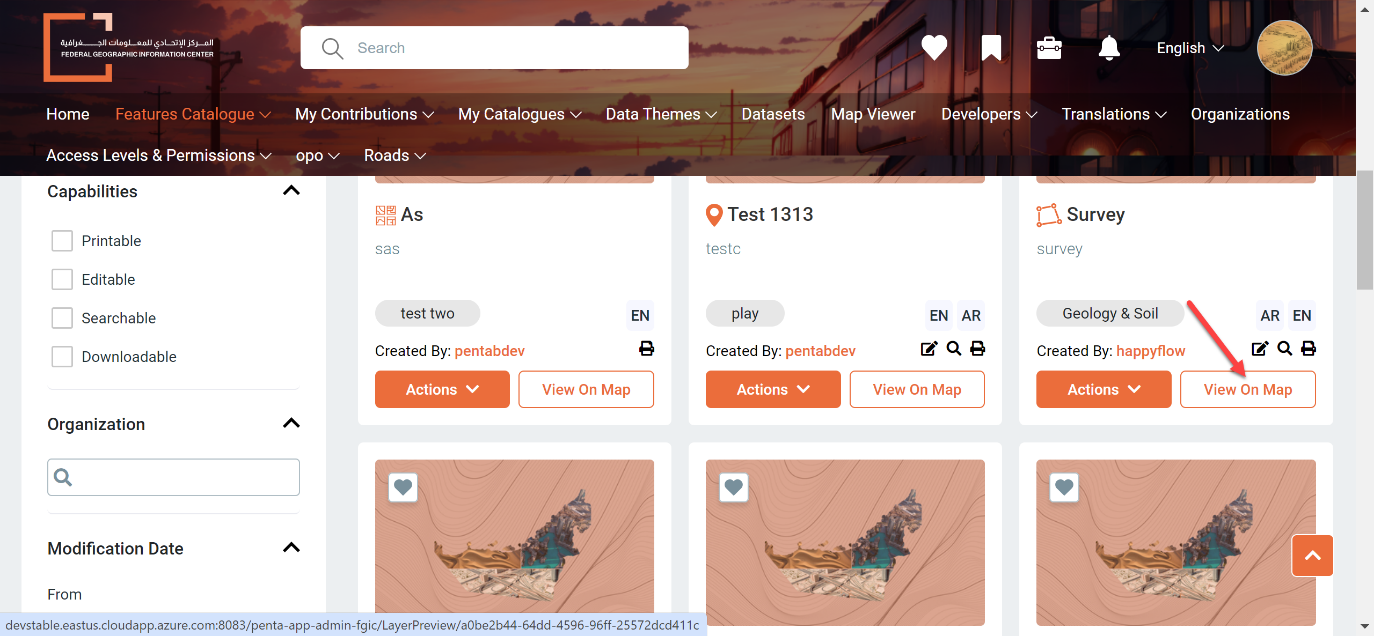
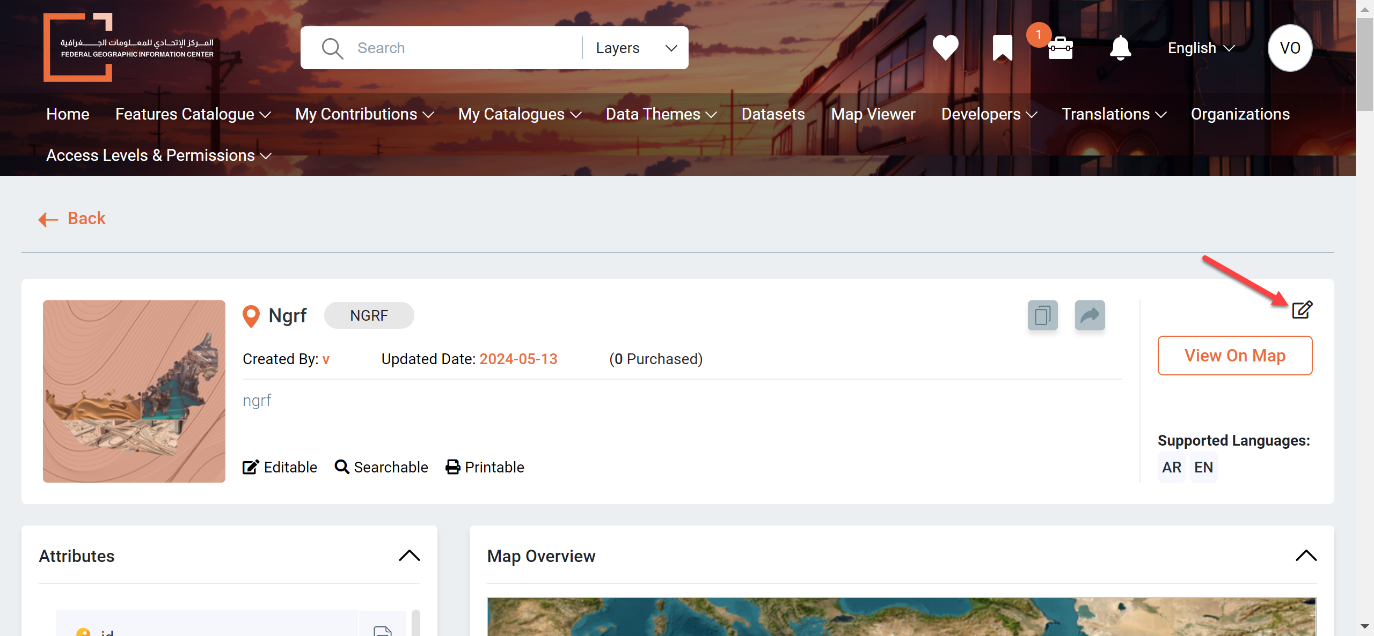
Click on the layer that you want
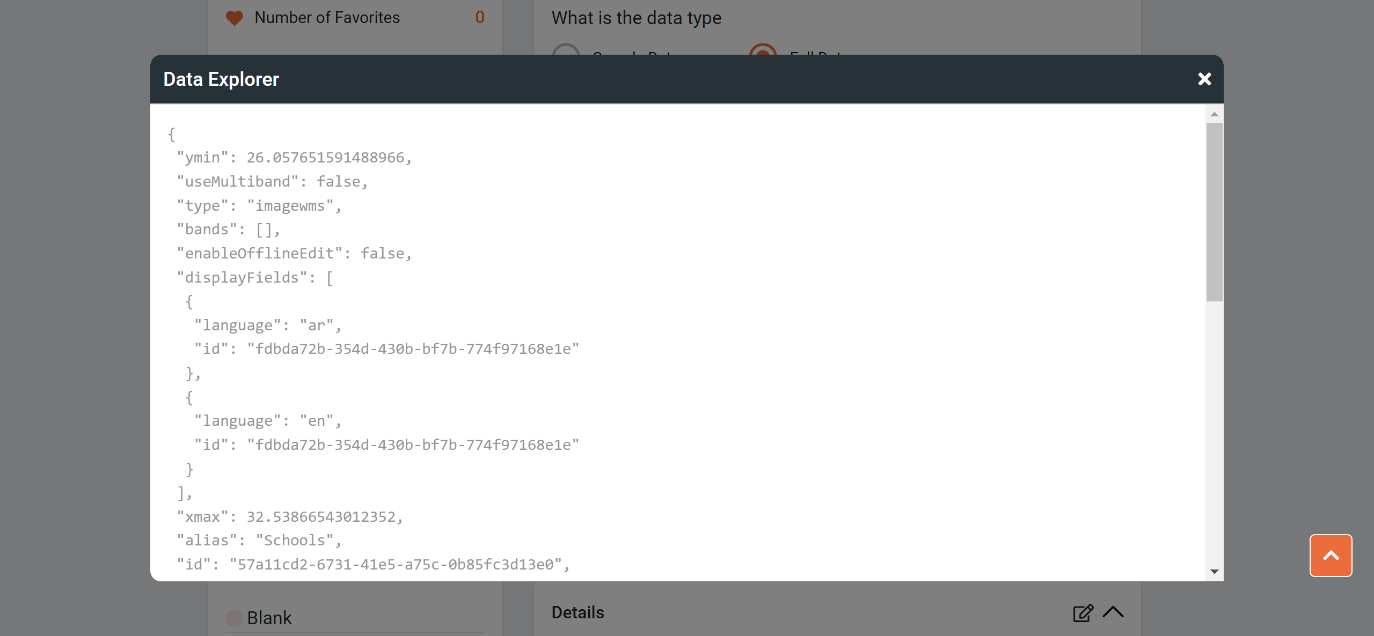
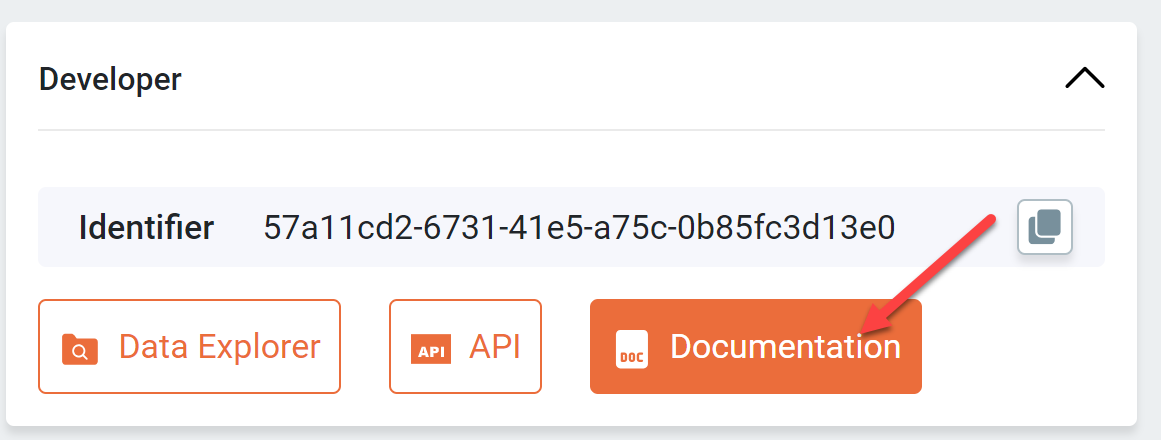
Move to the developer section, Click on Data explorer
A Json file with the information related to the selected layer will be displayed
To open FGIC Resource Center for documentation reference, Click on Documentation in the developer section

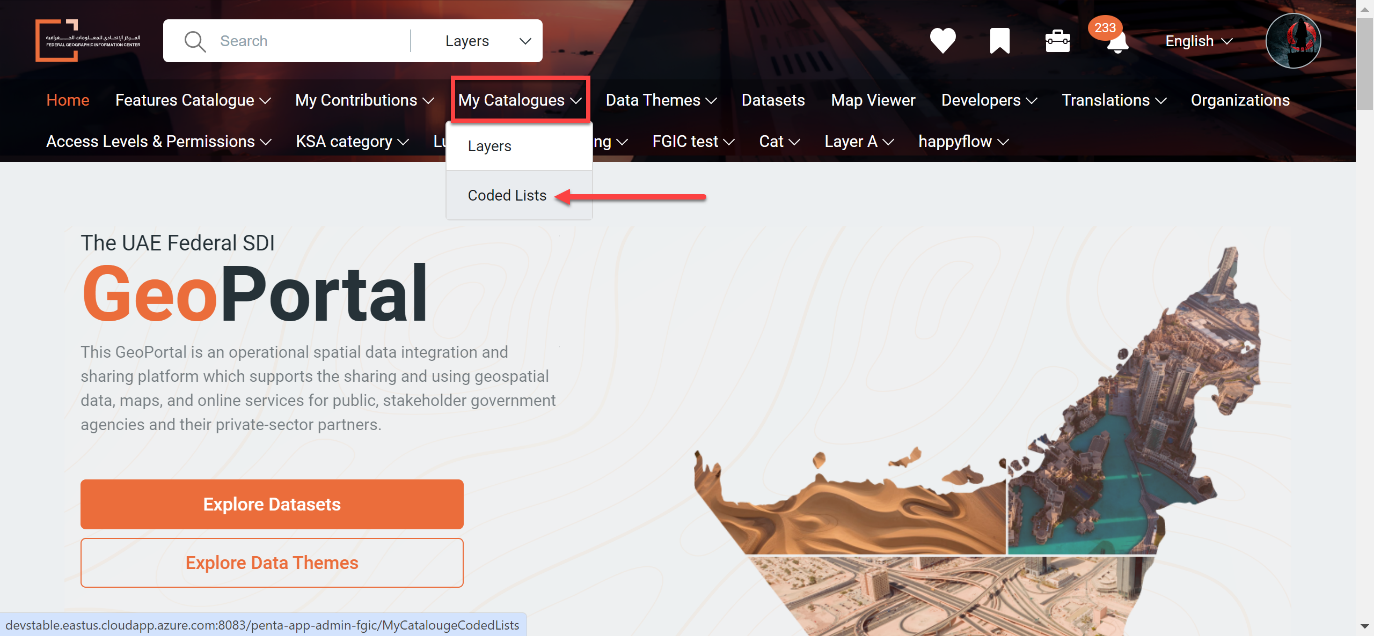
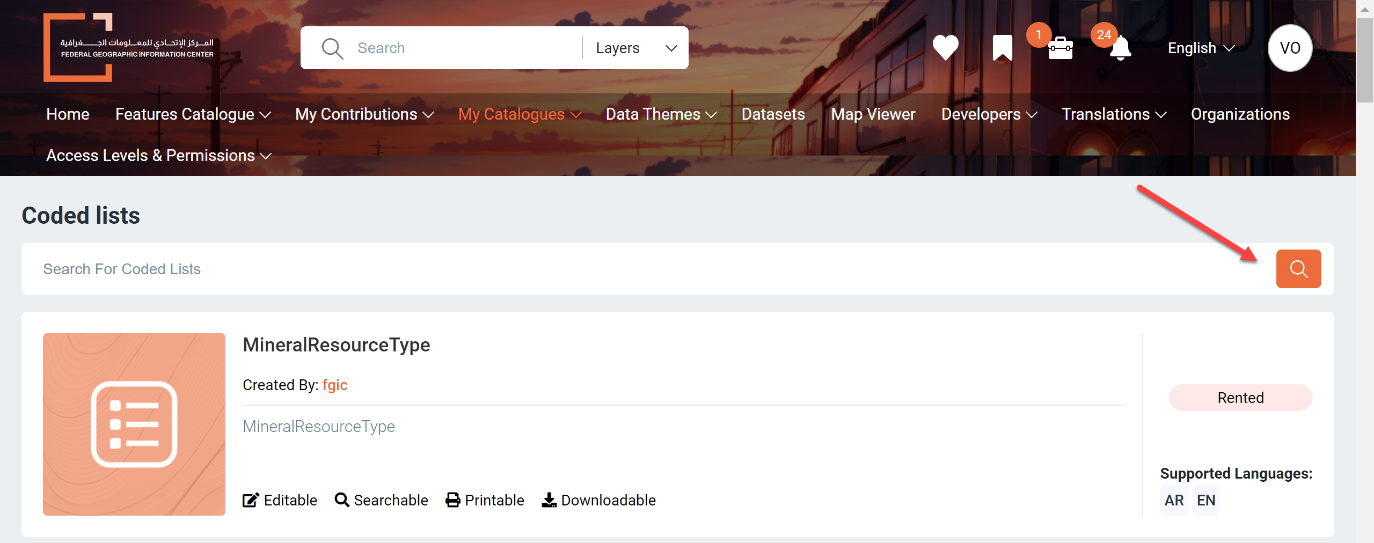
How to list my coded lists
Sign-in with your registered organization user (check that link if you need to know How to Sign in)
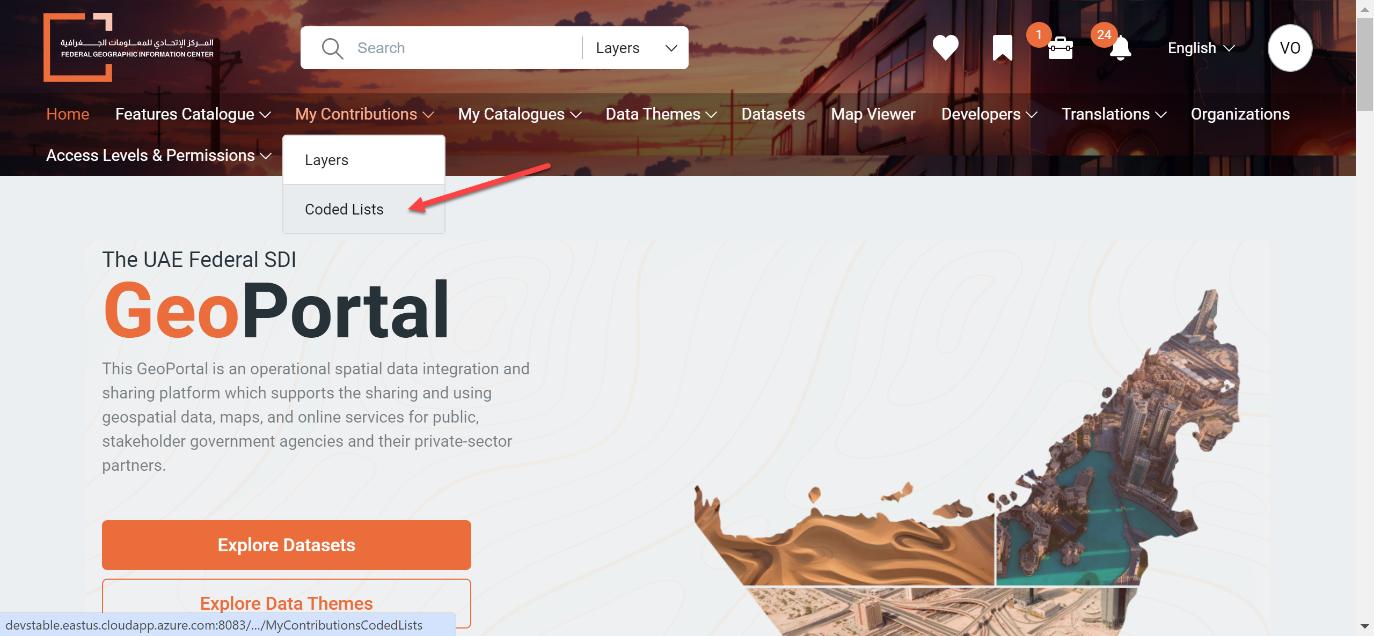
Click on My Catalogues then select Coded Lists
Here you will find listed all the coded lists you contributed with and rented
My Contributions
It is where you will find all layers you contributed with whether it’s a shared or private contribution. You can get your FGIC OGC secured link from Contribution catalogue
How to list your contributed layers
Sign-in with your registered organization contributor user (check that link if you need to know How to Sign in)
Click on My Contributions then select Layers
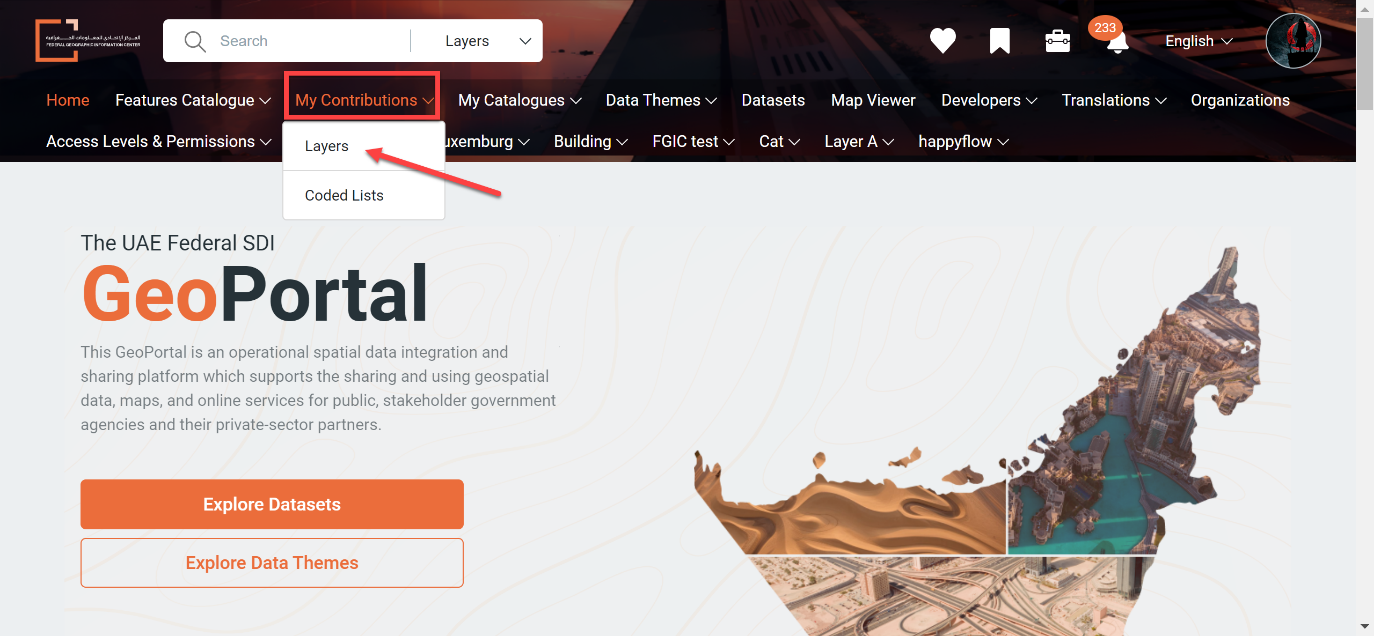
Here you will find a list of all the layers you contributed with
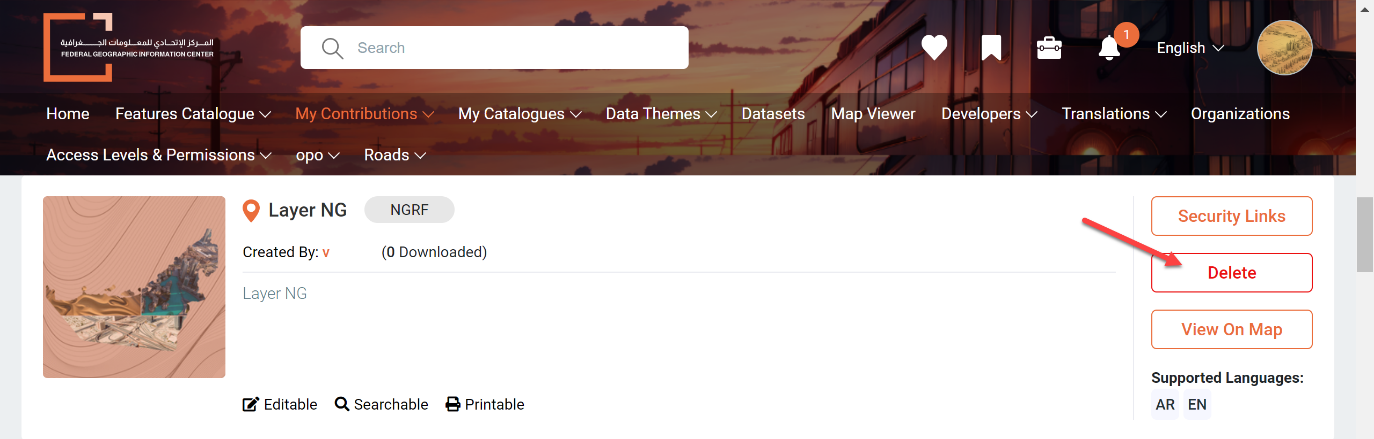

FGIC OGC secured links for your layers
After on-boarding a new layer you can get OGC secured links for your layers for each role that can work QGIS desktop client, ArcGIS desktop client and your customized developed mobile and web application or any other OGC compliant client.
Sign-in with your registered organization Contributor user (check that link if you need to know How to Sign in)
Click on My Contributions then select Layers
Here you will find a list of all the layers you contributed with
Click on Security Links associated with each layer to preview the OGC secured links for this layer
A window will pop-up with the OGC secured links for this layer that you can copy by clicking on the copy icon
You can switch to another end-user role to get its listed OGC secured links from the Roles drop-down menu
How to list your contributed coded lists
Sign-in with your registered organization contributor user (check that link if you need to know How to Sign in)
Click on My Contributions then select Coded lists
Here you will find a list of all the coded lists you contributed with
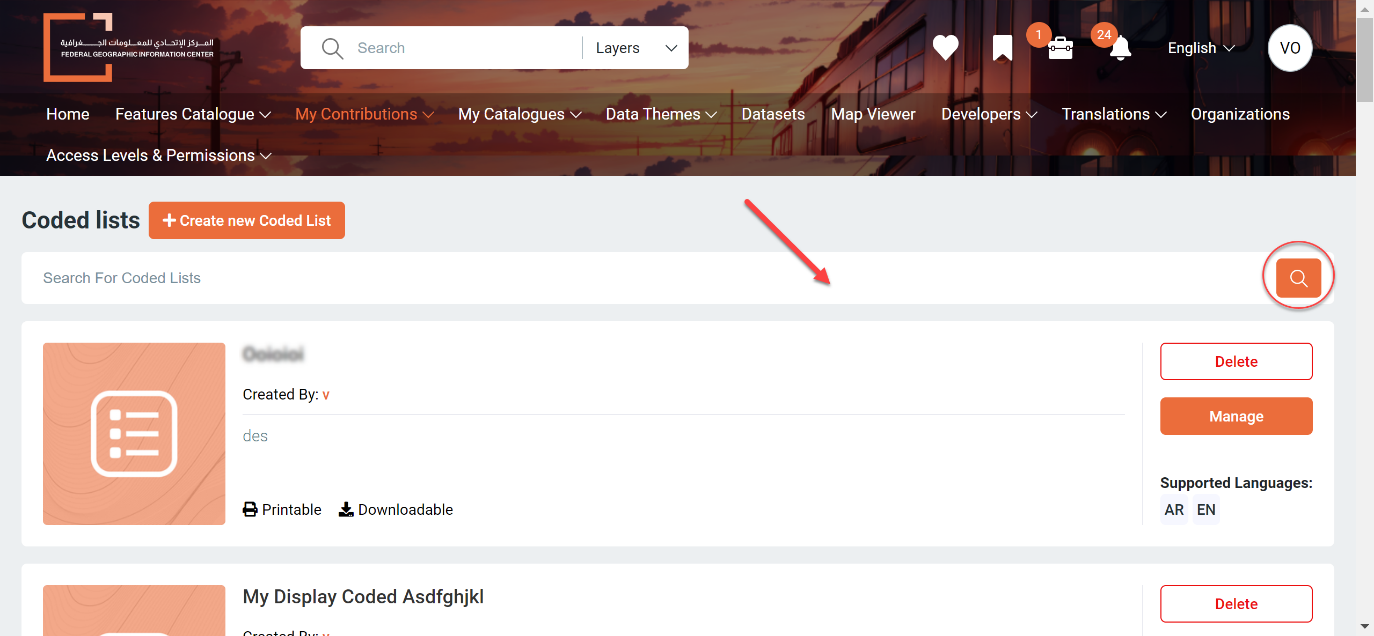
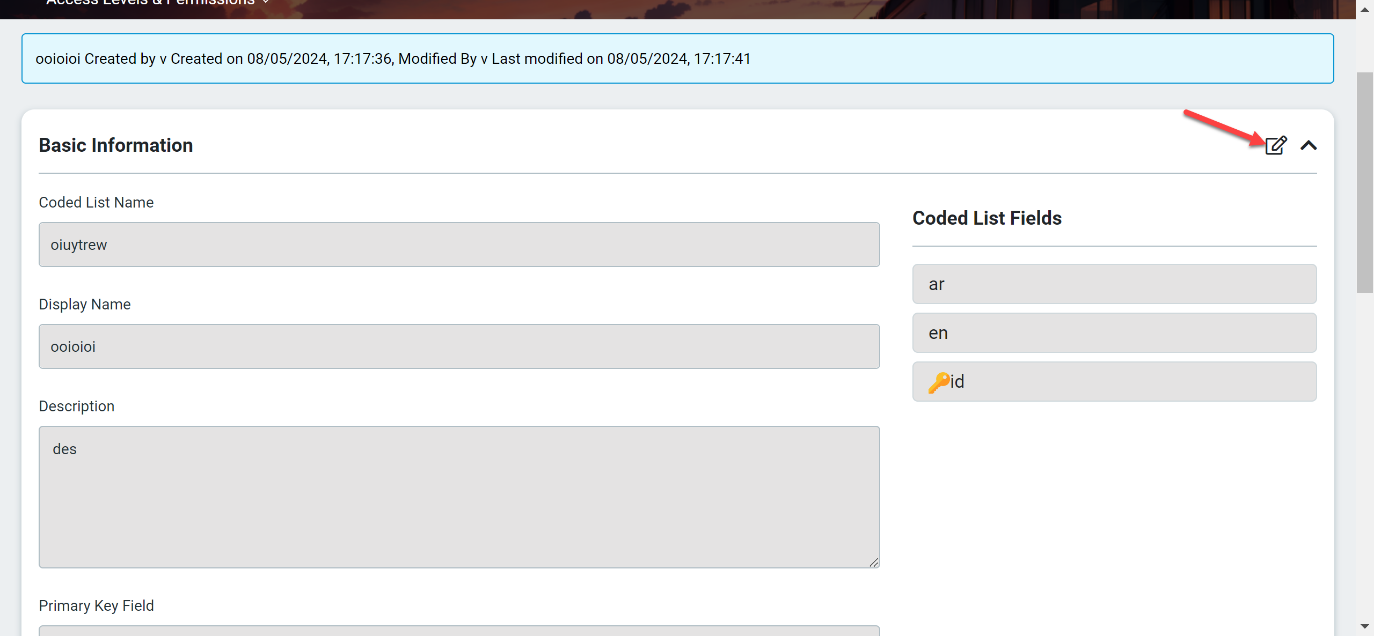
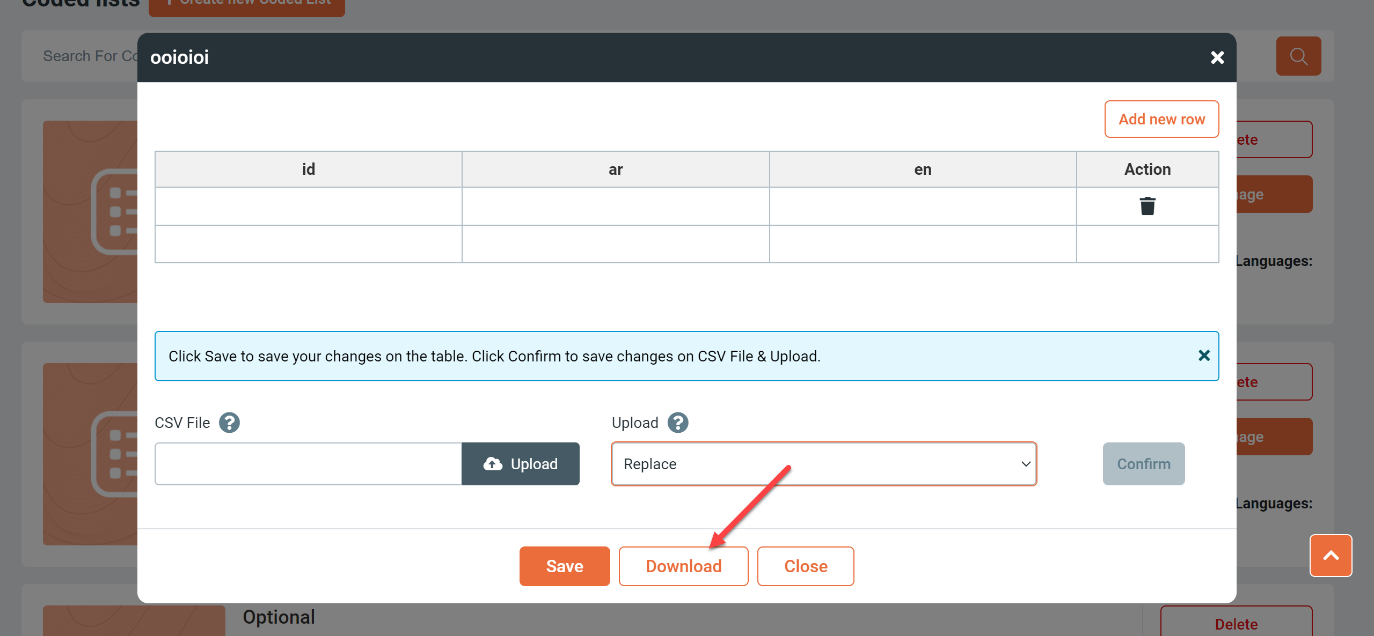
How to manage coded lists
You can manage your coded list by performing the following functions:
Add new rows to your coded list
Upload a coded list (CSV file) to replace the existing or to append on the existing coded list
or you can use the smart upload to compare the two documents and update the coded list with the new data
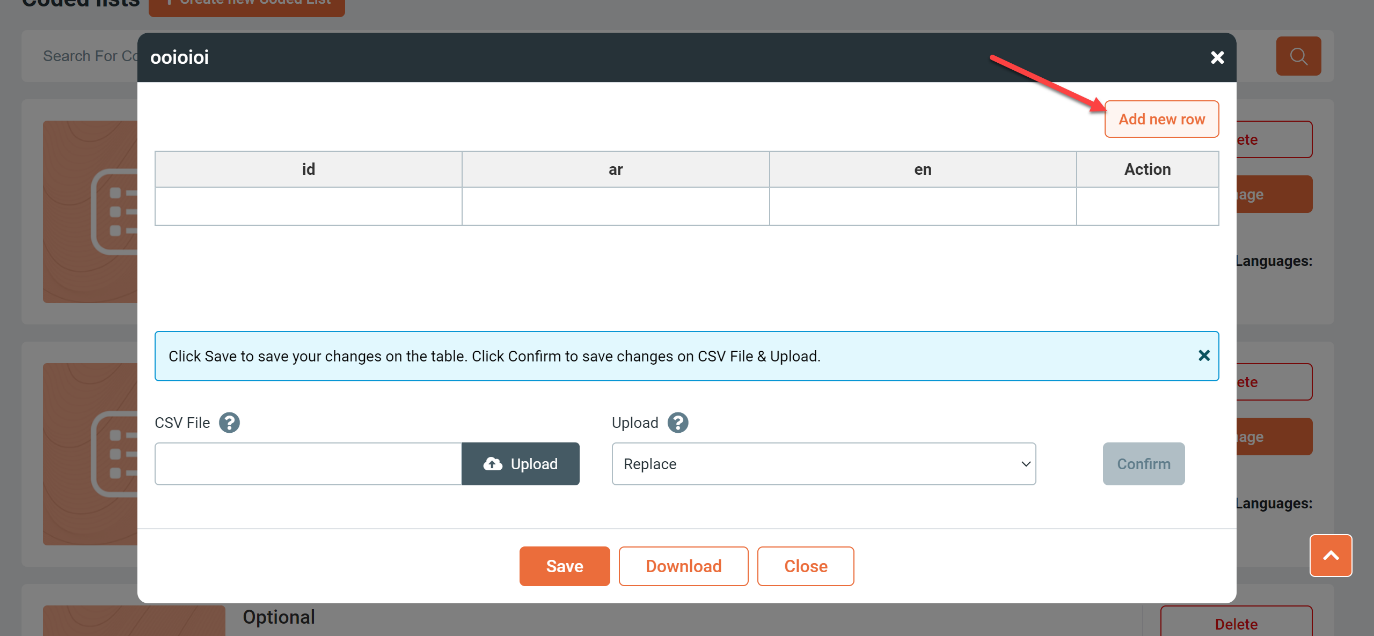
Add new rows
Click on manage right beside the coded list that you want
Click on add new row
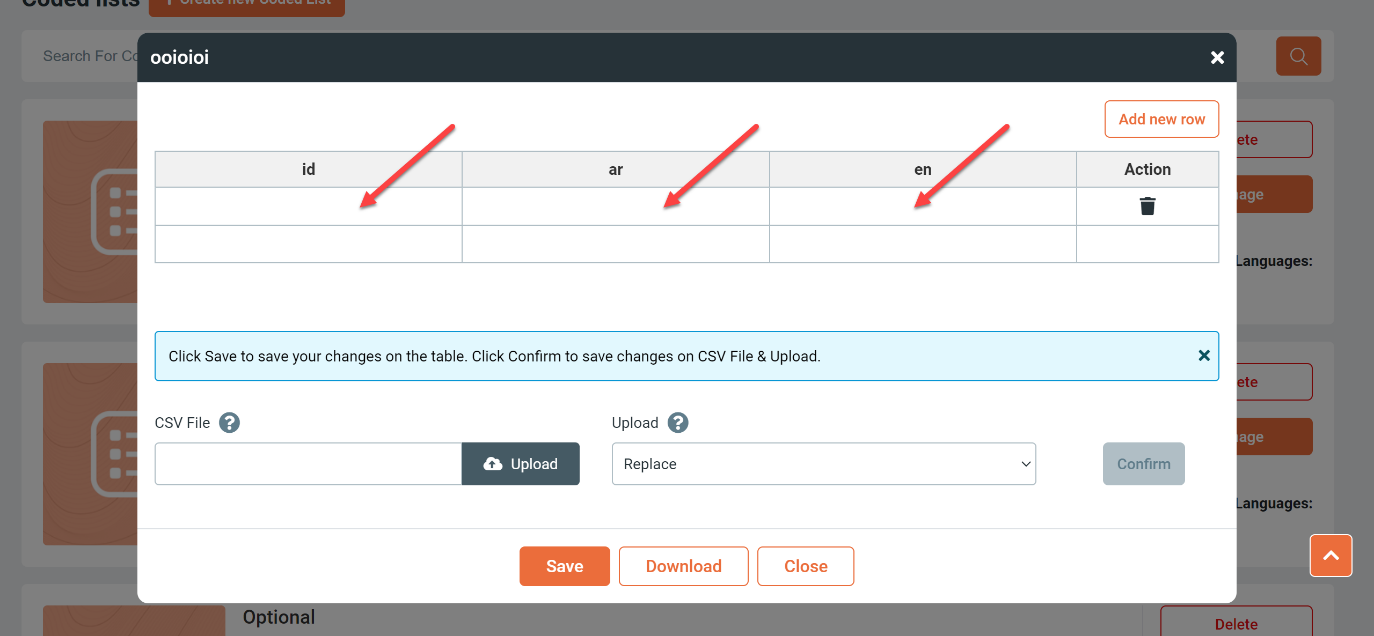
Enter the new row for each field
You can click the delete icon to delete the row
Save changes

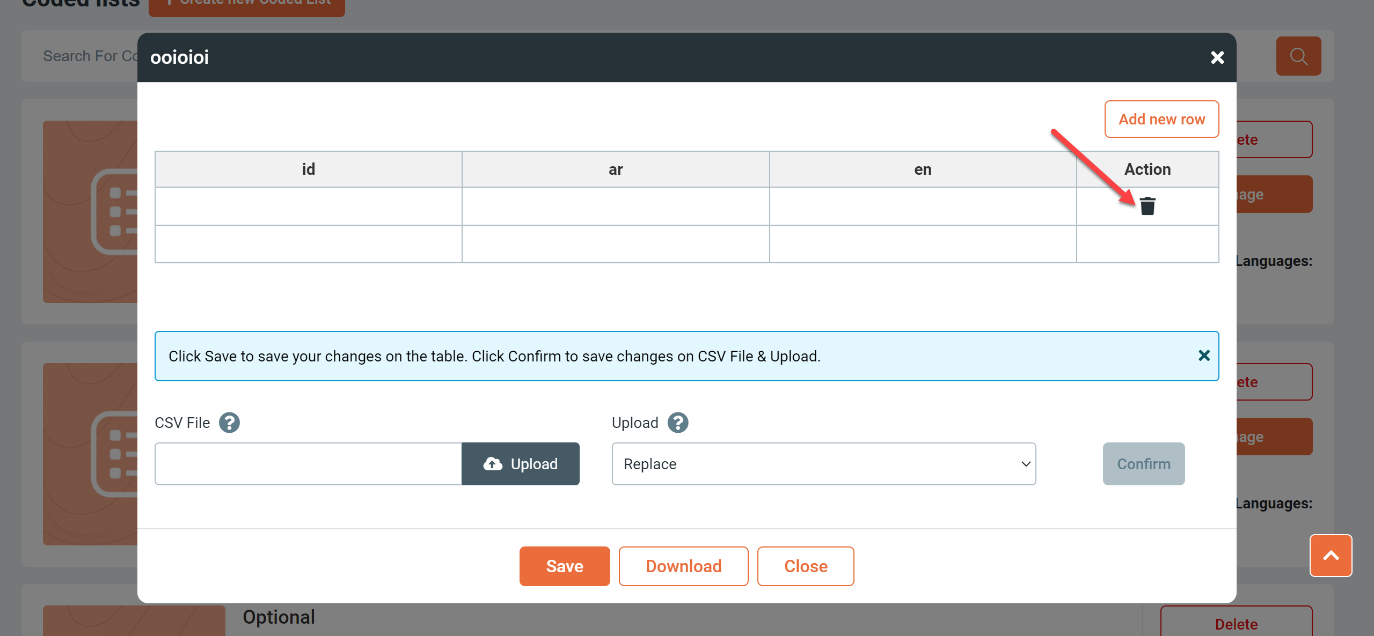
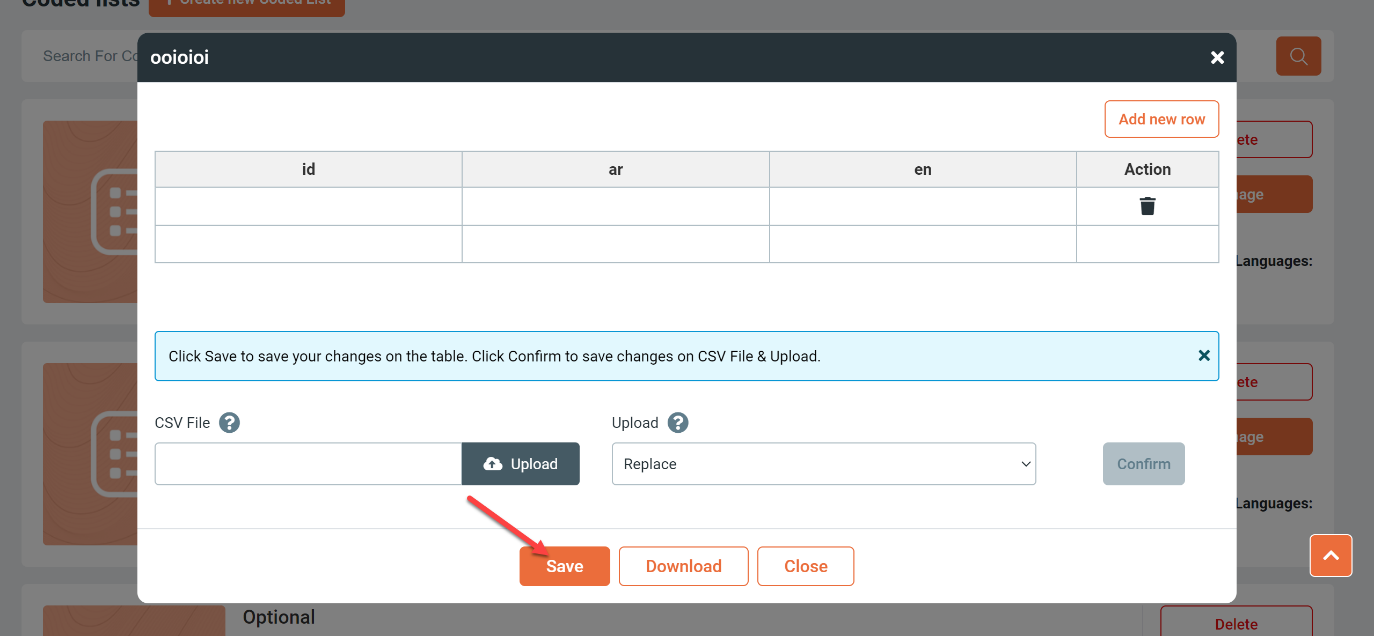
Upload new coded list
Click on manage right beside the coded list that you want
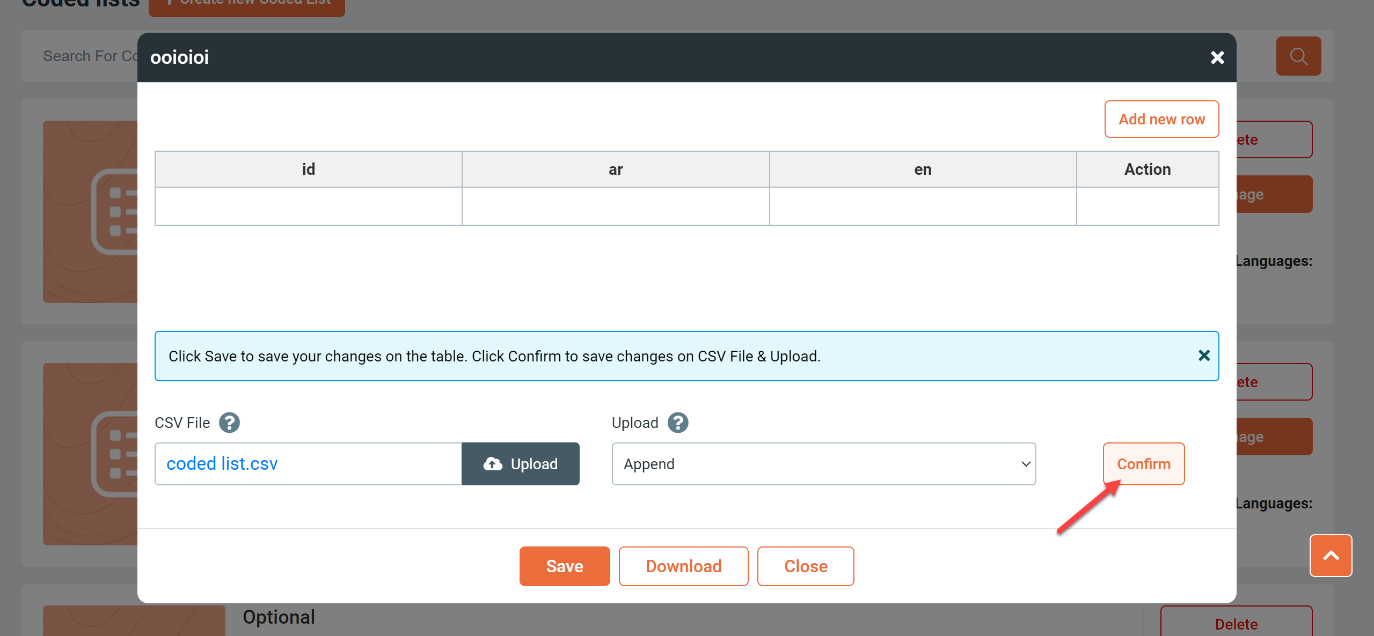
Click on upload
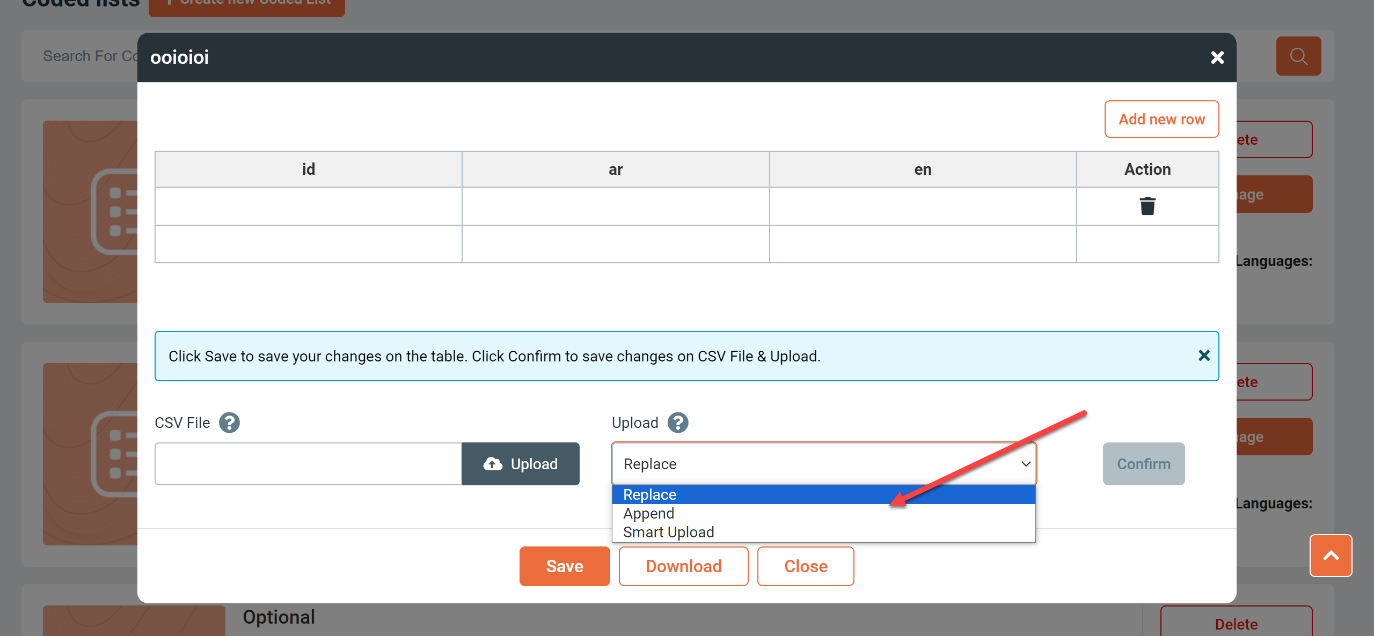
Choose the upload method: Replace, append or smart upload
Click confirm
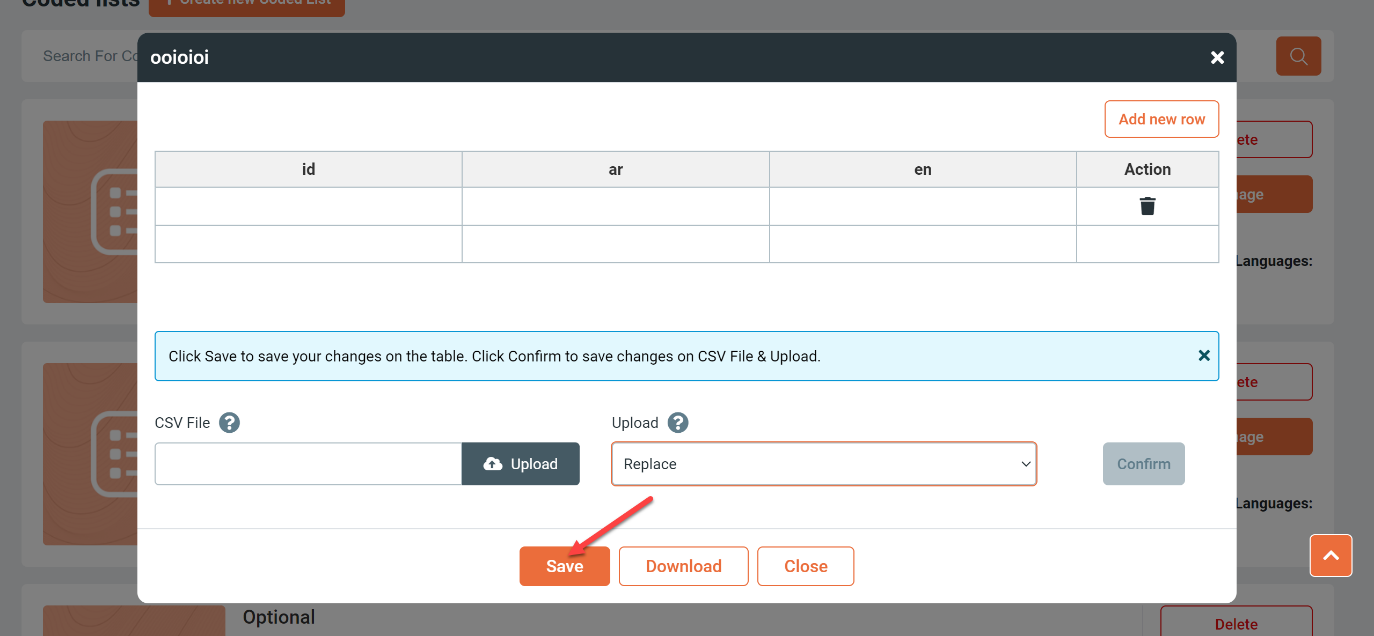
Save your changes

You can download your coded list by clicking on download
Related Articles
My Catalogue
My Catalogue is where you will find listed all the plugins, layouts, layers and coded lists that you purchased or contributed withApplication Catalogue
Here is where a developer only can see his on boarded applications for testing it. This application catalogue is not available for organizations 1. Sign-in with your subscribed developer user account (check that link if you need to know. 3. Click on ...What is the difference between Public Catalogue, My Catalogue and Contribution Catalogue?
Public Catalogue: It’s where you can find and explore all the layers shared with everyone in the MnA guardian edition. The Public catalogue also includes the layers only shared to you. My Catalogue: It’s where you can find all purchased layers from ...MNA enterprise new features!?
Data Collaboration & Cataloguing Access Levels and Permissions Content Contributions & Management Notification Center Diagnosis Development Resource Center Mobile Hub Web Hub DashboardGeneral
FGIC Catalogues FGIC is divided into three catalogues: 1- Features Catalogue 2- My Catalogues 3- My Contribution The Features Catalogue It’s where you can find and explore all the layers and coded lists shared to everyone in FGIC platform. features ...