How to Create layers
Sign-in with your registered organization contributor user (check that link if you need to know How to Sign in)
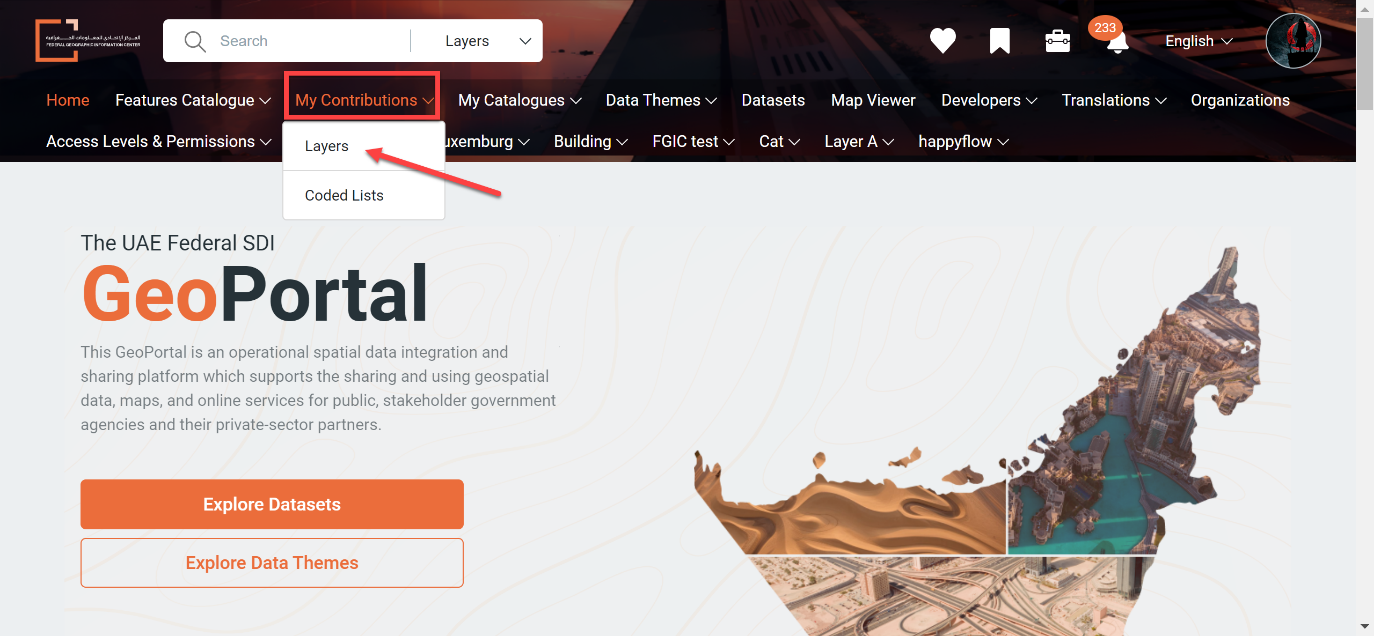
Click on My Contributions then select Layers
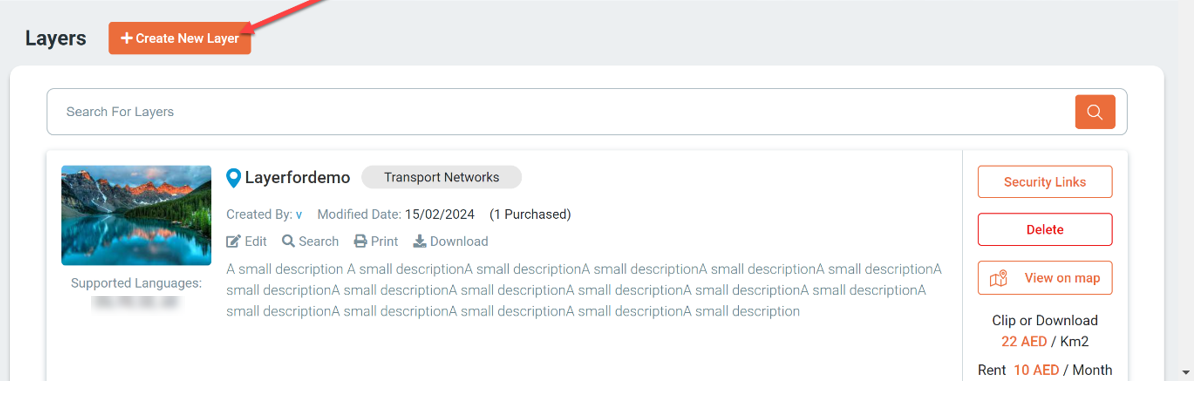
Here you will find a list of all the layers you contributed with
Click on + Create New Layer to create a new layer
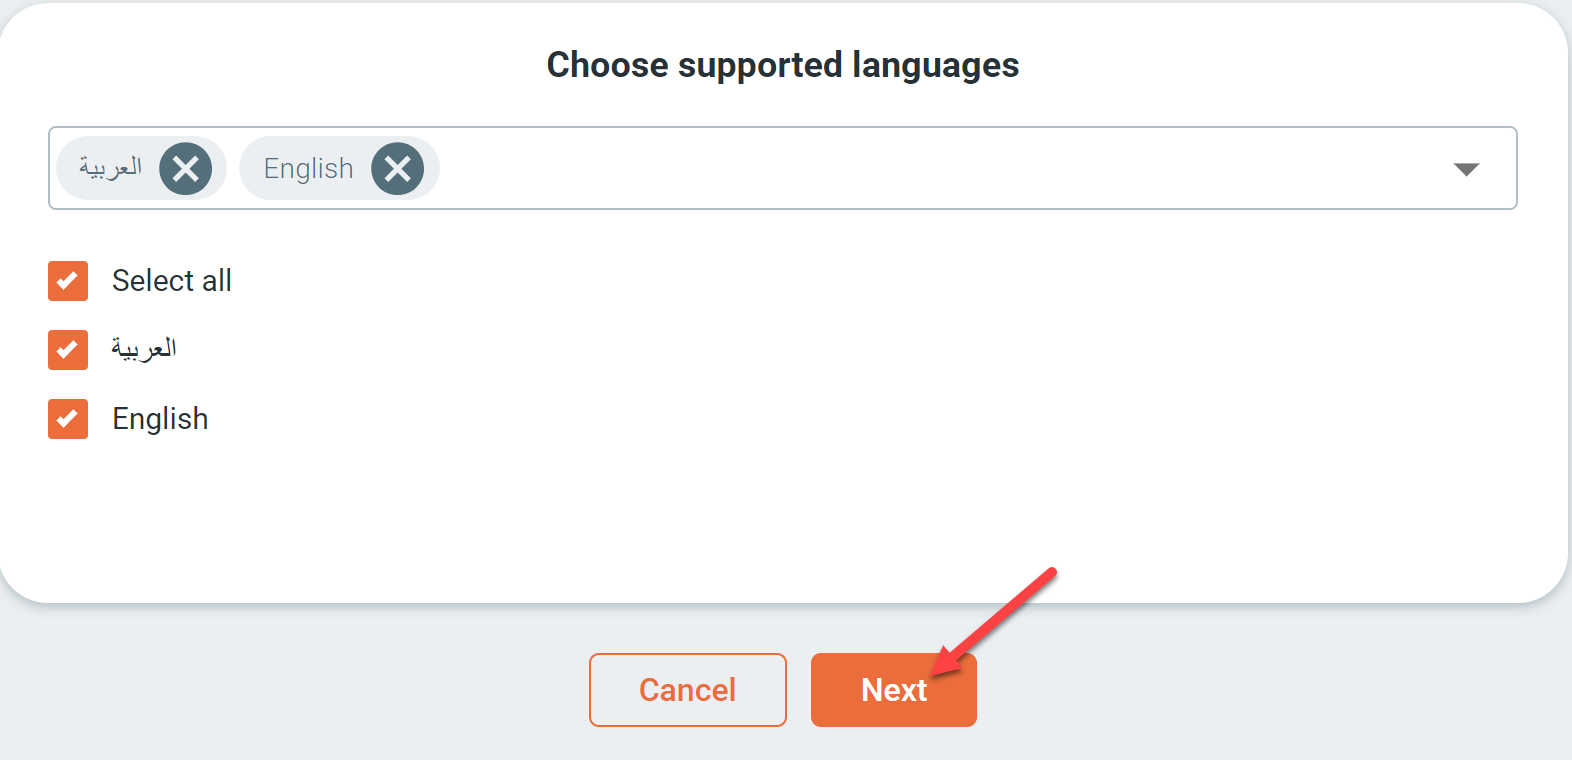
Choose your layer supported language/s whether from the drop-down list or by check-mark the language/s (you can choose more than one language)
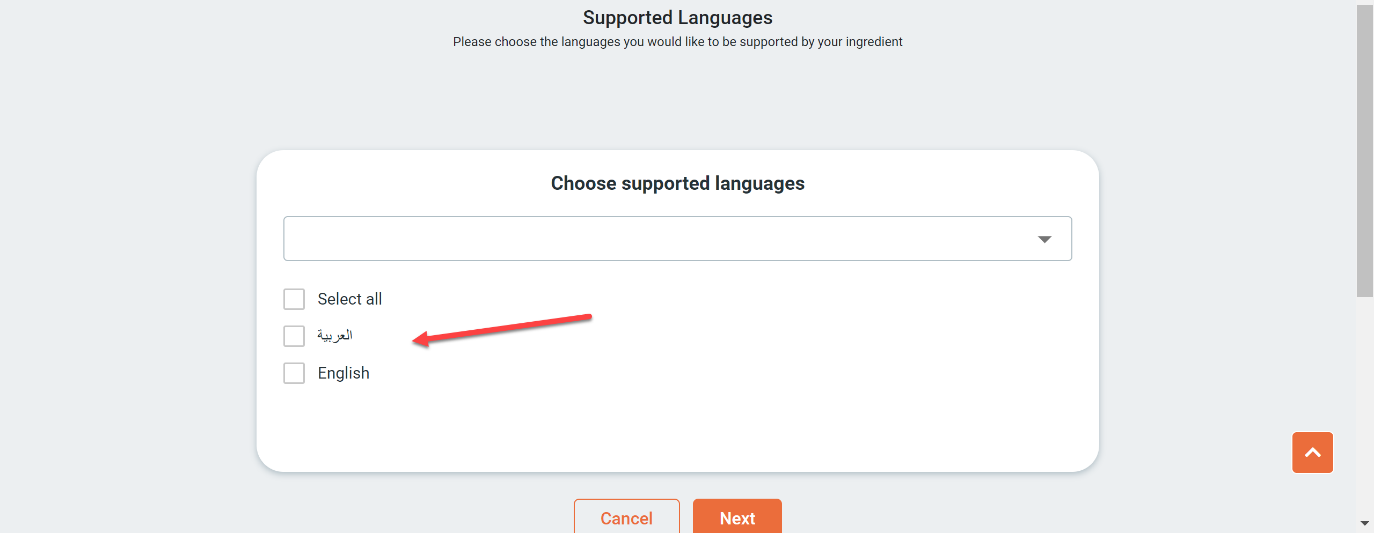
Click on Next
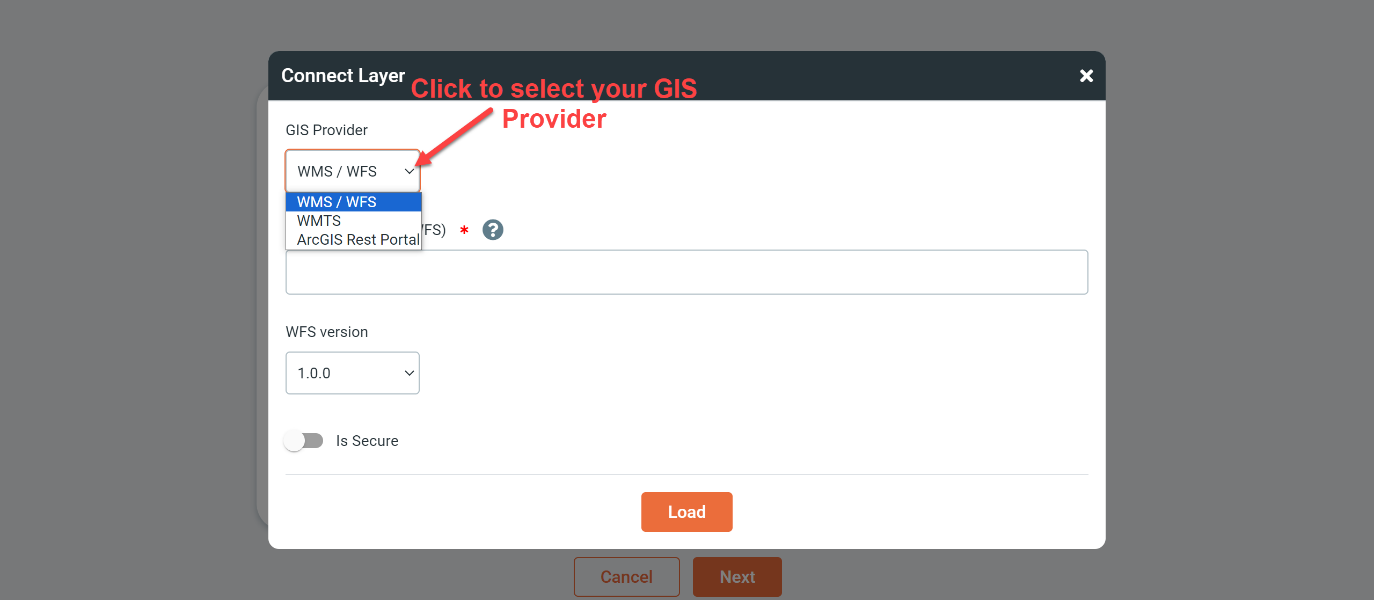
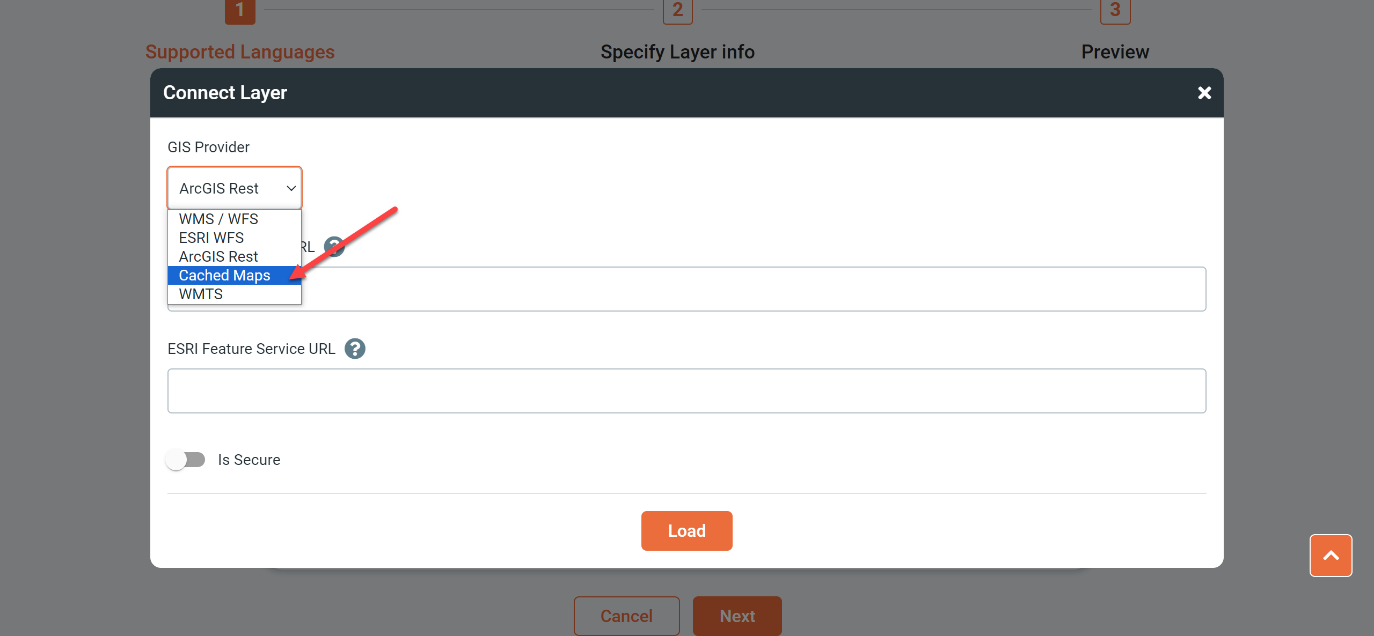
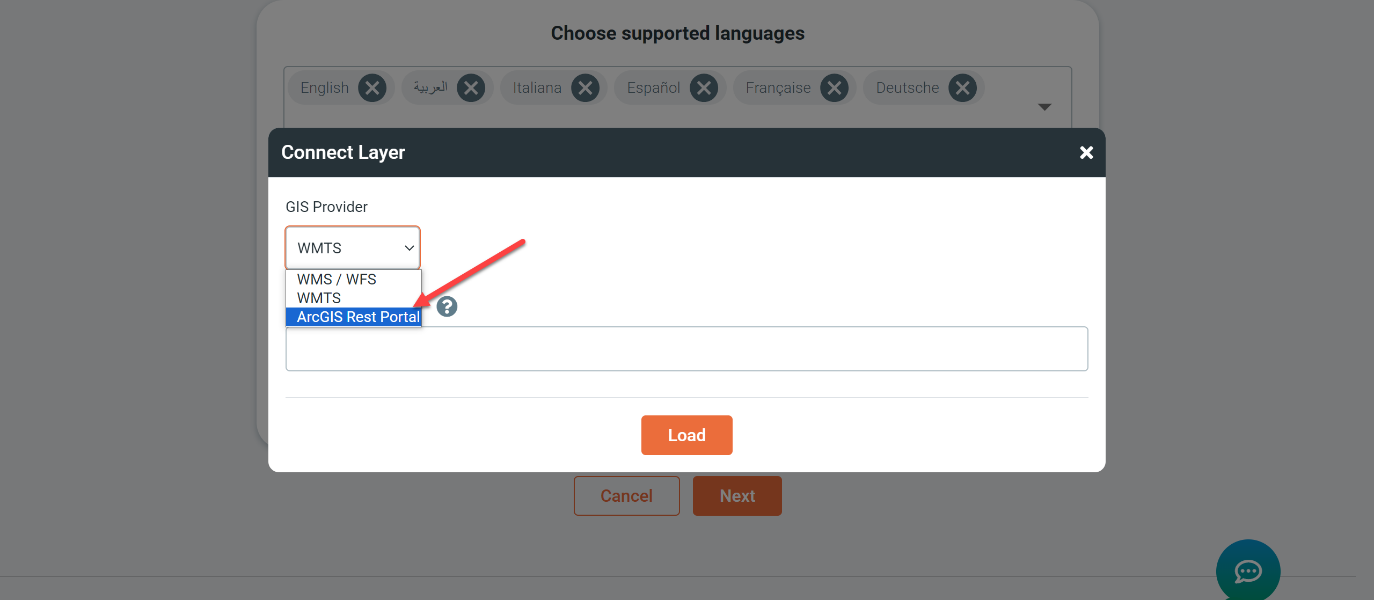
Choose your GIS provider from the drop-down list.
Geoserver
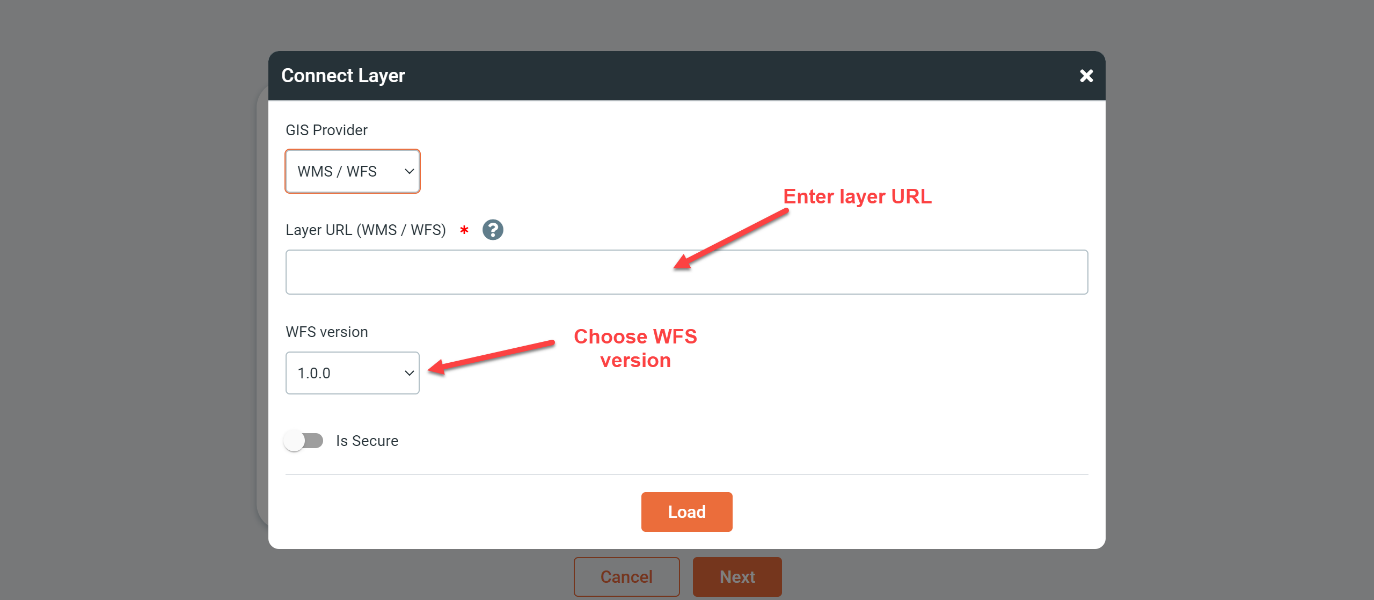
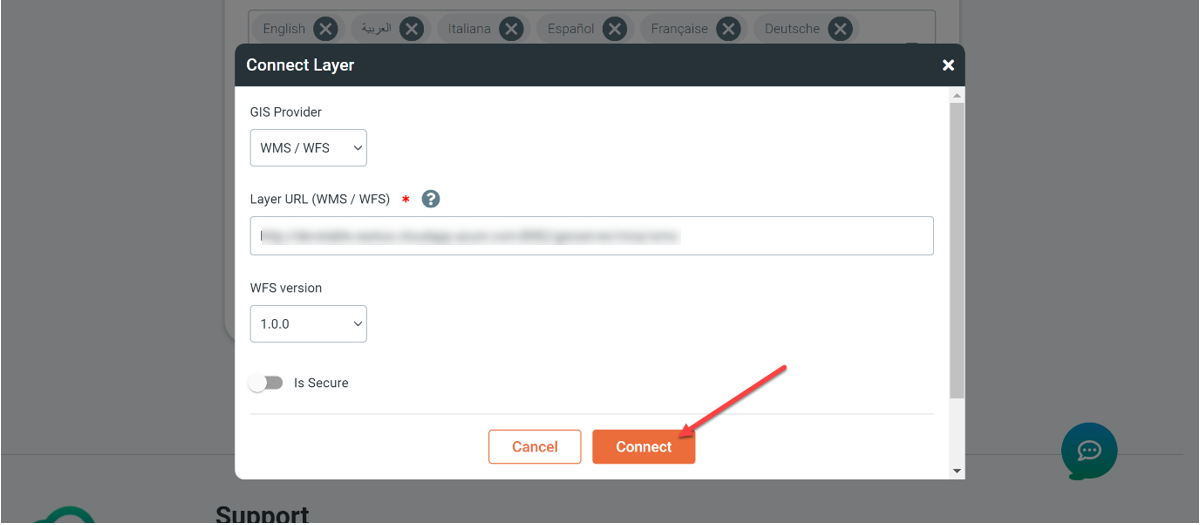
Enter your layer connection URL
Choose your WFS version where the latest version is providing the latest capabilities
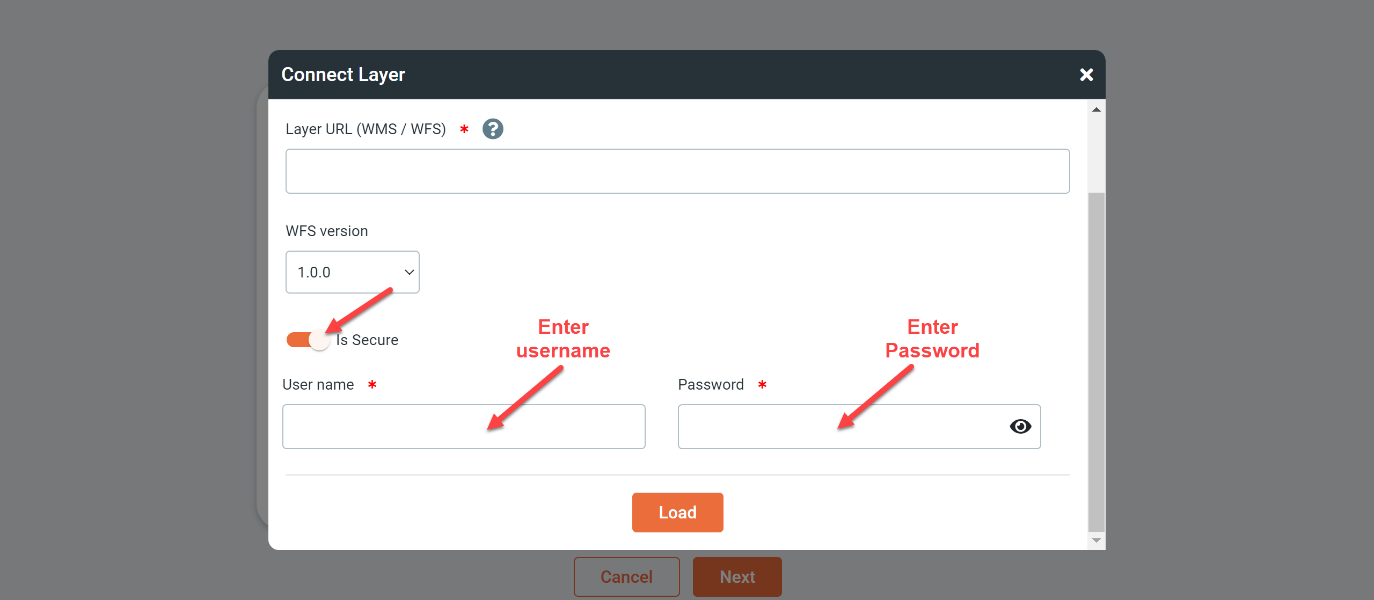
If the layer is secured so you will need to enable is secure and enter the secured credential User name and password
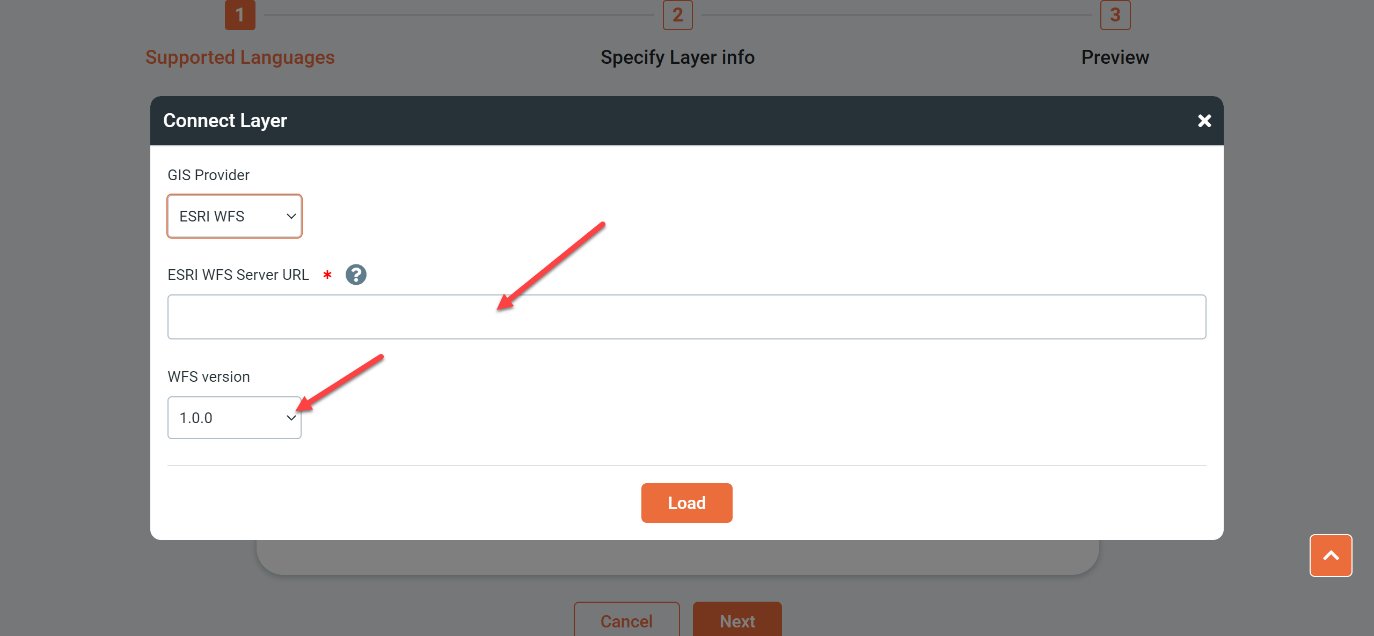
ESRI WFS
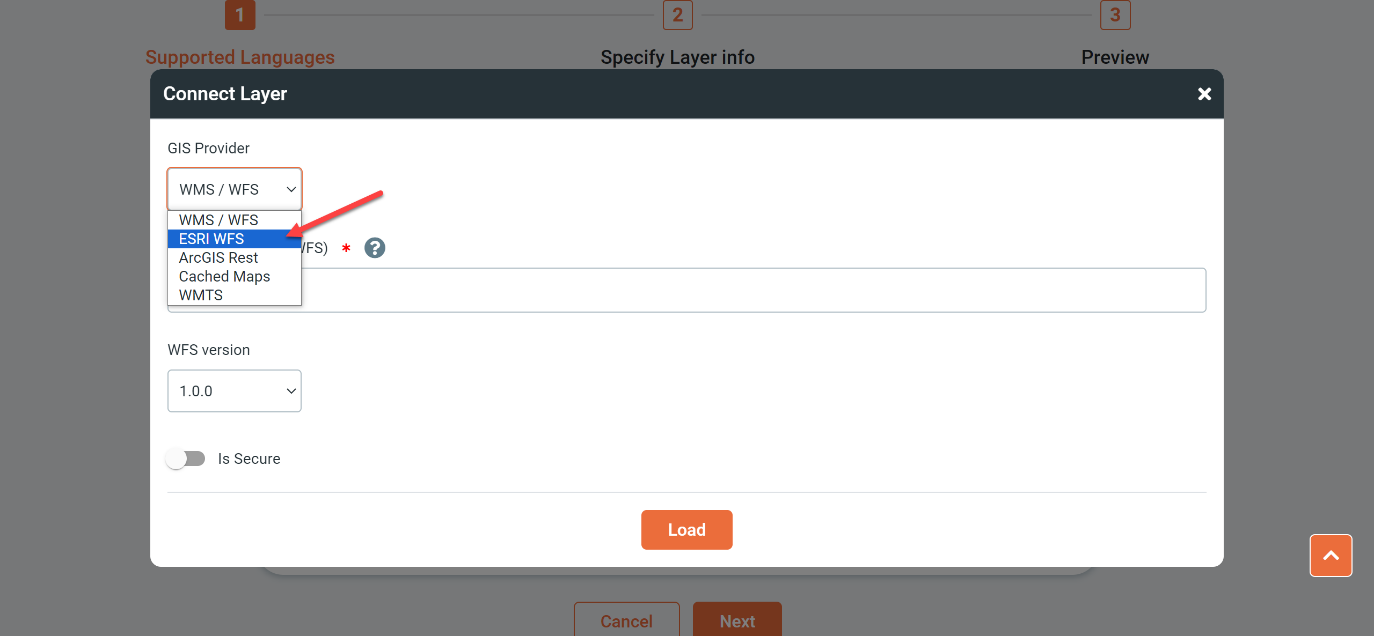
Enter Esri URL and select WFS version
ArcGIS Rest

Enter ESRI Map Service URL
Enter ESRI Feature Service URL
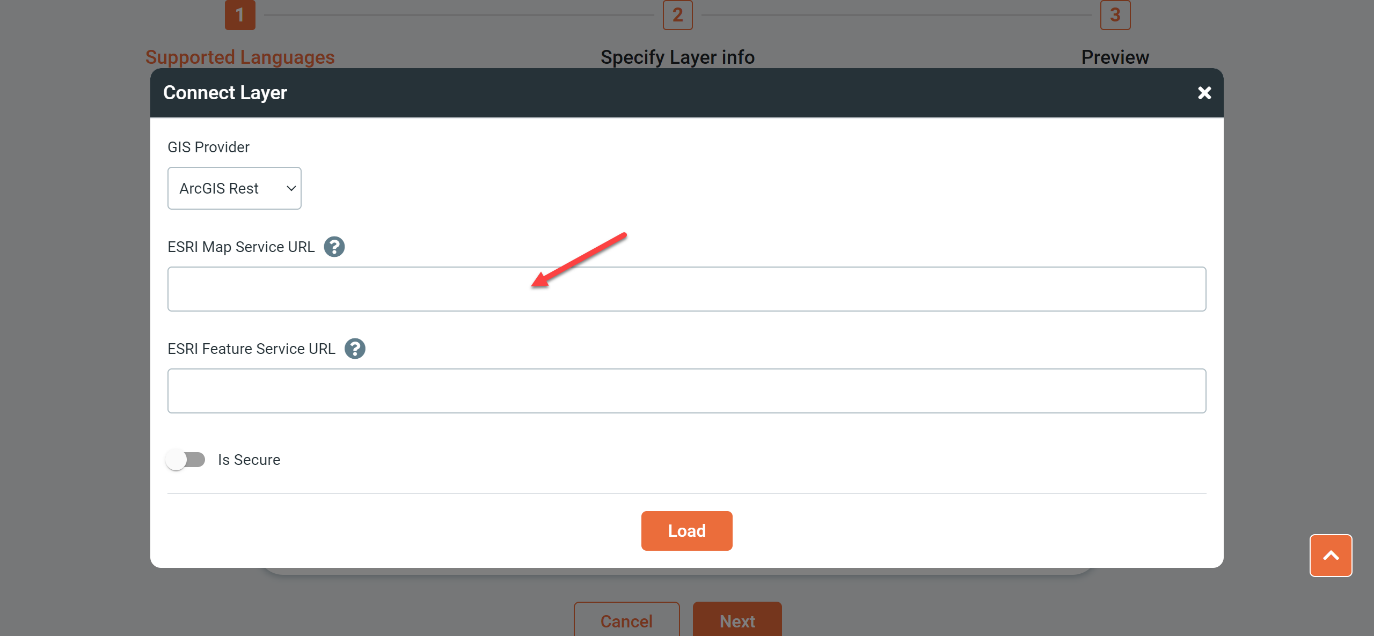
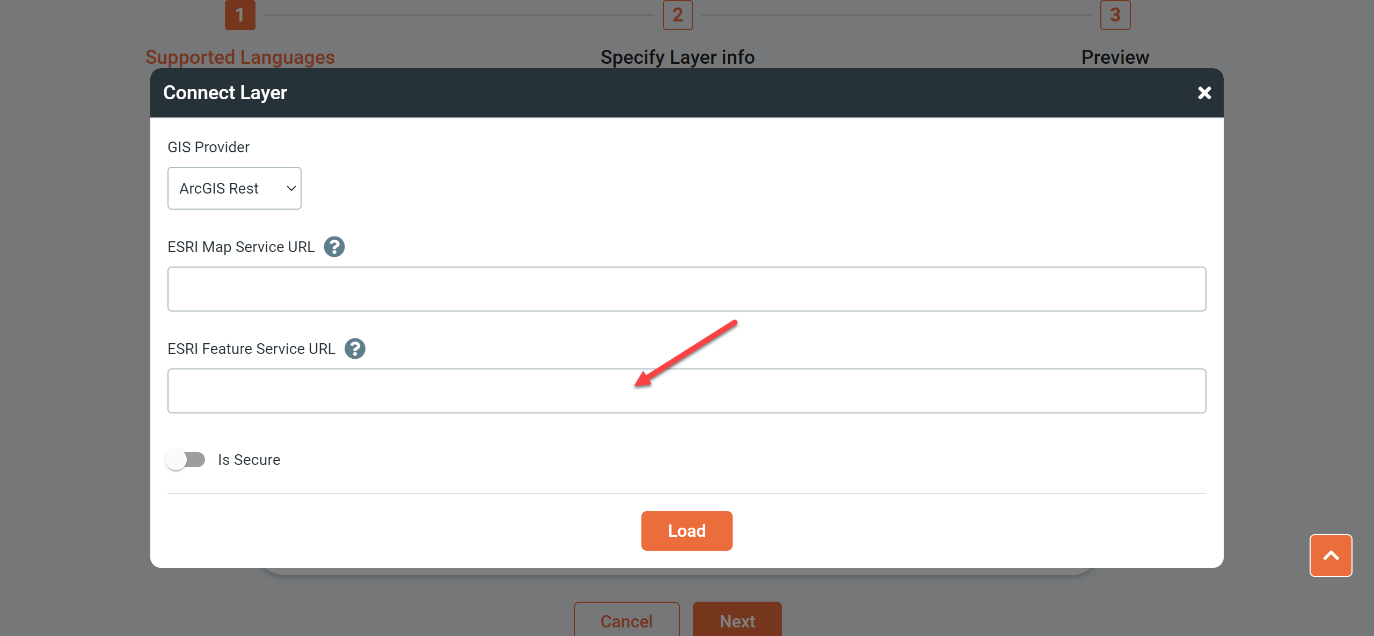
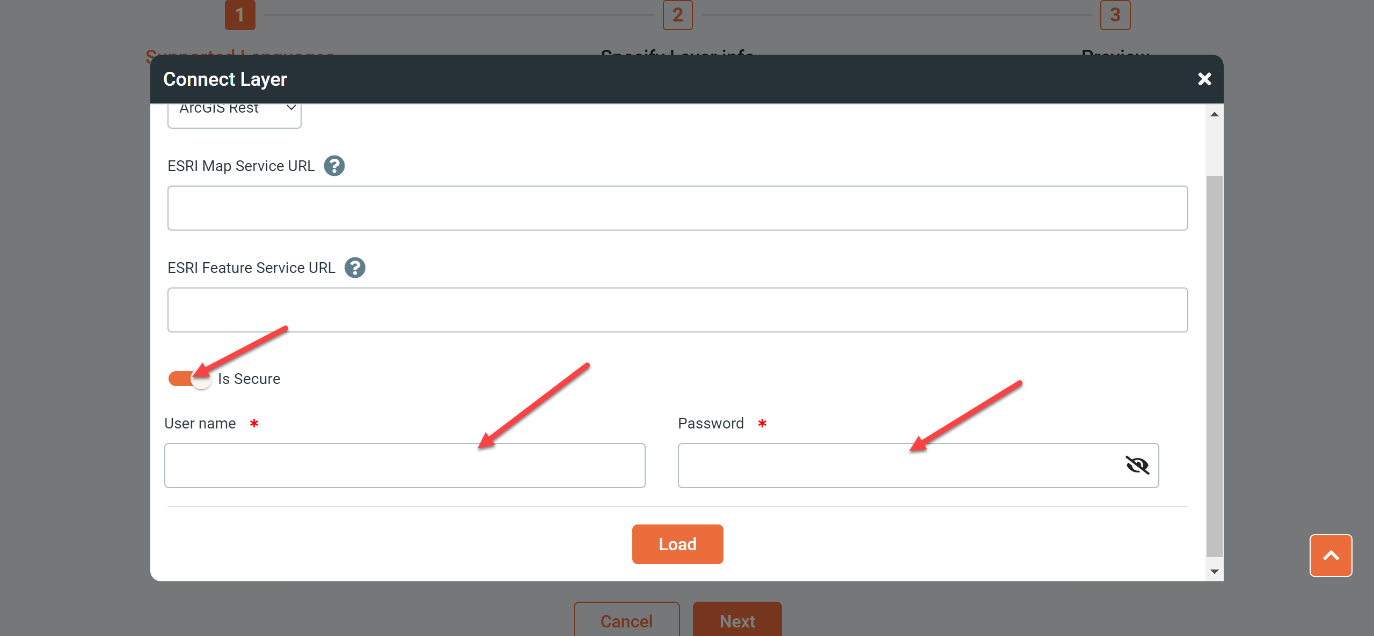
If the layer is secured so you will need to enable is secure and enter the secured credential User name and password
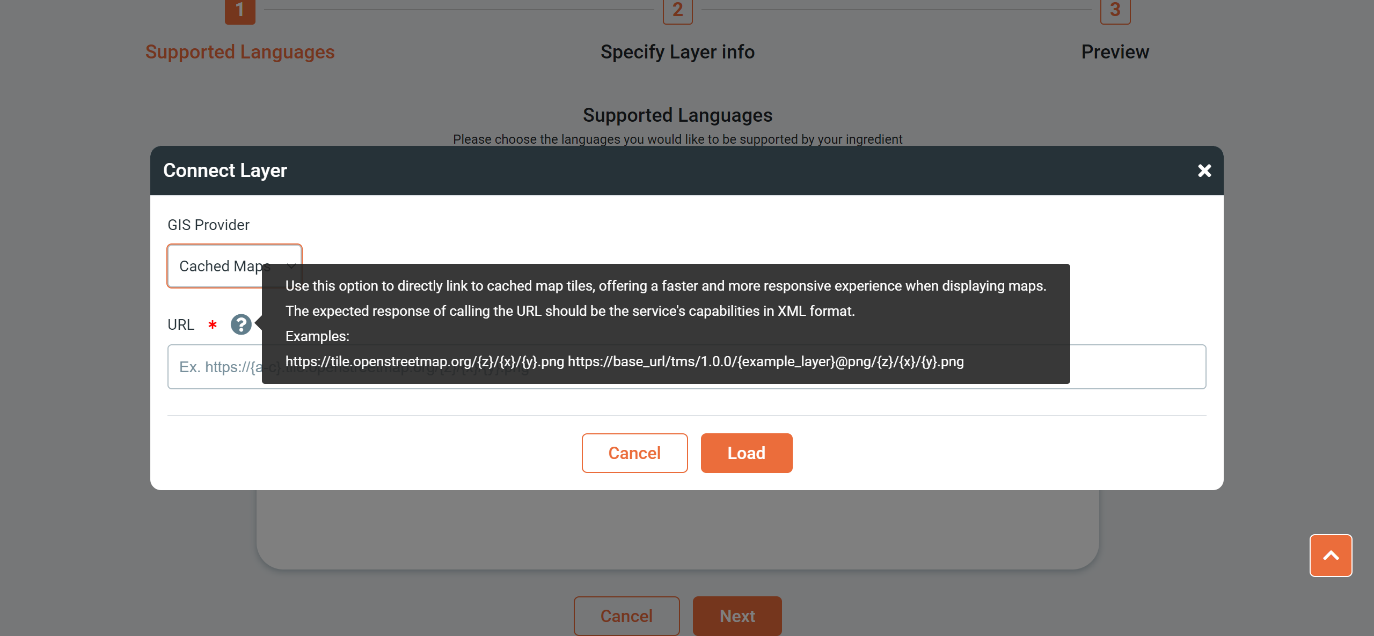
Cached Maps
Enter Cached map URL
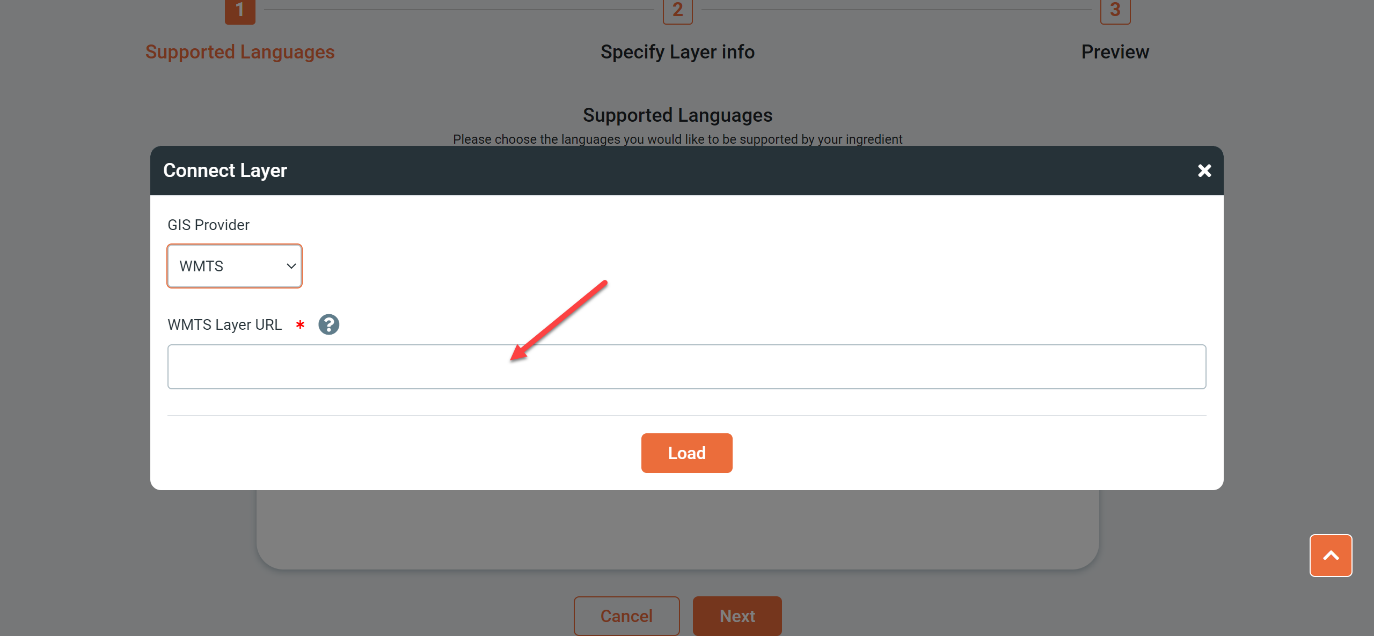
WMTS
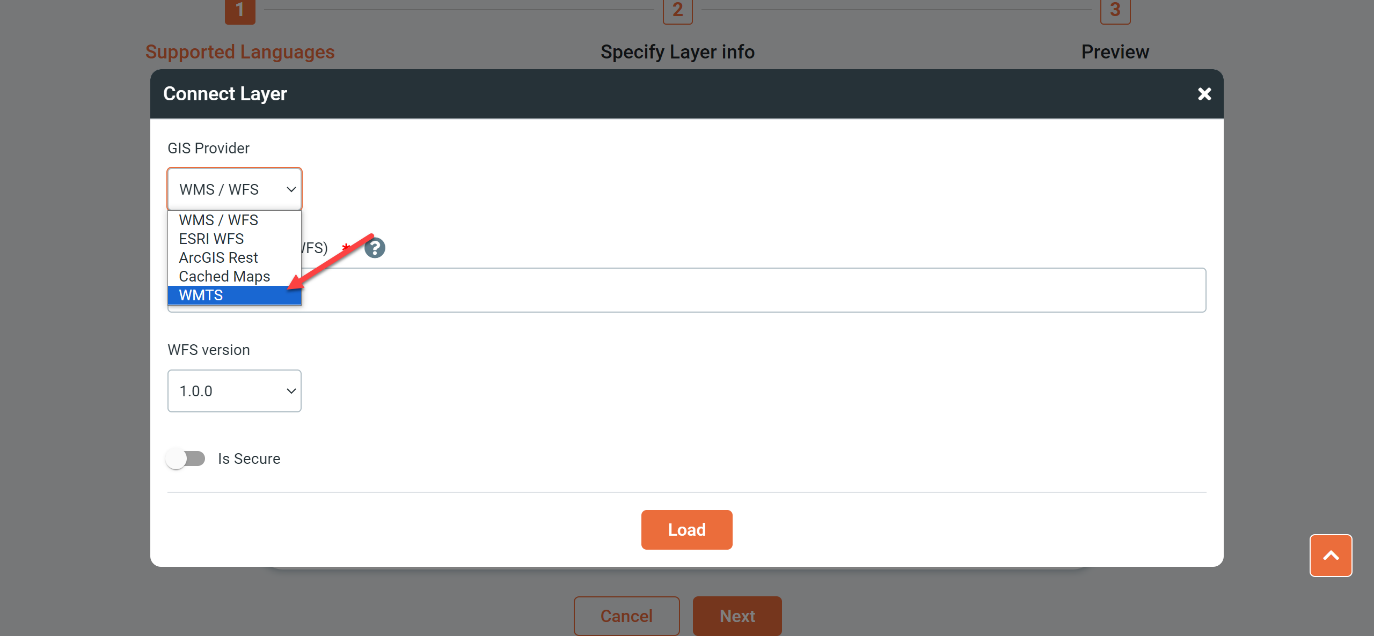
Enter the WMTS layer connection URL
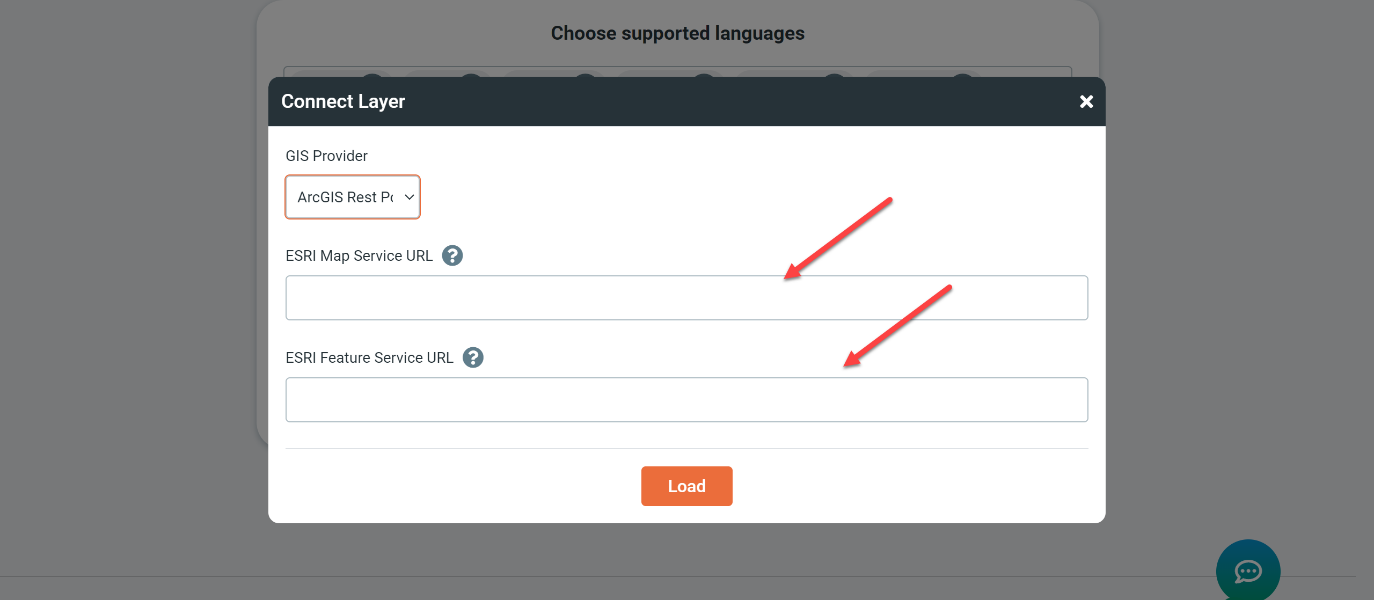
ArcGIS Rest Portal
Enter the ESRI Map Service URL which is ESRI’s alternative implementation of WMS,
Enter the ESRI Feature Service URL which is ESRI’s alternative implementation of WFS
Click on load
Select your layer name

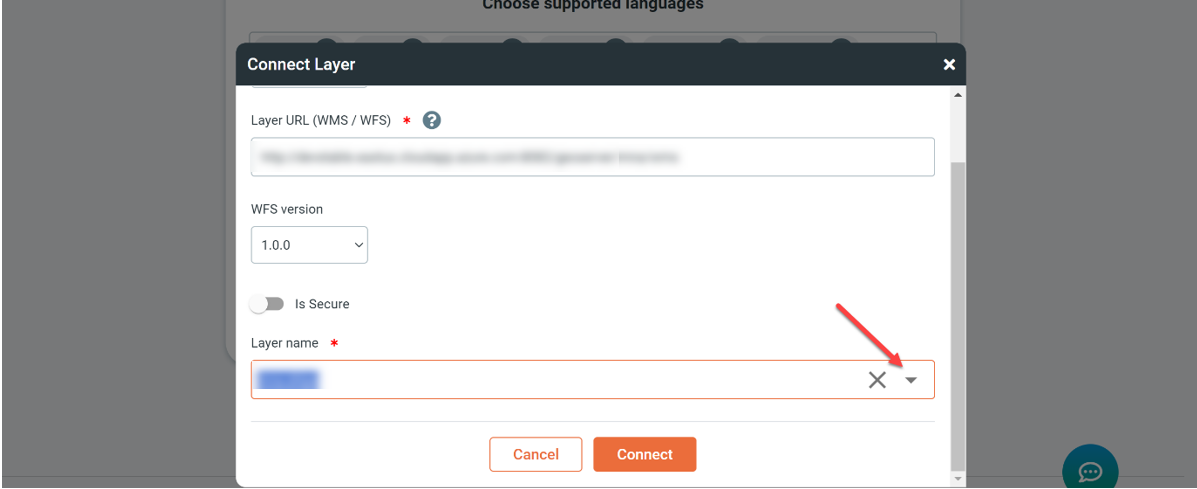
Click on Connect
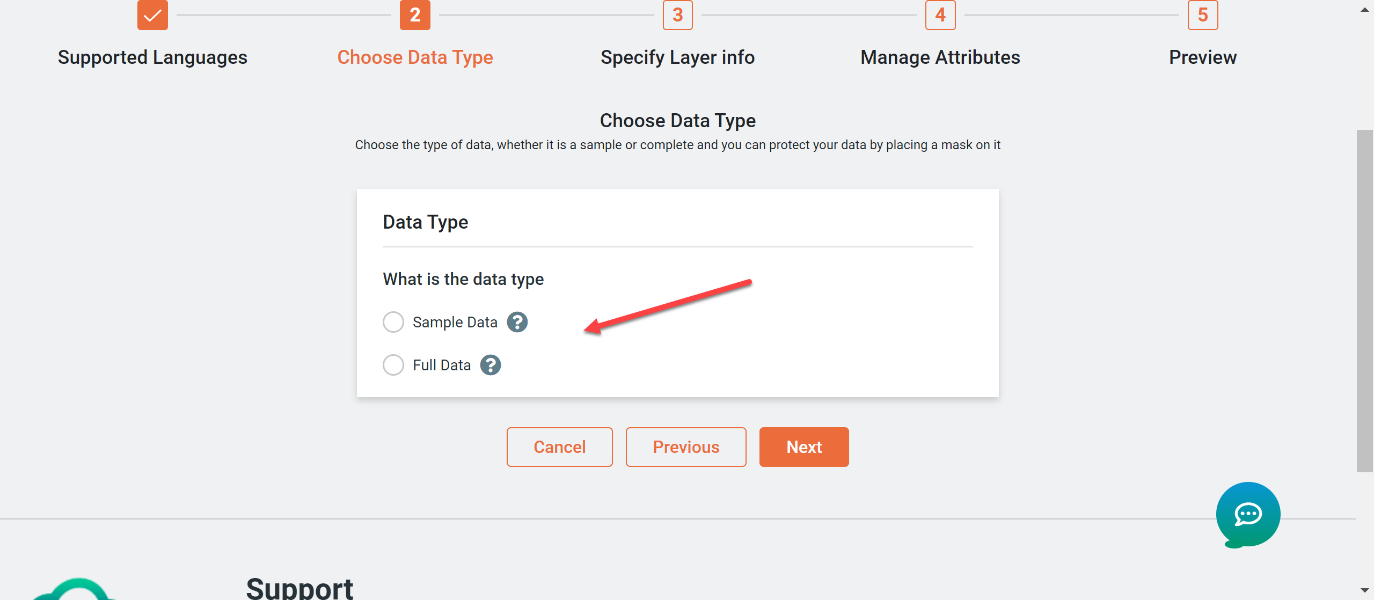
Choose your data type: Simple data means the layer is presenting a sample of the data
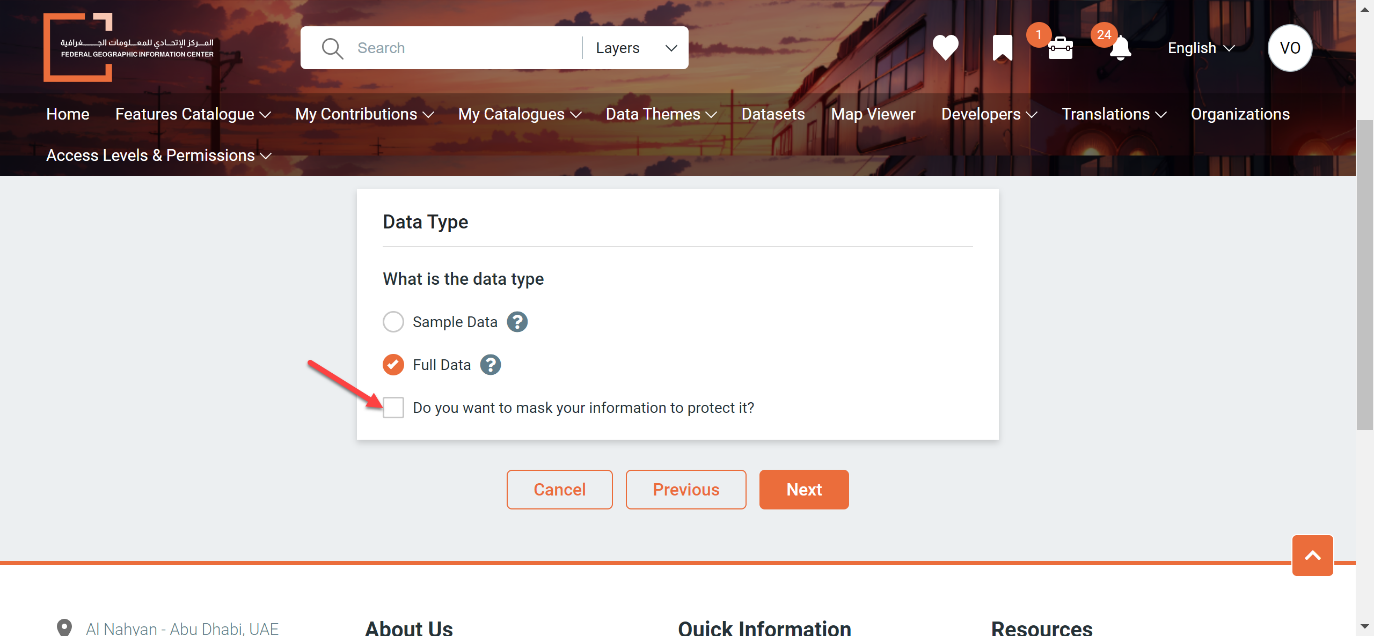
Full Data means the layer is presenting the full dataYou can select to protect and mask your full data
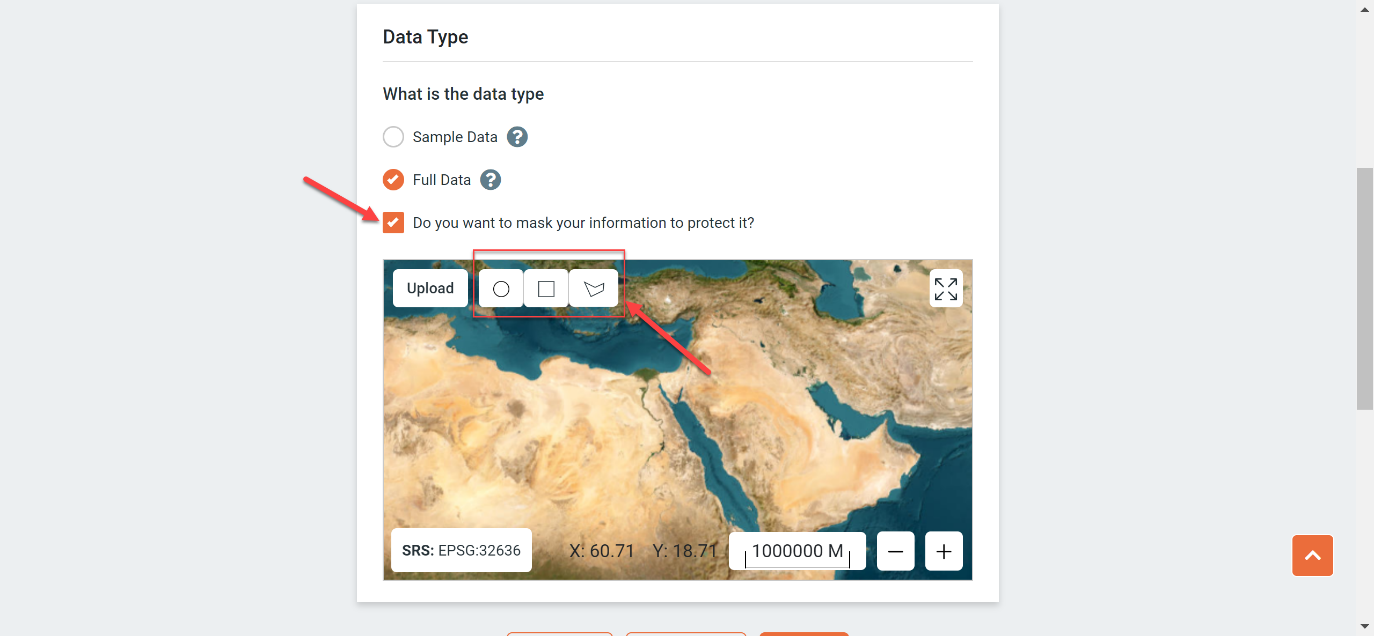
Start selecting on the map, with any type of polygon, the allowed region that could be identified or queried, while the unselected area will be protected
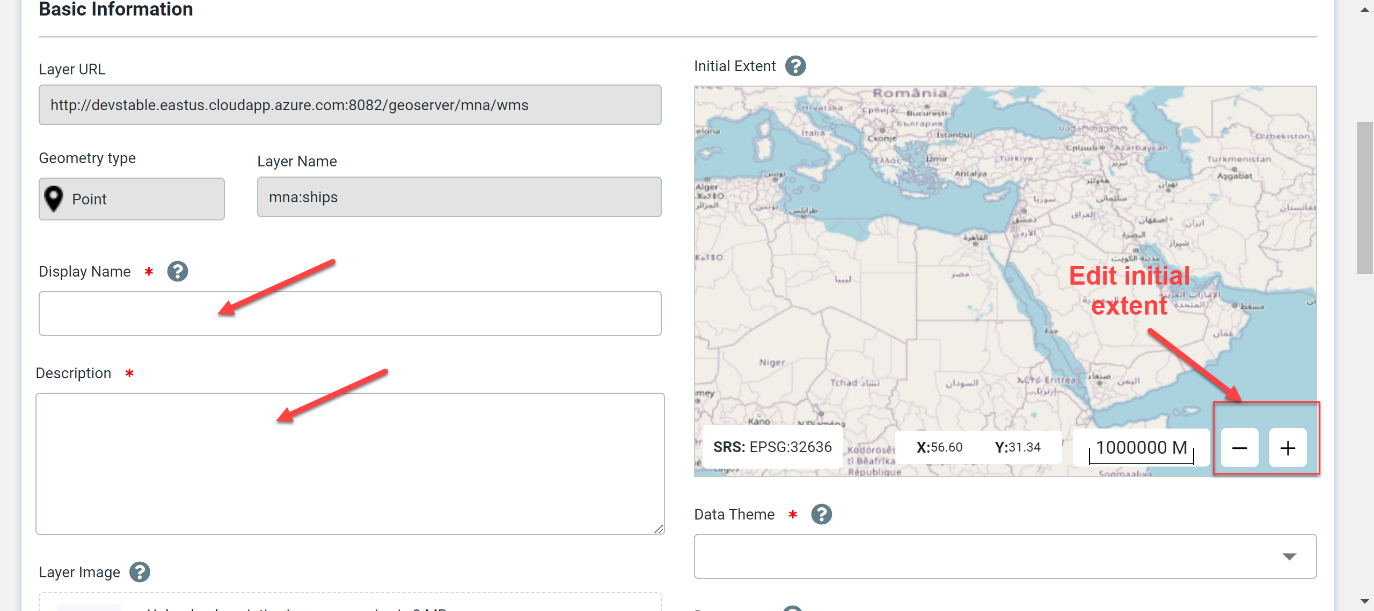
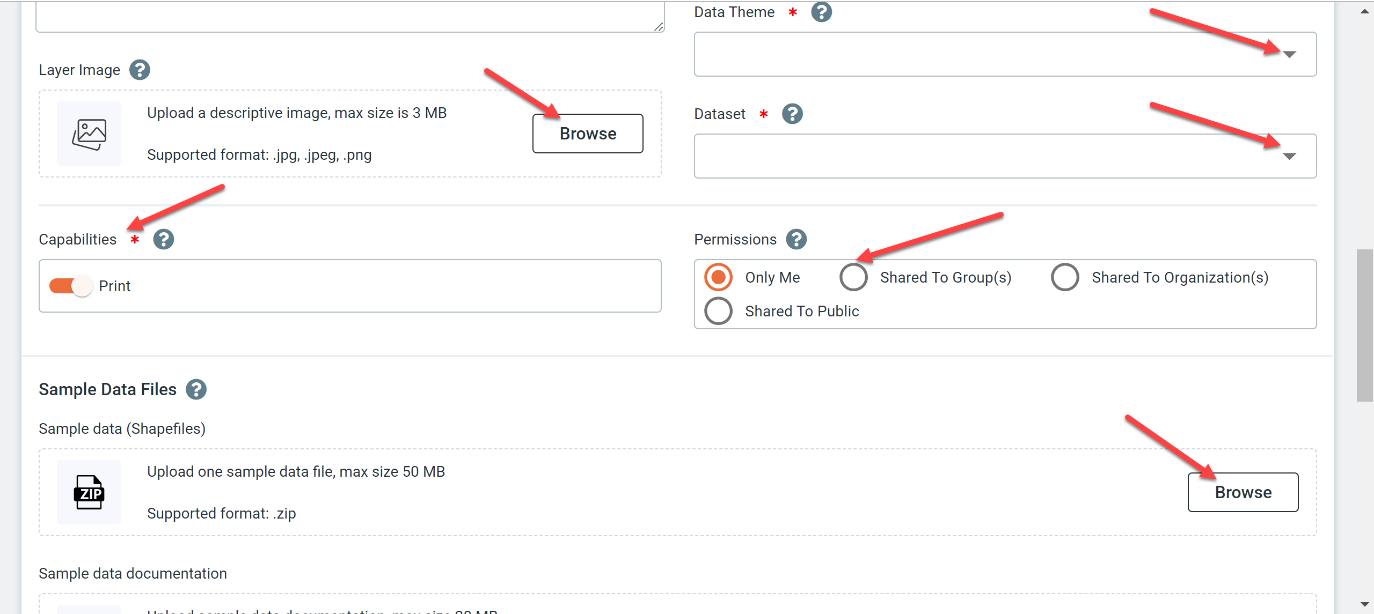
The layer basic info page will open where you need to fill the following:
Layer Display Name which is a friendly name that will display with your layers in your catalogues to easily identify your layer
Layer Description.
Select your layer Data Theme under which your layer will be classified, then select your dataset representing the next level of classification under data Theme
Browse an image representing your layer.
Enter the layer Renting Price per month
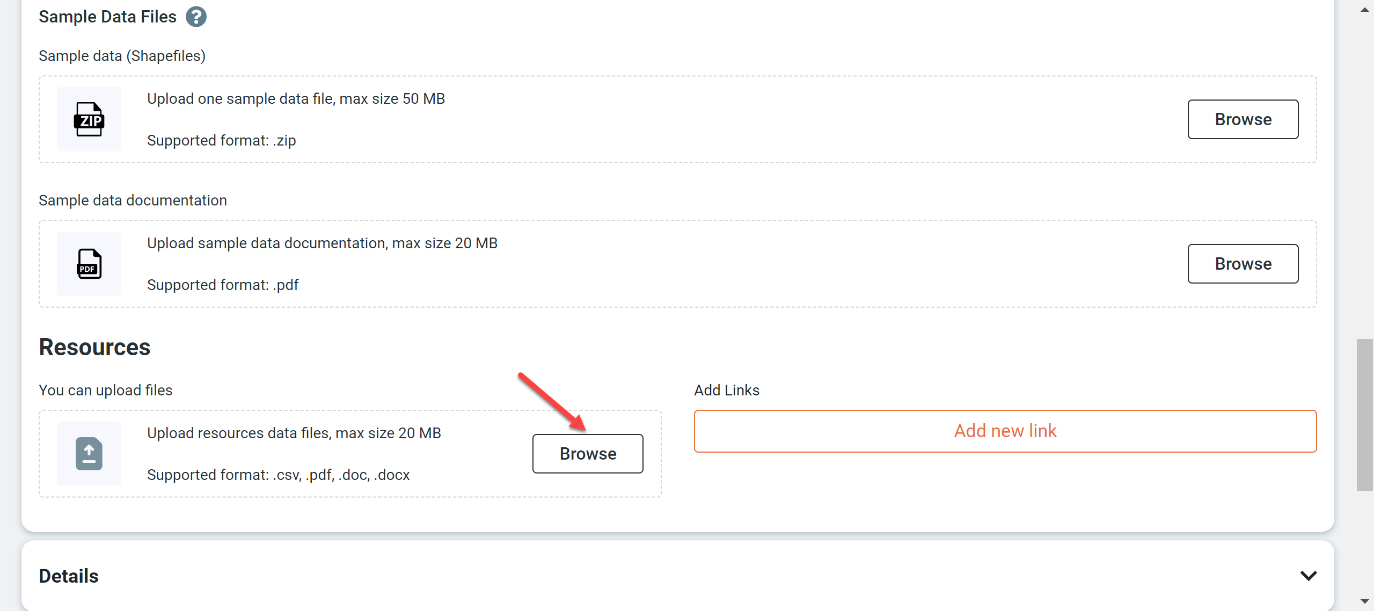
Browse Sample data documentation offering a snapshot of your data layer
Upload your resources data files
You can edit the following settings:
Edit the map initial extent by clicking on + icon to zoom in or the – icon to zoom out
Edit the layer allowed/denied capabilities.
Edit the layer permissions to be privately shared (Only me) or shared to specific organization/s, where you will need to write down the name of the other organizations, or to be shared to the FGIC Features catalogue (Shared to public), or to be shared to a group/s you will then need to specify the group name
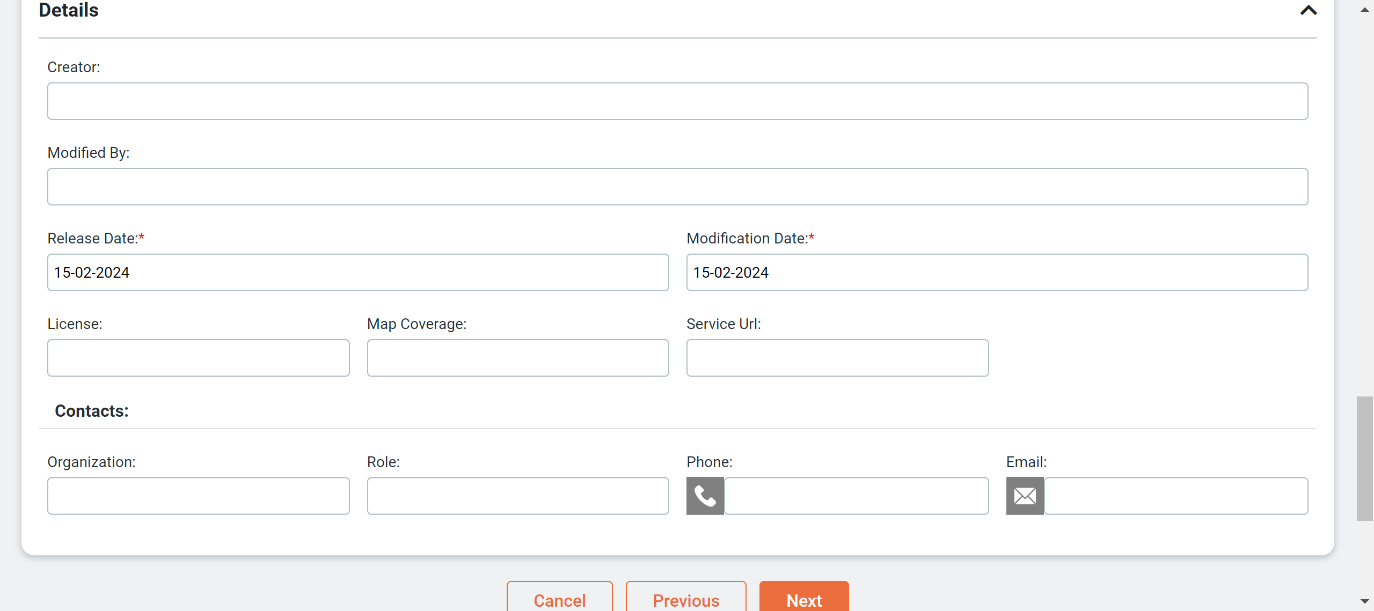
Fill in the details info that you want as follow
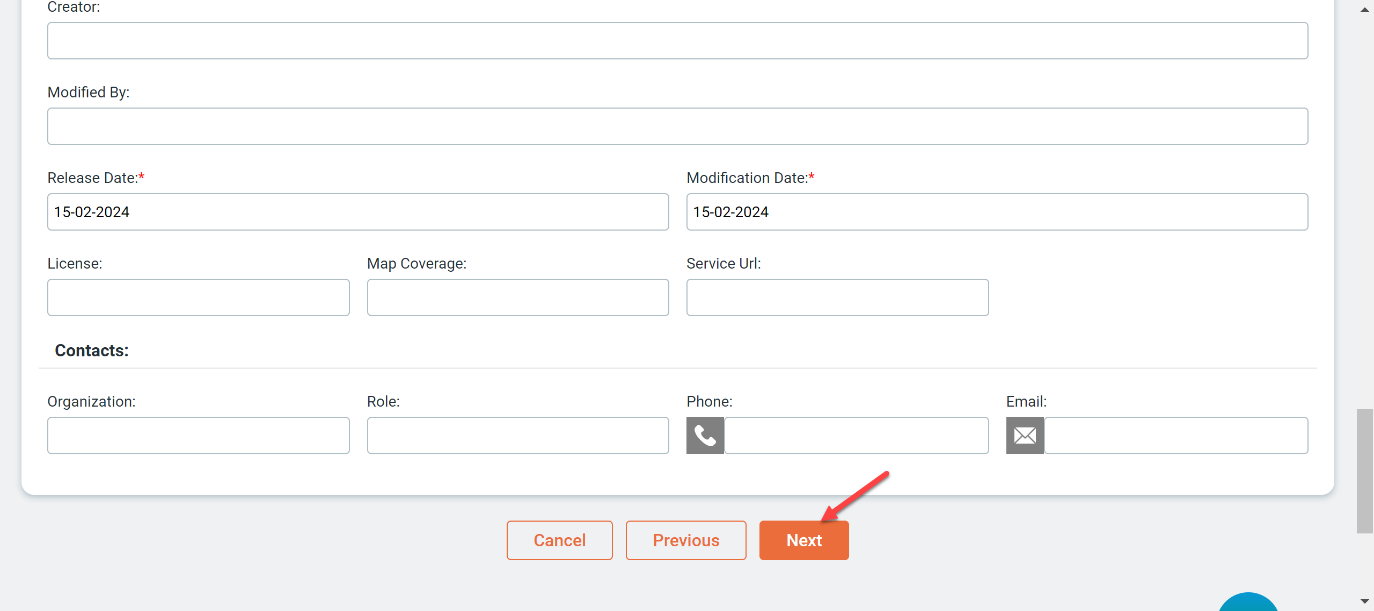
Please note that some fields are mandatory such as the Release date and the modification data
Fill the layer metadata:
click on Next to move to the next step or Previous to go to the previous page or cancel to abort the process
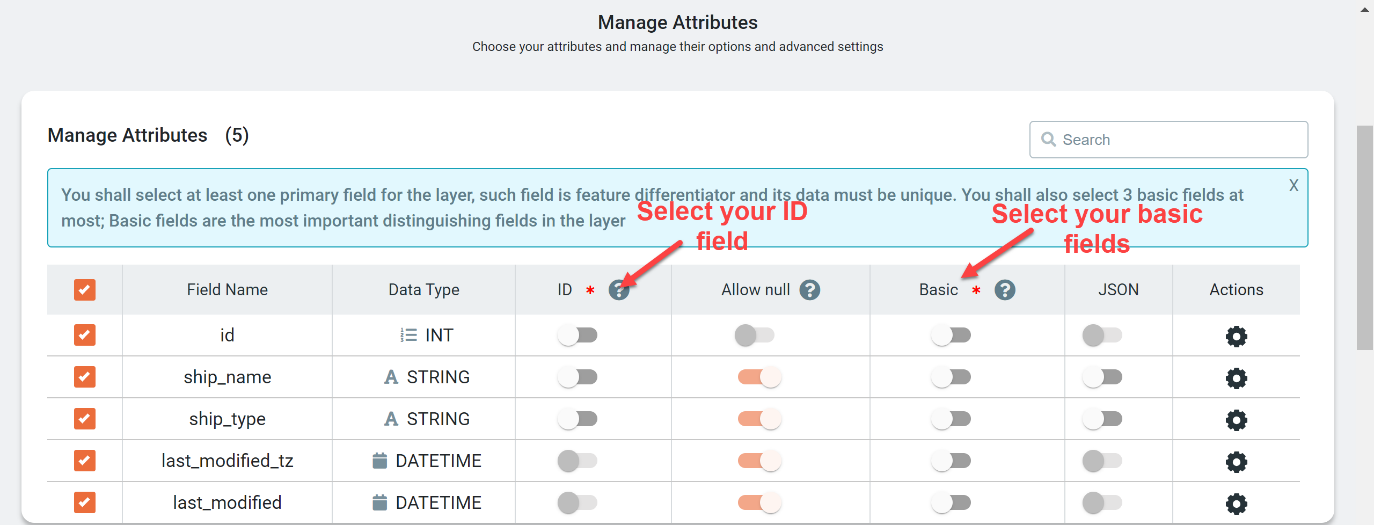
This section will display all fields for the layer you are contributing with.
You can select or unselect any field that you want, or Select All fields.
In this table you have to select one primary key field where its data should be unique (disable allow null)
You will also have to select your basic fields (maximum 3 fields)
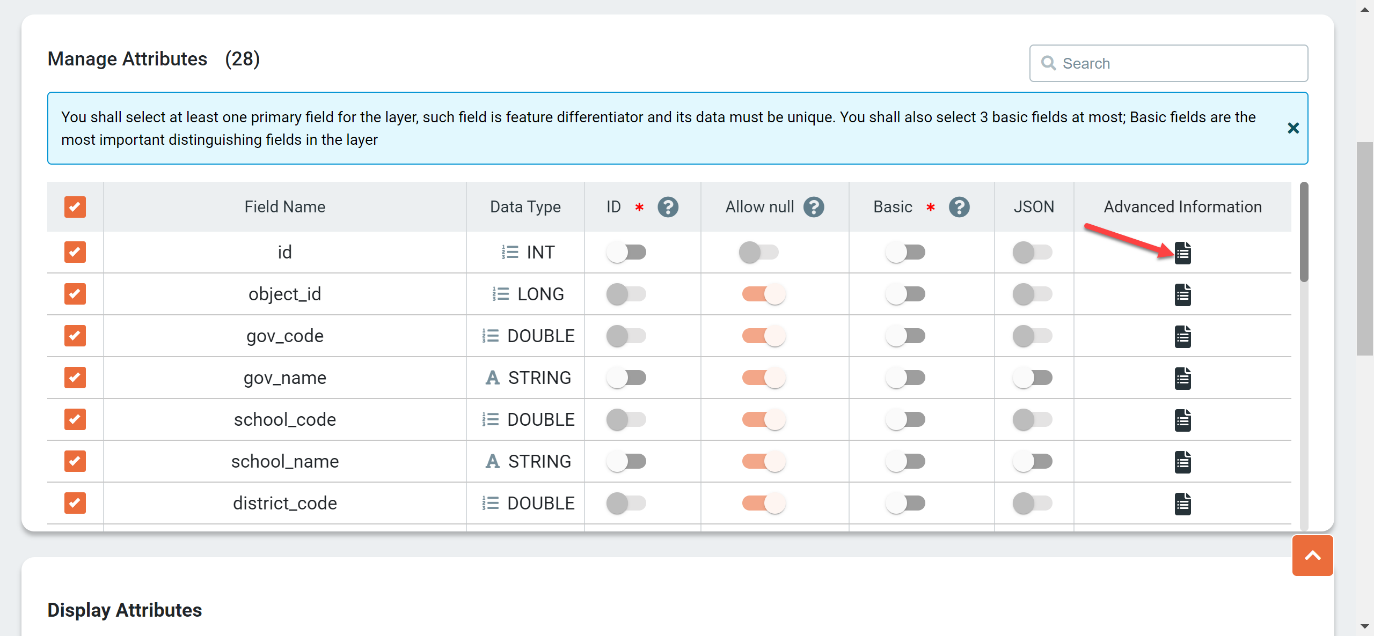
Click on the advanced info icon
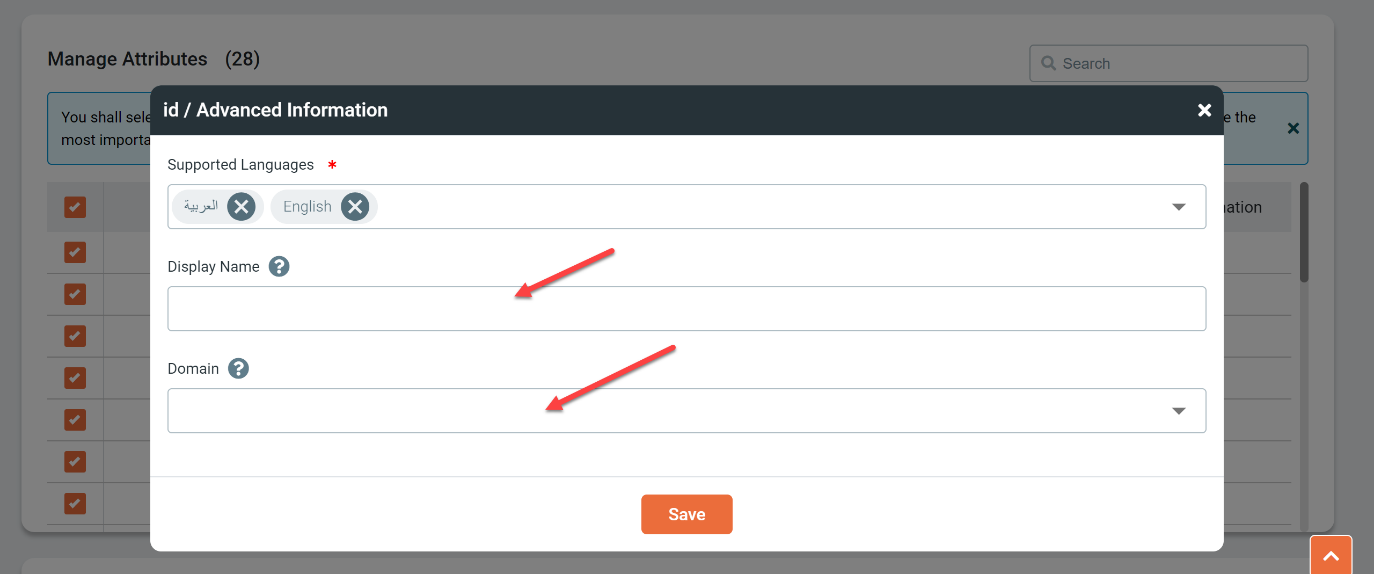
Here you can enter the display name that you want for this field and select the domain representing the domain that your field is linked to.
The domain menu will list all the existing coded list so you can choose the one linked to the selected field. In order to link a field to a certain domain, this field type should be Integer or String
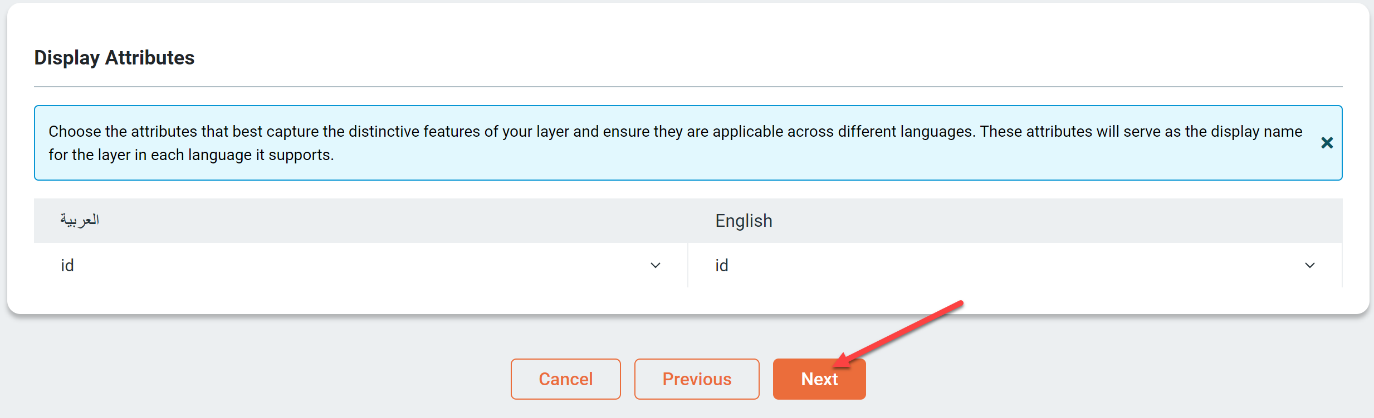
In the display field settings, you will have to choose one display field per language
Click the drop-down list corresponding to each language and choose one field
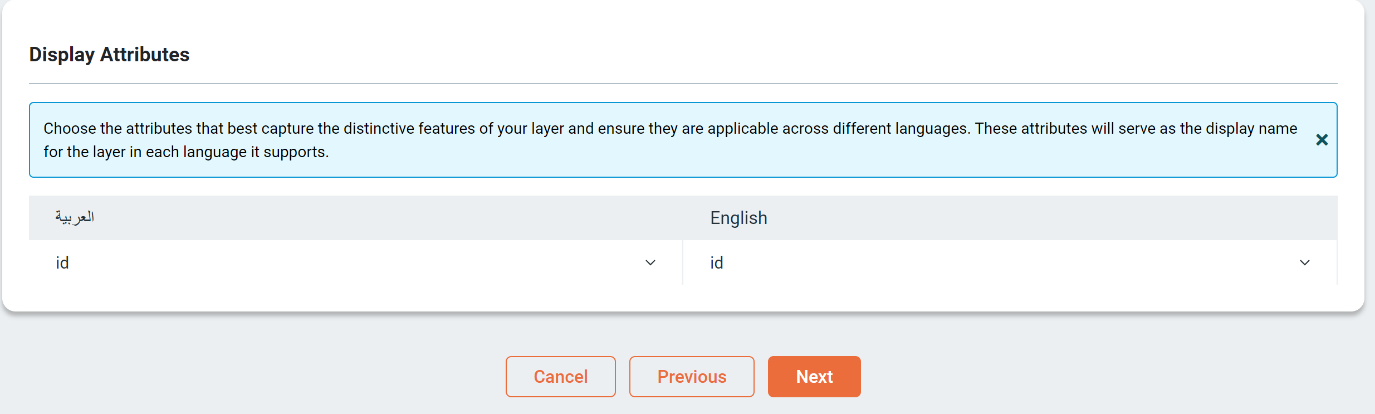
Click on Next
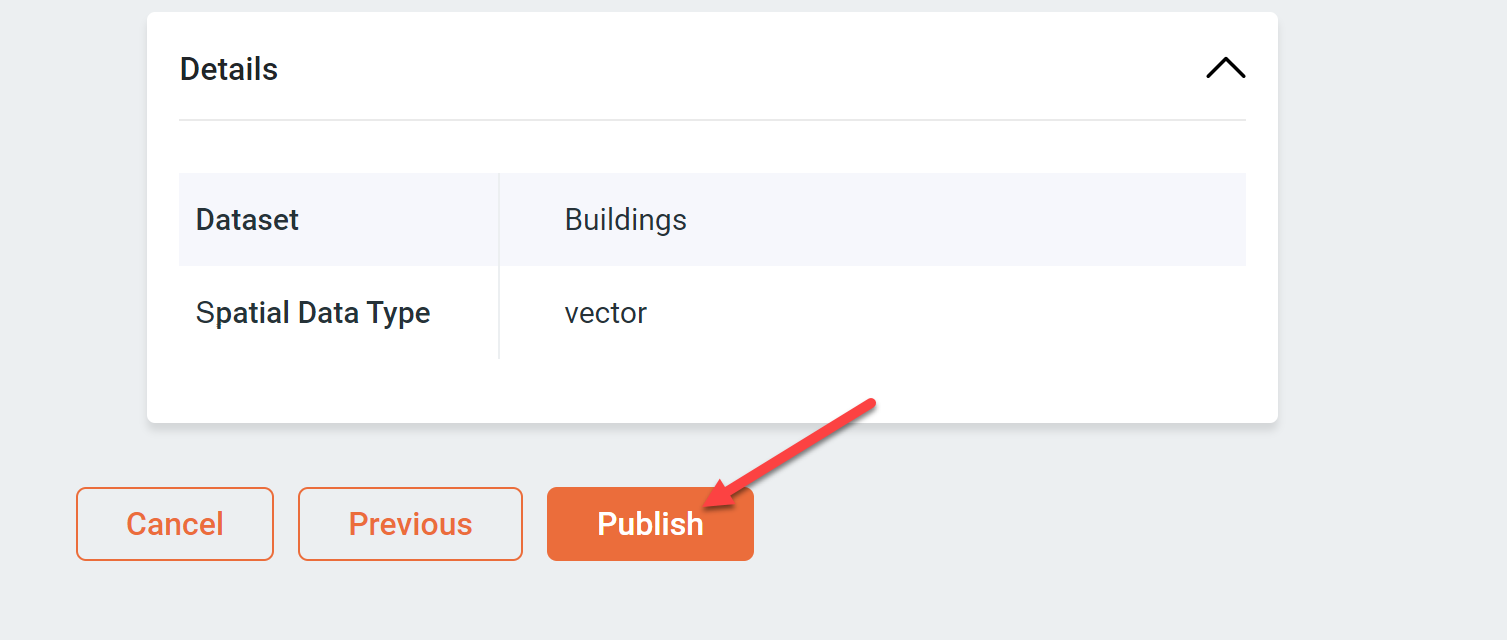
The next page will be a preview for all your layer settings.
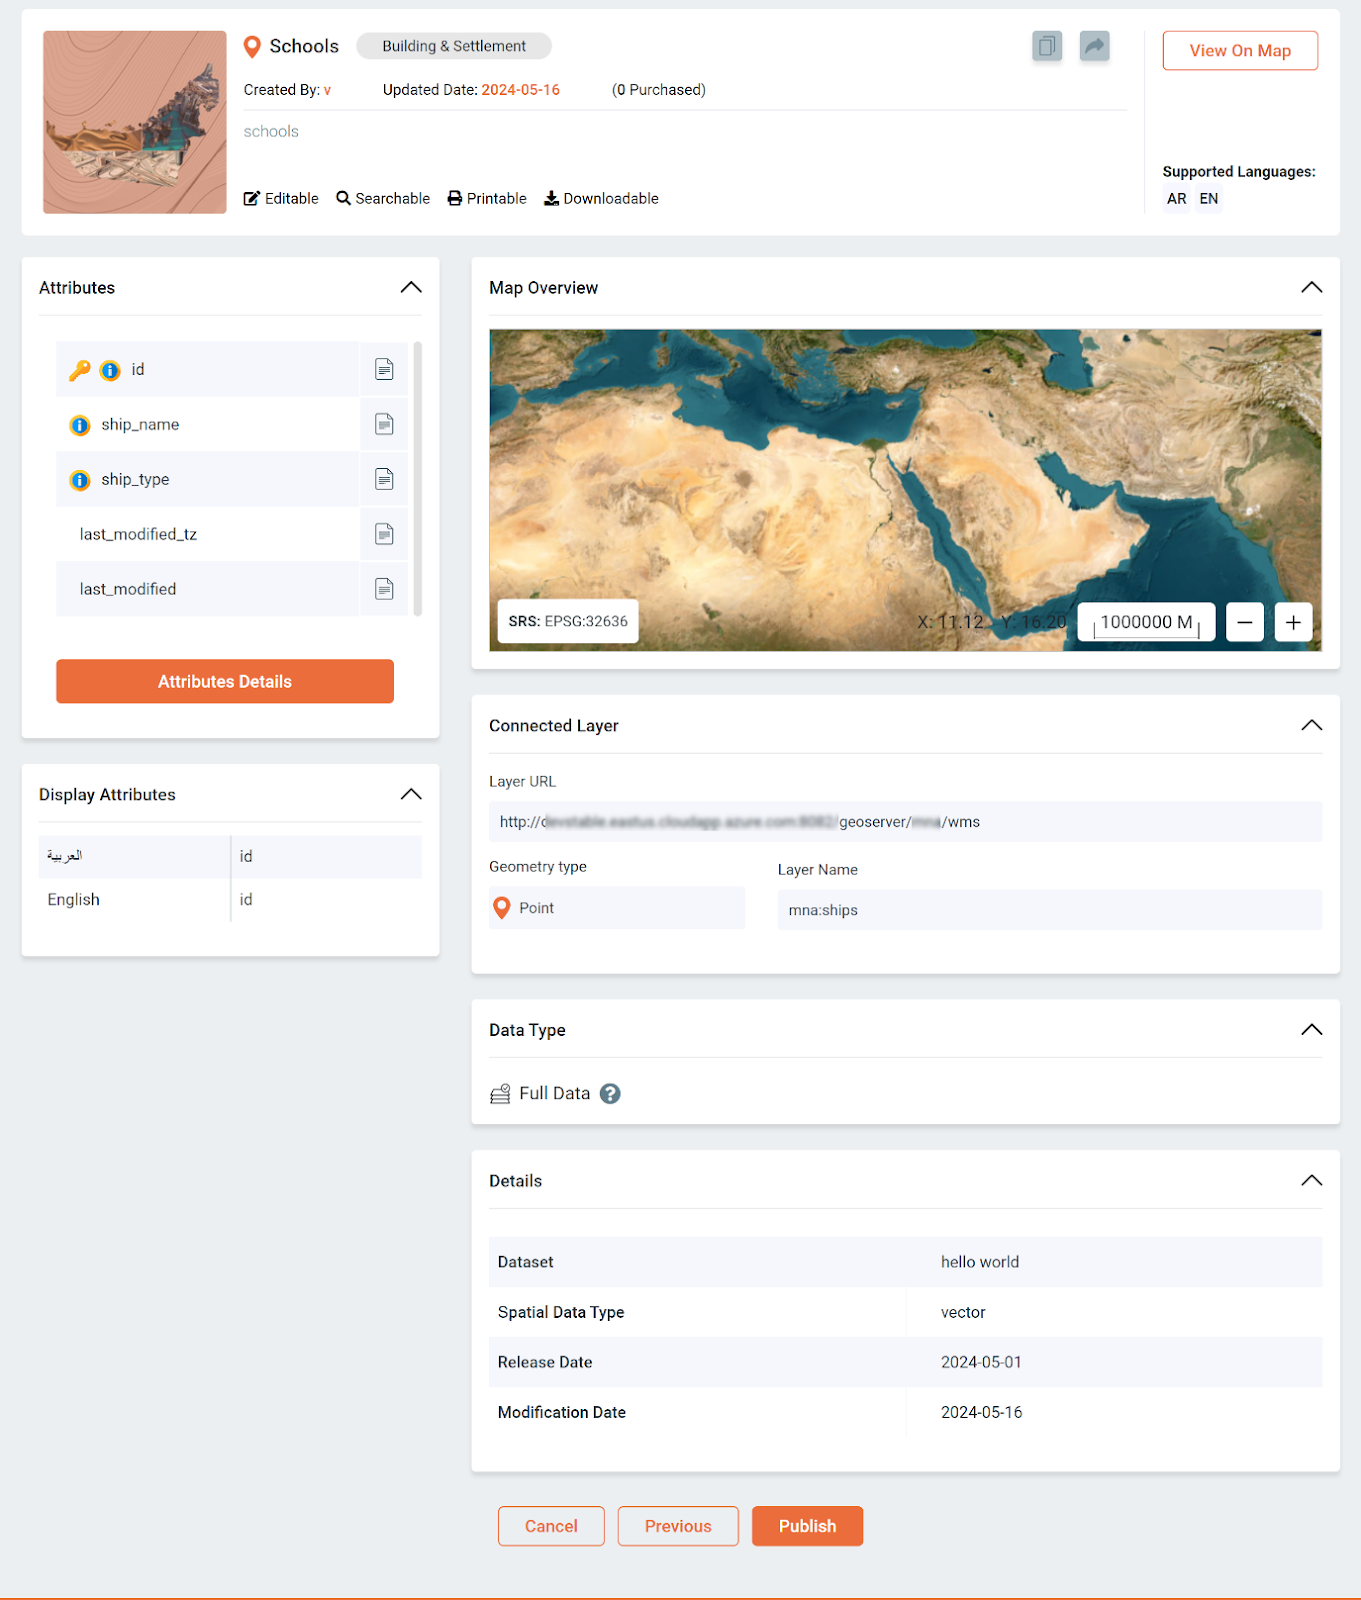
Click Publish to save your layer contribution or previous to go to the previous page or cancel to abort the contribution process
Congratulations! You have successfully on boarded your layer on FGIC platform. Your contributed Layer will be listed in your contribution
Related Articles
How to create plugins
1- Sign-in with your subscribed organization 2- Click on Contribution Catalogue then click on Plugins 3- Here you will find a list of all the plugins you contributed with 4- Click on + Create new plugin at the top left side 5- Choose your plugin ...How to contribute with layers
1- Sign-in with your subscribed organization 2- Click on Contributions Catalogue then click on Layers 3- Here you will find a list of all the layers you contributed with 4- Click on + on-Board to create a new layer 5- Choose your layer supported ...Layers
In this section, we will discuss how to explore and purchase public layers 1- Sign-in with your subscribed organization 2- Click on Public Catalogue then click on Layers 3- Here you will find the list of all public Layers that you can purchase and ...Layers
Log-in with your subscribed organization admin user (to know how to login follow the login process from here How to log in) Click on My ingredients then select Layers Here you will find listed all the layers you contributed with and purchased 1.3.1 ...How to create layouts
1- Sign-in with your subscribed organization 2- Click on Contribution Catalogue select Layouts 3- Here you will find a list of all the Layouts you contributed with 4- Click on + Create new Layout at the top left side 5- Choose your layout supported ...